
Invoicing
This page contains information on adding items to a customer account for future invoicing, as well as information paying a customers invoice.
How to use a Customer Account for Future Invoicing
To use this method the customer will need to have a credit limit set in Backoffice. See: Creating Customer Accounts
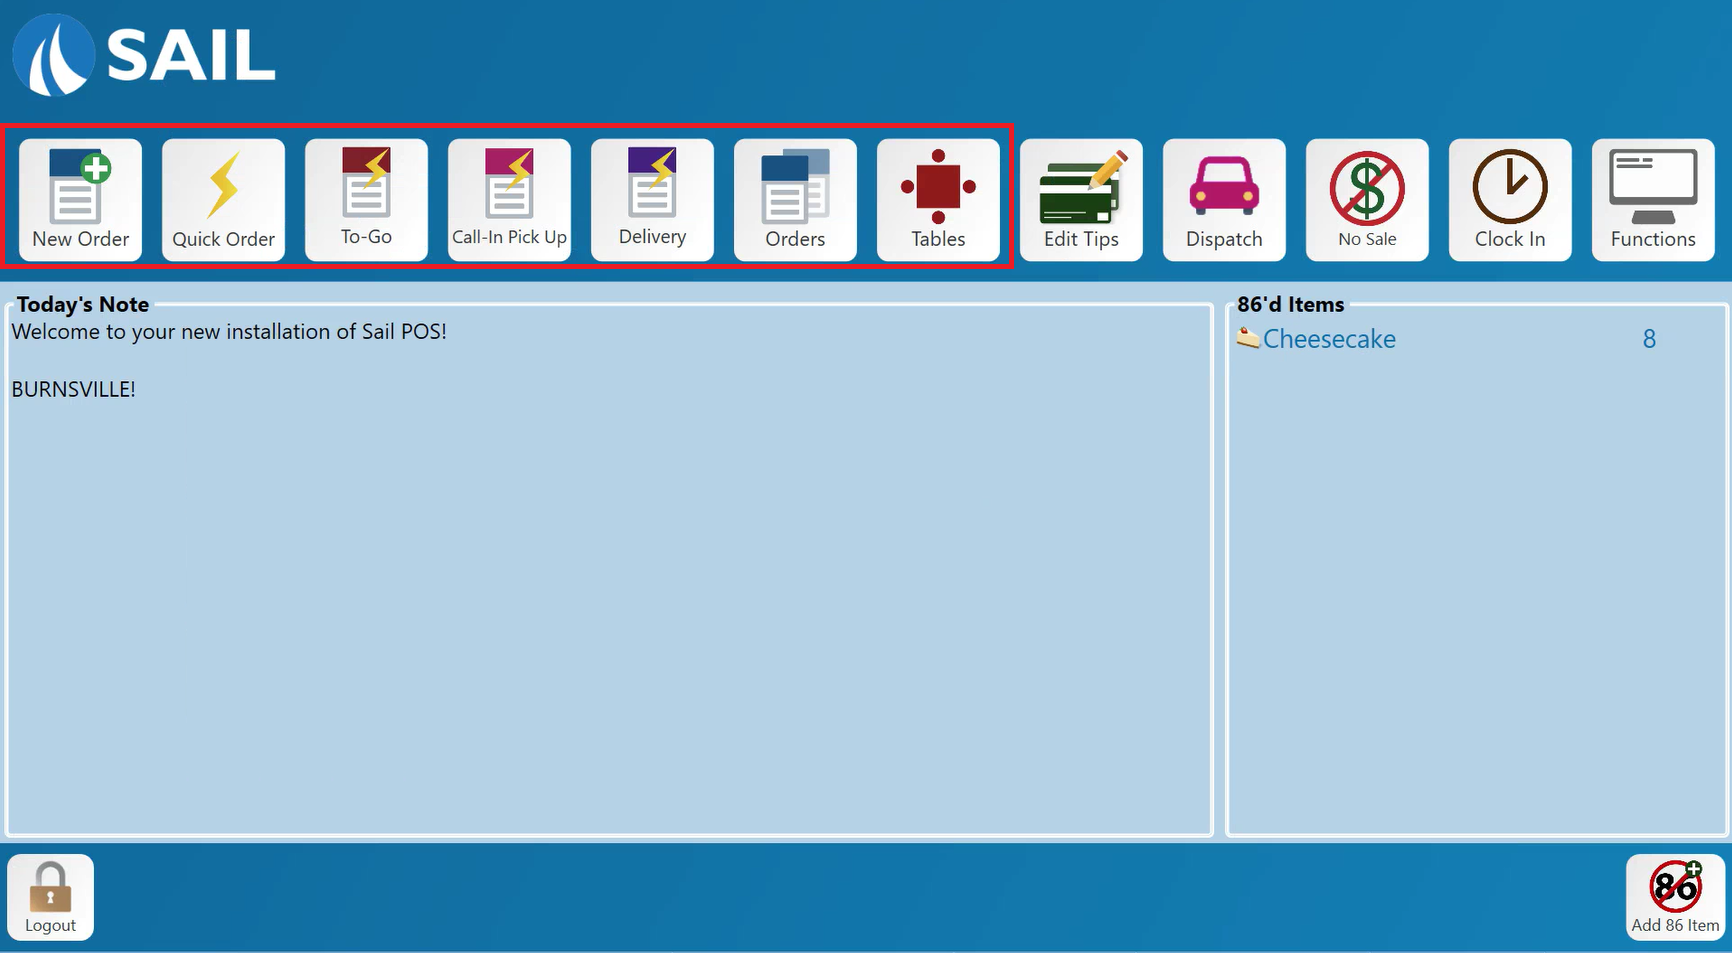
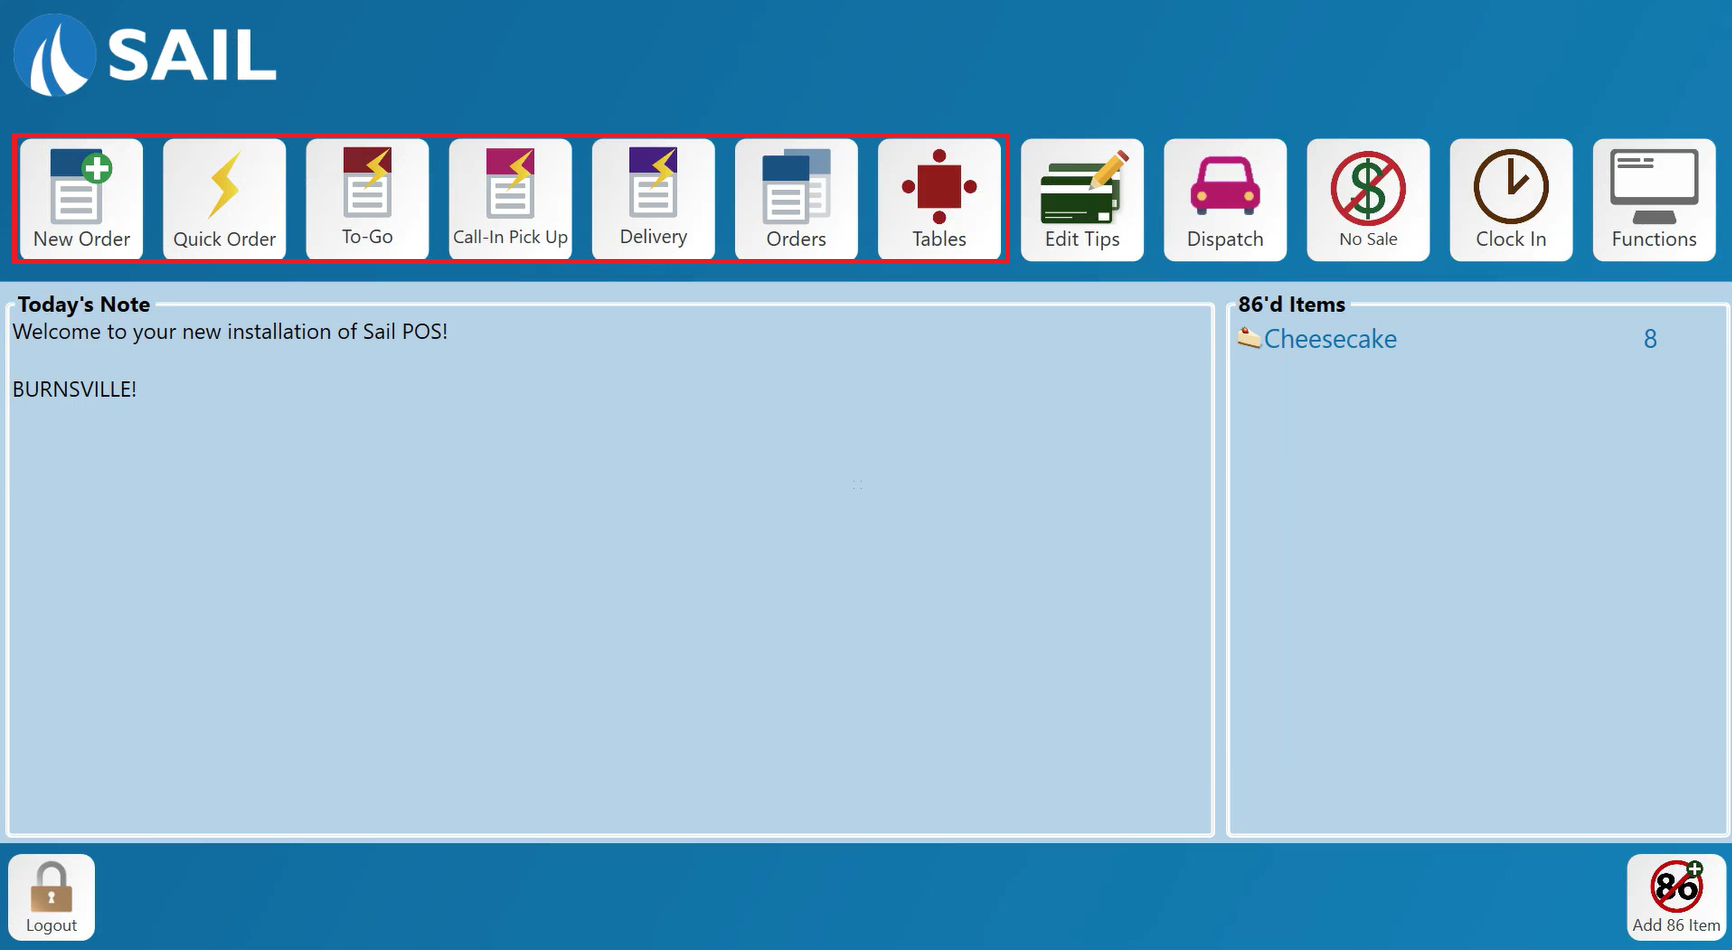
1. Log in to Order Entry
Log in to order entry on any POS station and use the appropriate button to start the check for the event.
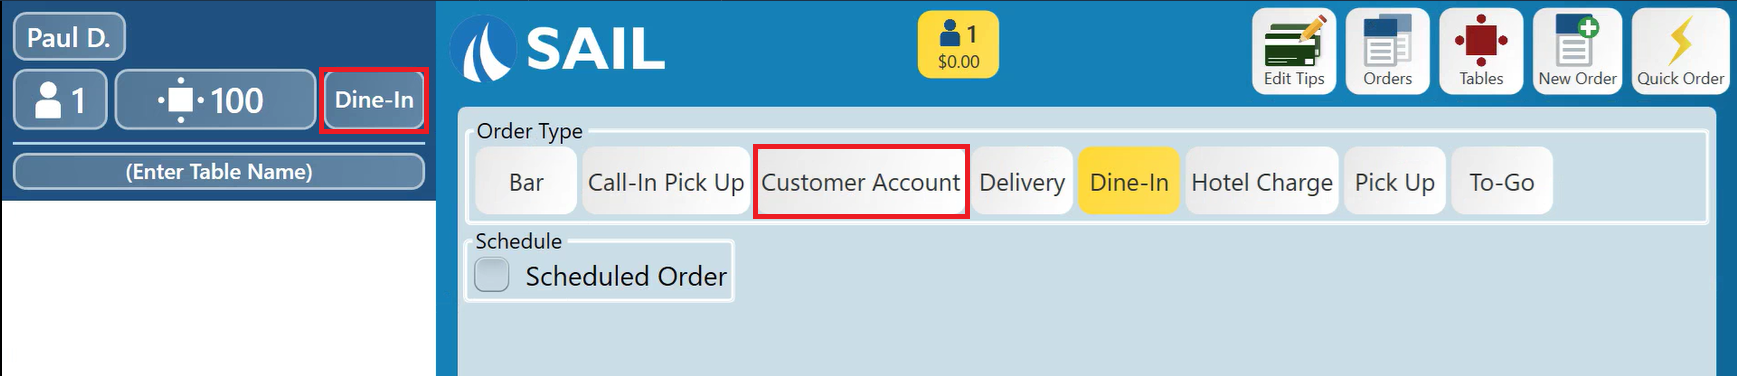
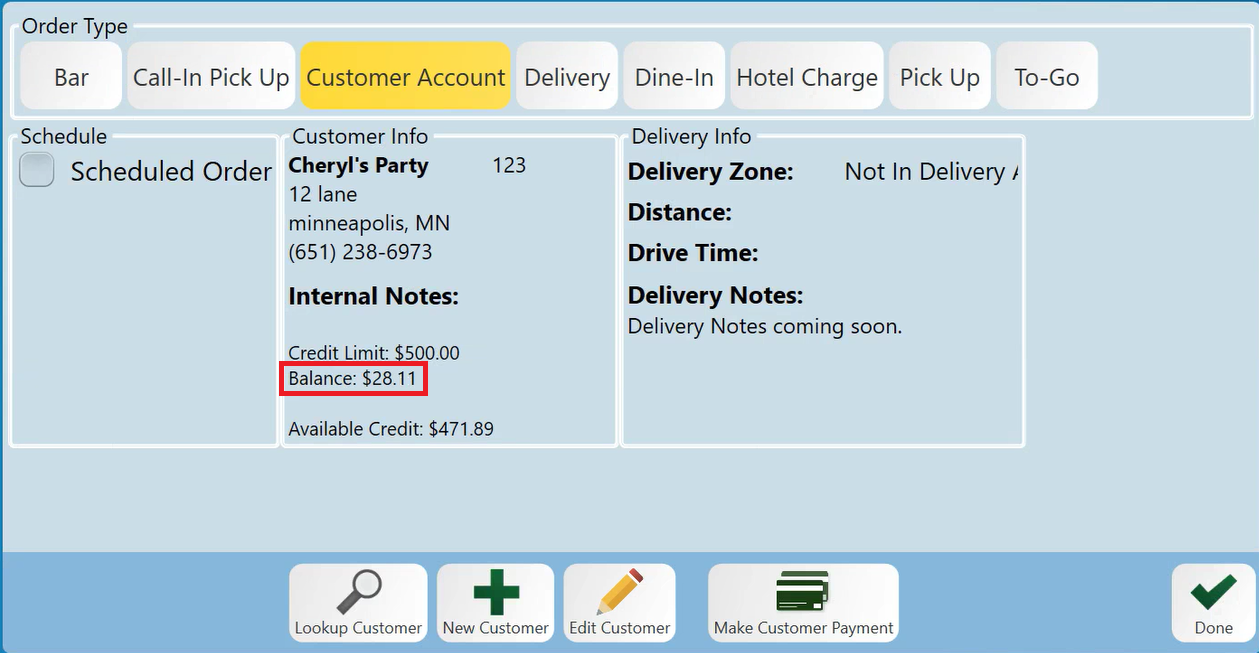
2. Change the Order Type
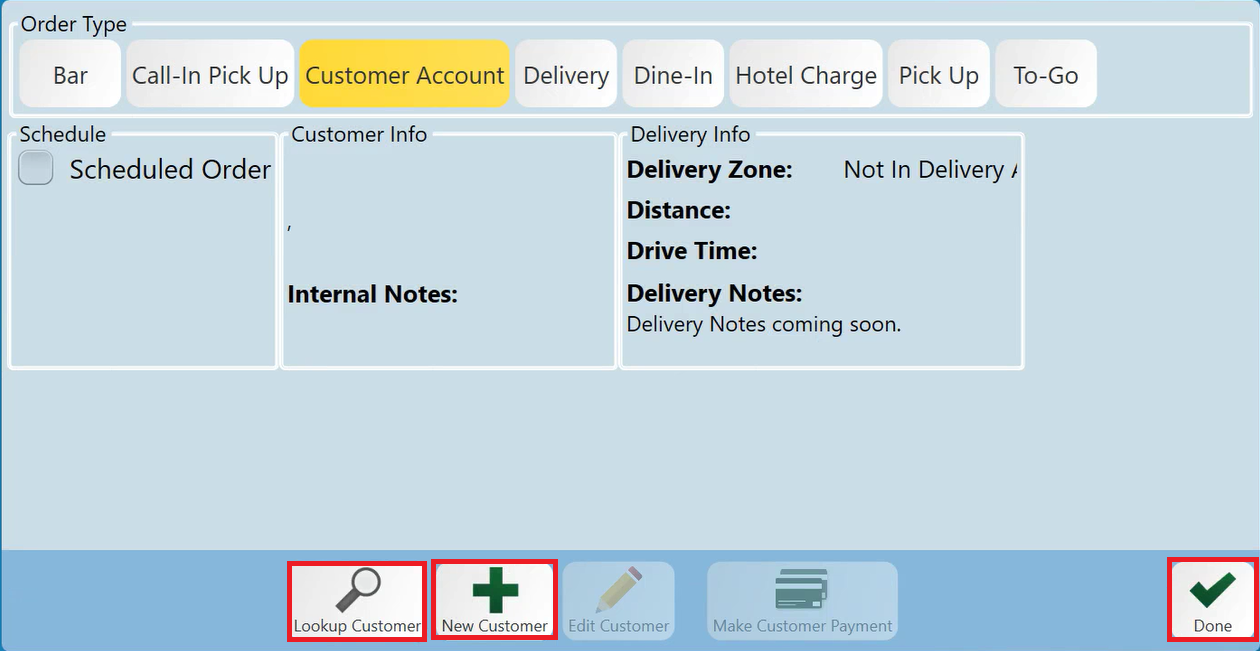
Change the Order Type of the check to Customer Account and look up the customer
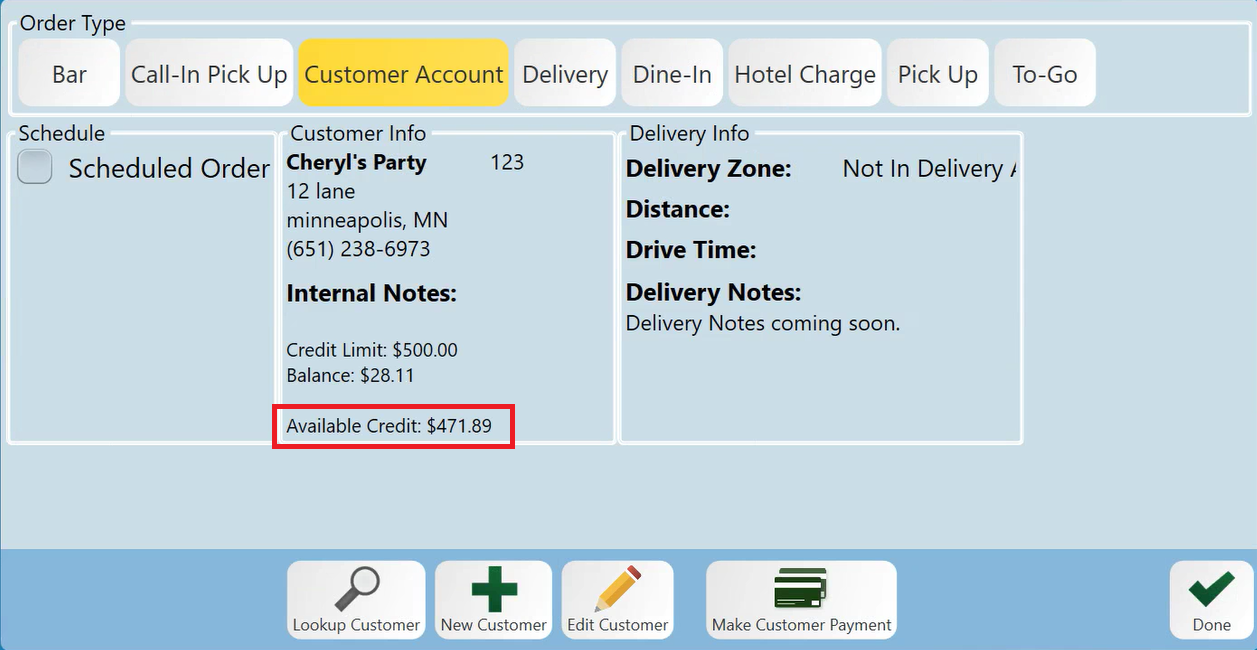
3. Available Credit
Once the customer has been identified, note the Available Credit at the bottom of the window. This shows you the limit that this customer is allowed to put on their account.
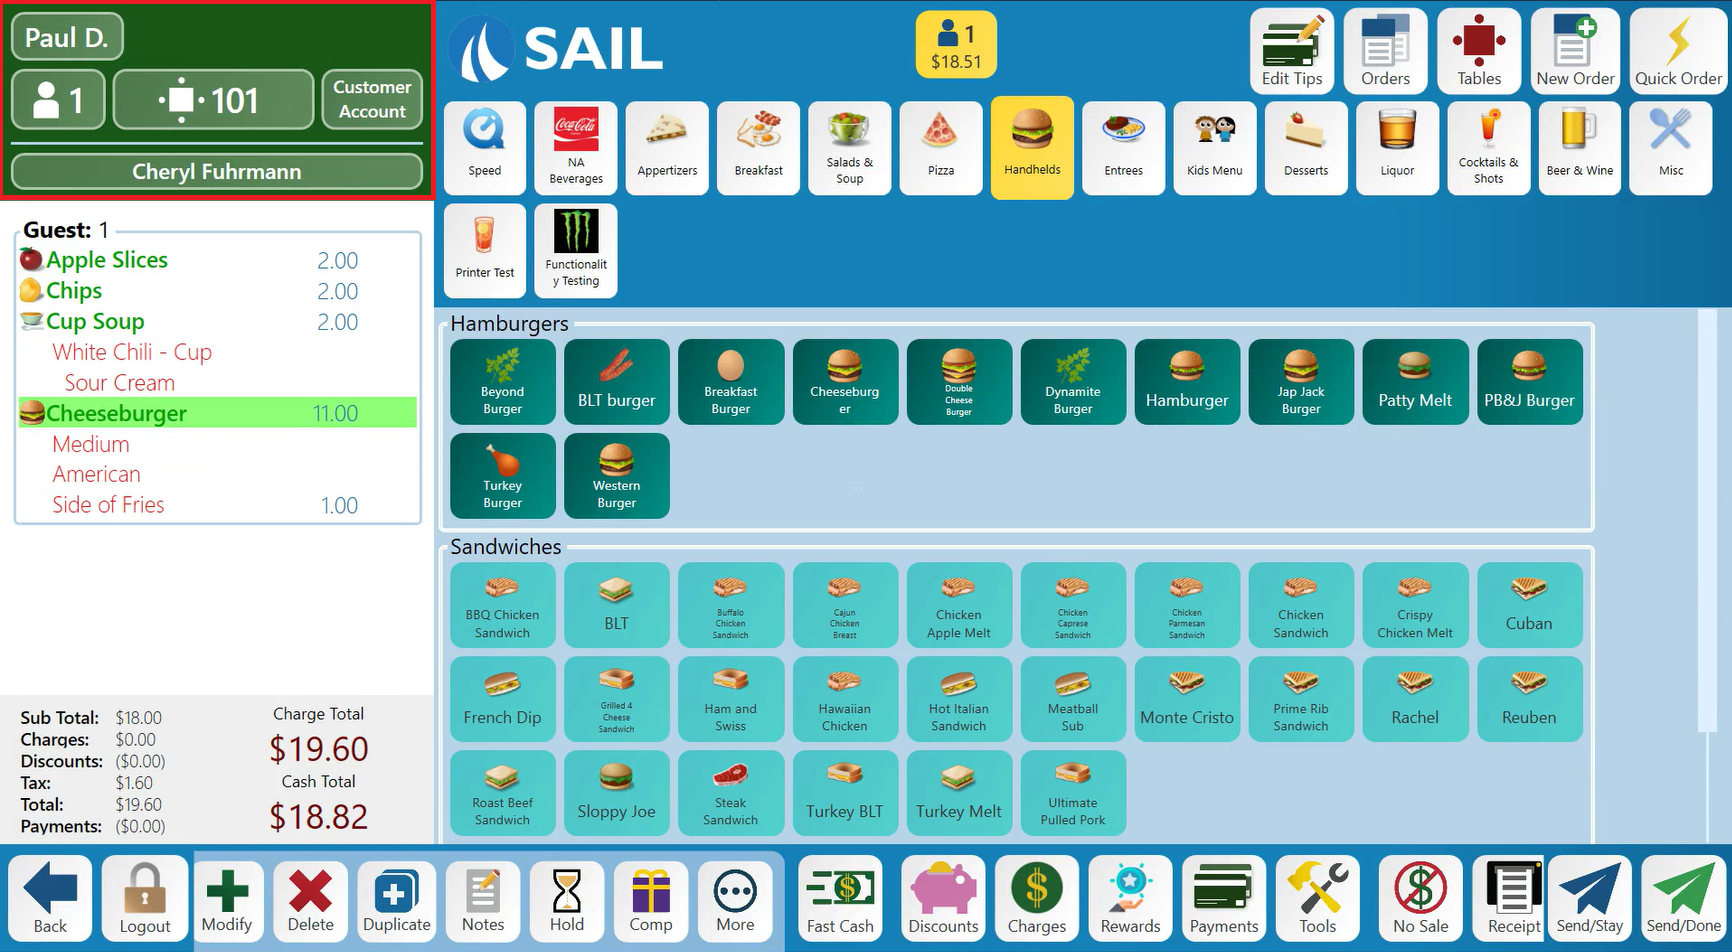
4. Adding Items
After the customer has been attached to the check, and the check header has changed to green, add any items to the check as needed.
5. Closing the Check
When the check is ready to be closed, navigate to Payments, and select Customer Payment.
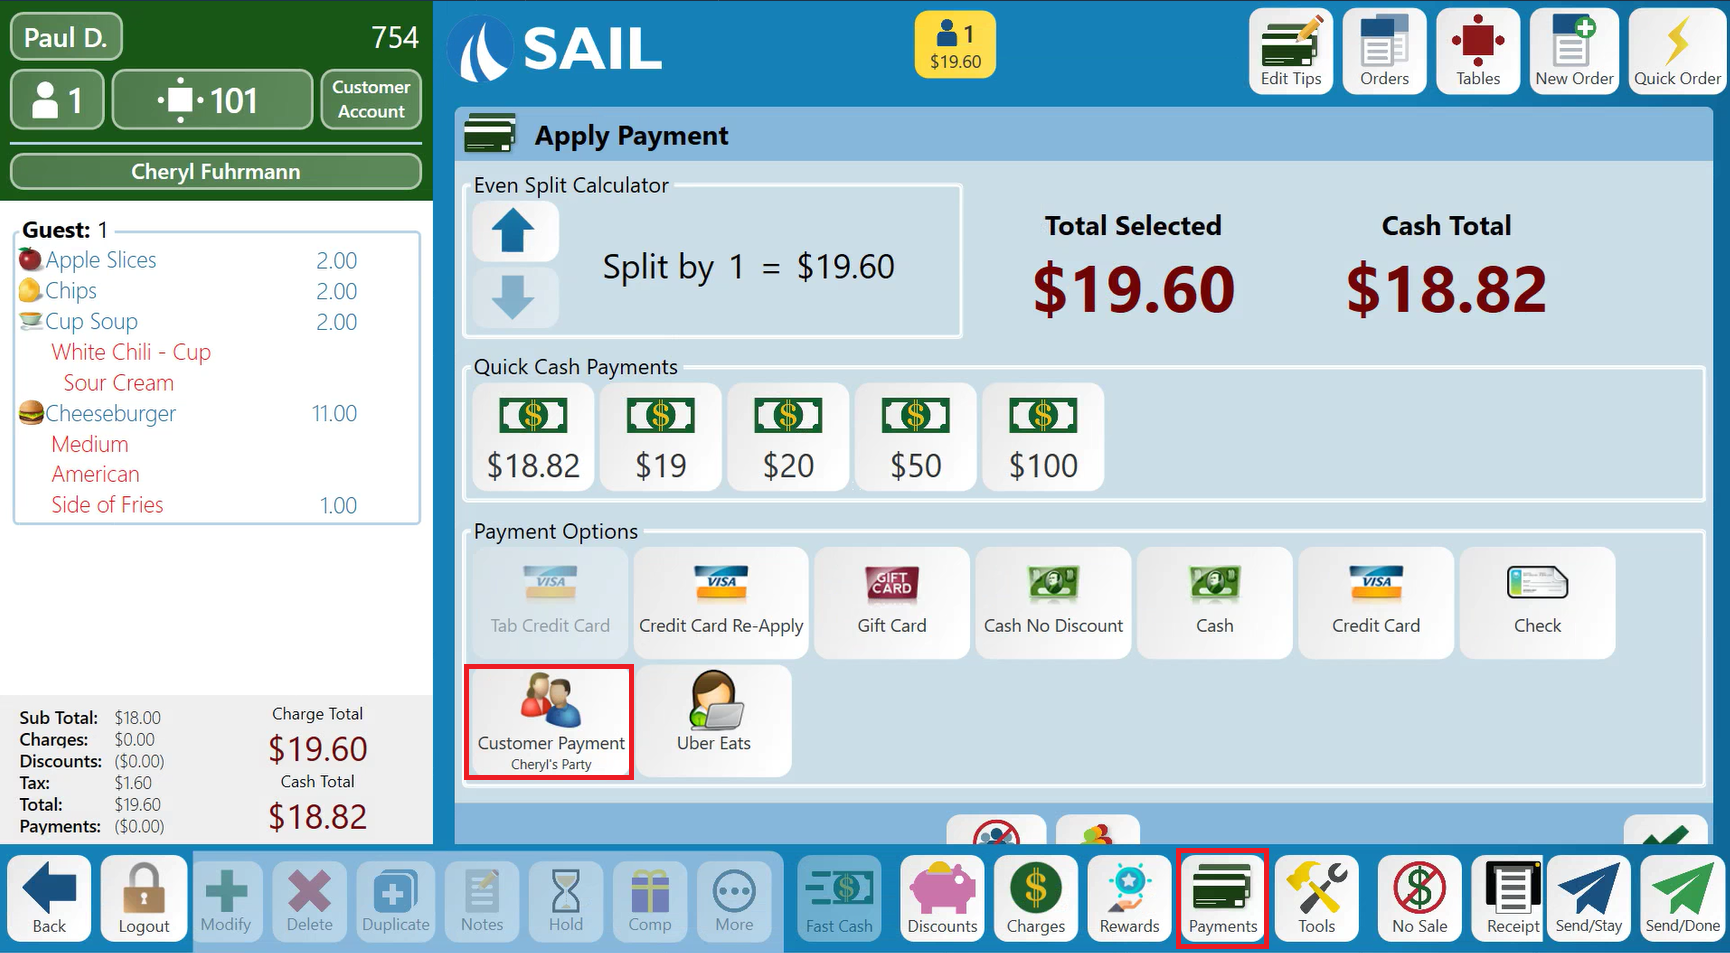
Select the full amount. This will put this transaction on their account to be paid at a later date.
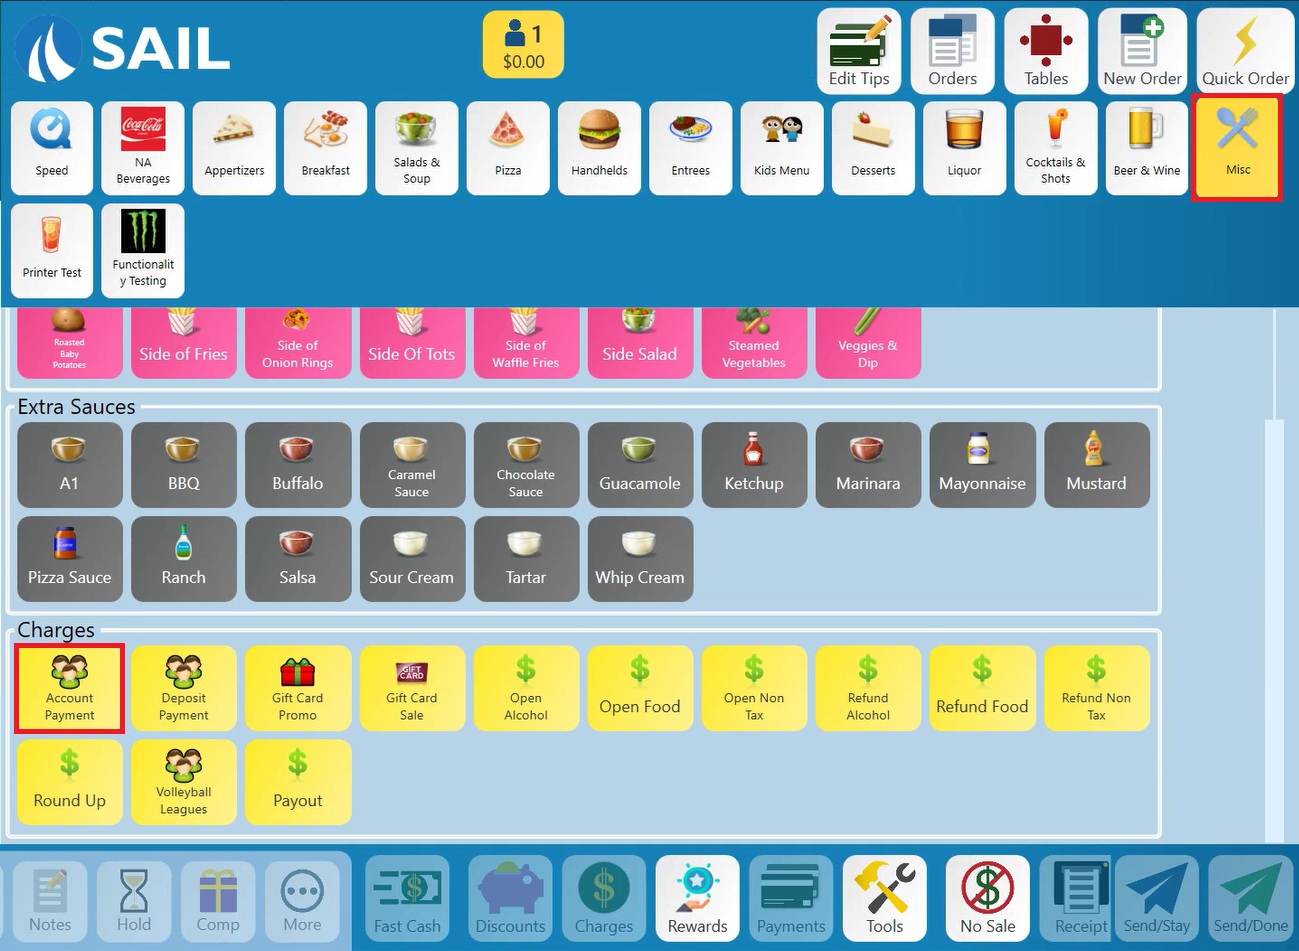
Paying a Customer Invoice
1. Log in to Order Entry
Log in to order entry on any POS station and use the appropriate button to start the check for the event.
2. Change the Order Type
Change the Order Type of the check to Customer Account and look up the customer.
3. Checking Balance
Once the customer has been identified, note the Balance at the bottom of the window. This shows you the amount that the customer owes.
4. Paying the Balance
Enter the amount the customer will be paying towards this invoice.
Close the check to cash or credit card tender types.