
How to edit table layout
This document will detail how to create and edit the table layout on terminals.
Creating a new dining area
This will only be applicable if you are creating a new dining area in your terminal.
-
Open back office and navigate to the POS tab.

-
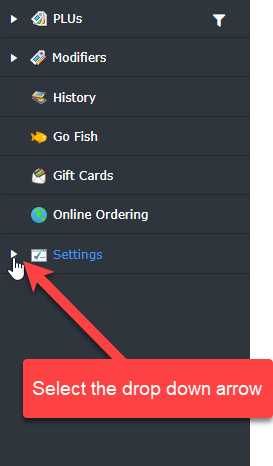
Navigate to the settings.

-
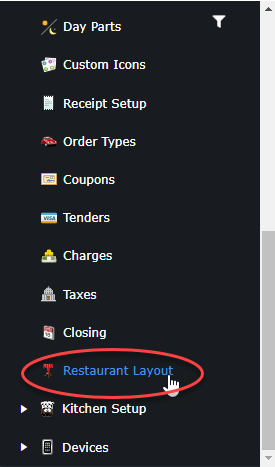
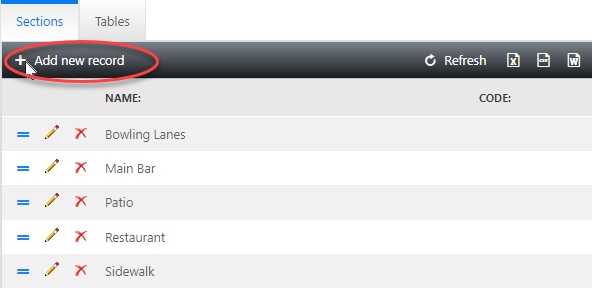
Select restaurant layout near the bottom.
-
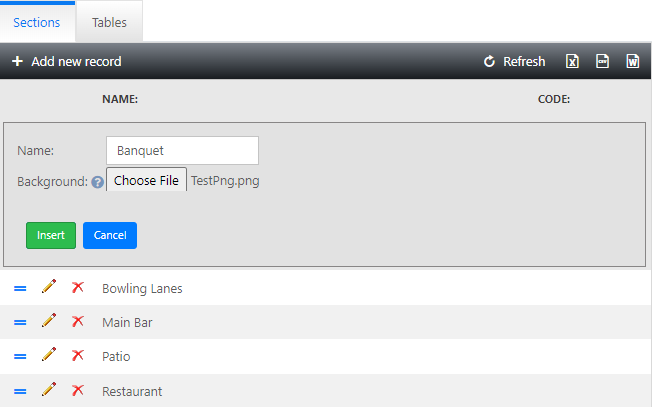
Click plus sign in the upper left corner.

-
Enter name of new dining area.
-
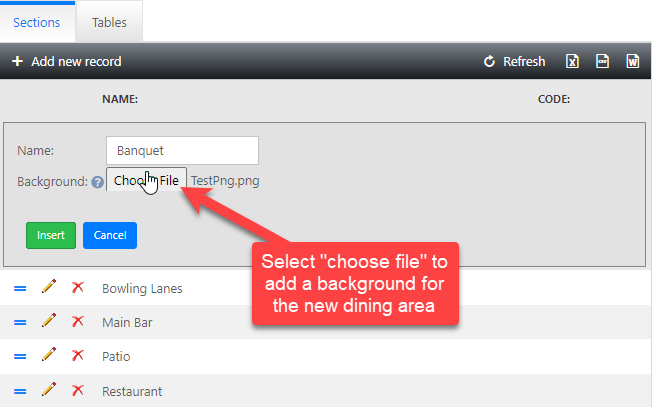
***OPTIONAL*** Select a file to upload. Upload a picture as a background for your new dining area with a resolution of 1366x608 for screens at 1366x768 and1920x920 for screens at 1920x1080.
-
Once finished, press insert.


Accessing table layout
-
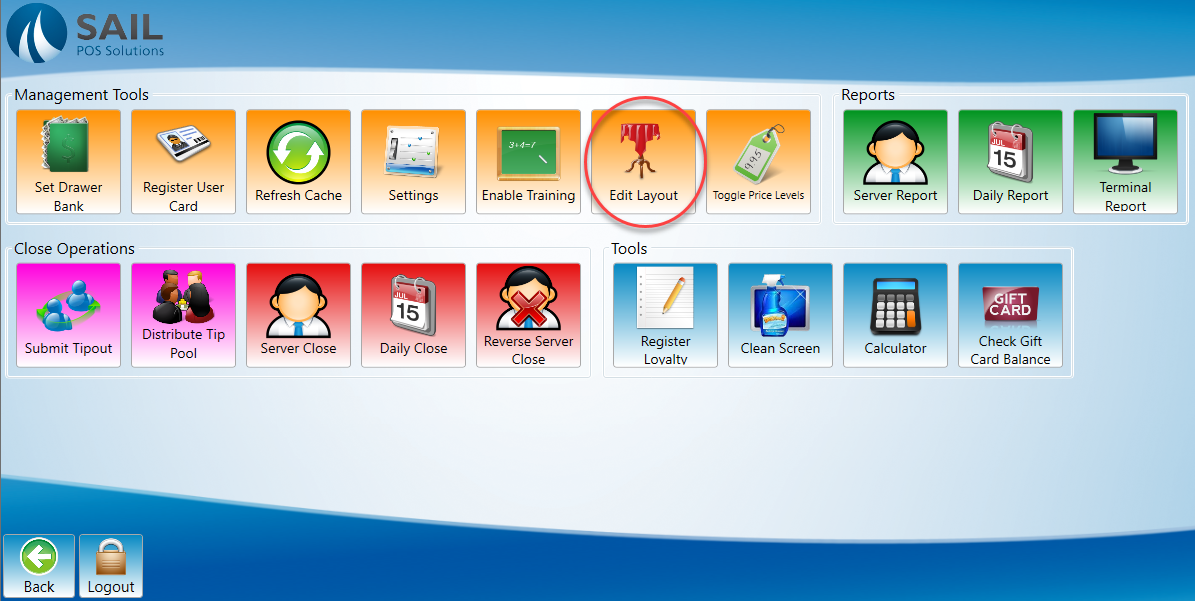
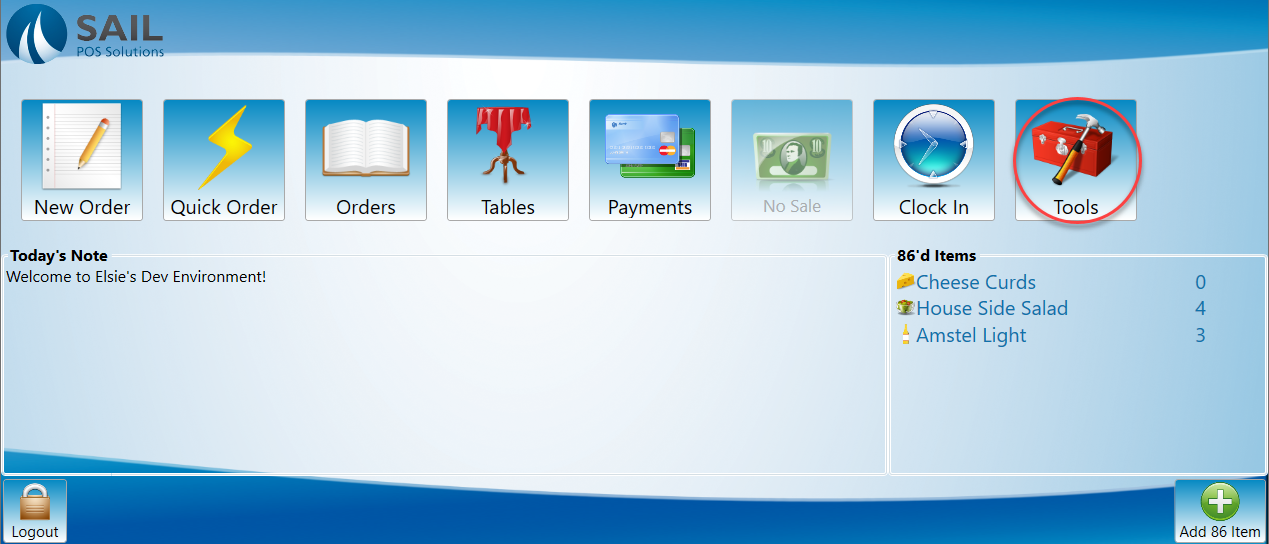
Log into a terminal and navigate to the launch screen then select tools.

-
Select the edit layout button.
-
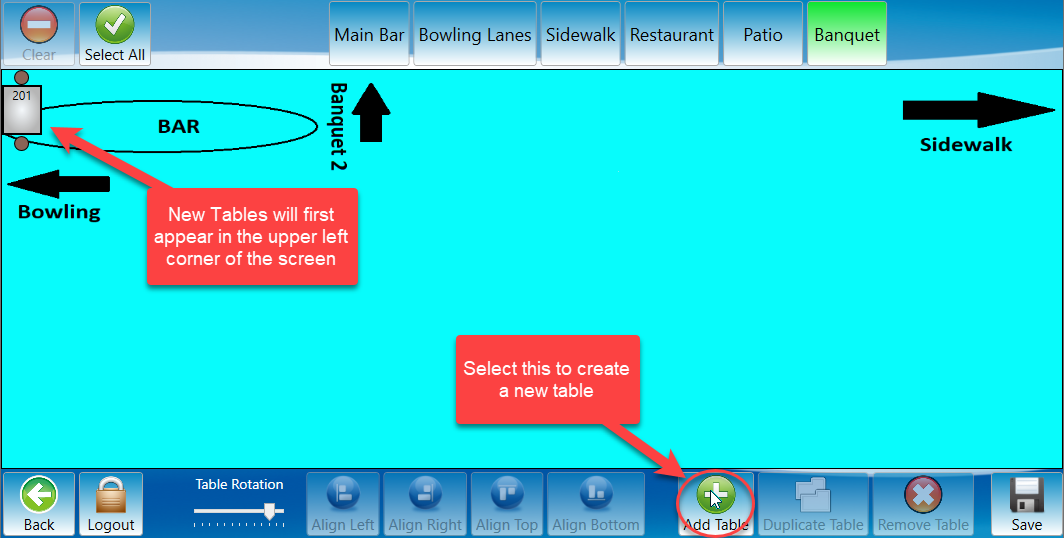
The Screen will then reflect the table view screen with layout editing options at the bottom of the screen.


Making a table
-
Press the green plus sign on the bottom right of the screen.
-
Enter the table number you would like the new table to be.
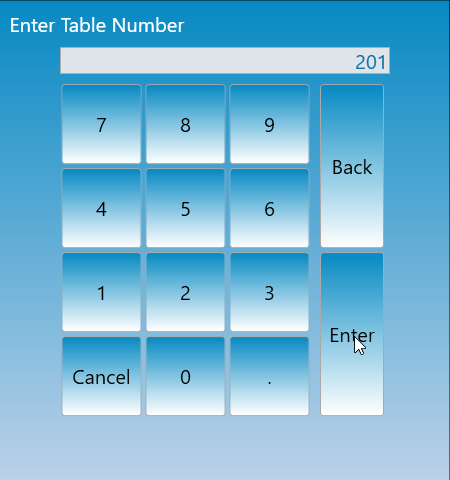
-
The table number should not match any currently existing tables. When an order is entered on a table if there are more than one table with the same number it will confuse the system and not work properly.
-
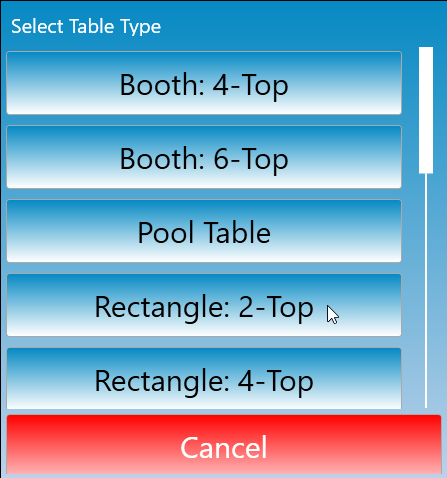
-
Next you will be prompted to select what kind of table you would like to add.
-
Once added the table will appear at the upper left corner of the screen as shown in the first figure in this section under step 1.


Selecting and moving tables
-
To select a table click it once and it will turn green.
-
To select multiple tables click any and all tables you would like to have selected until each is green.
-
To deselect a table click it a second time and the green highlight will go away leaving the standard gray table color.
-
A table may be moved anywhere on the screen by clicking it and dragging it to a new location.
Copying a table
-
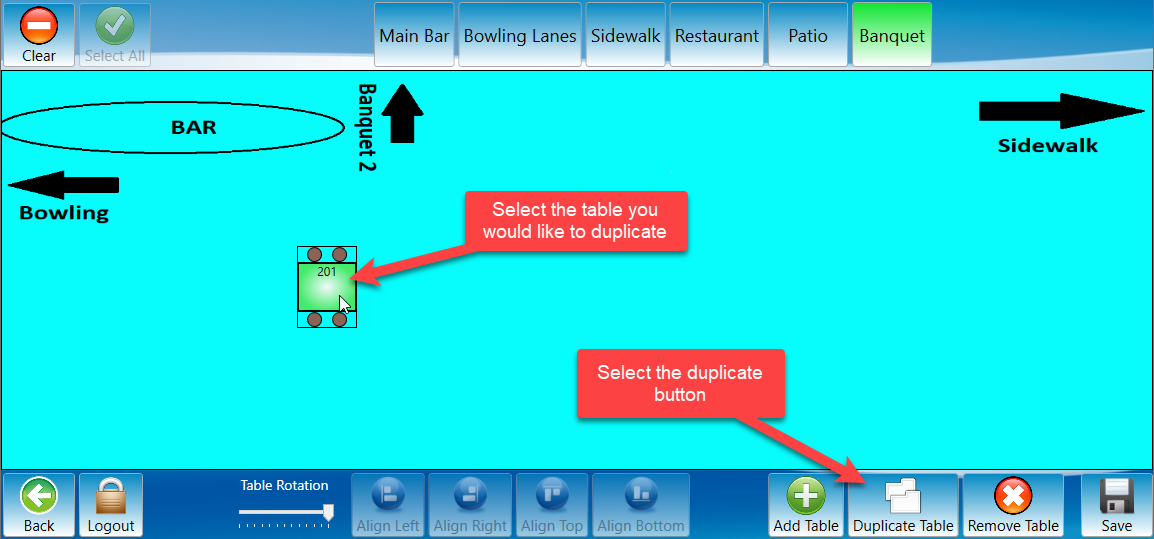
Select the table you would like to copy and click the Duplicate Table button.
-
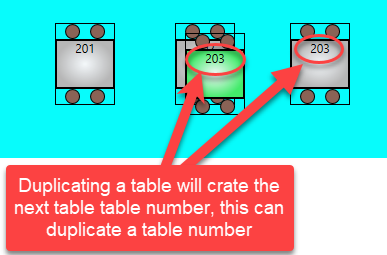
Once duplicated the new table will appear over the original table with the next table number. For example table 201 creates 202 as a copy.

-
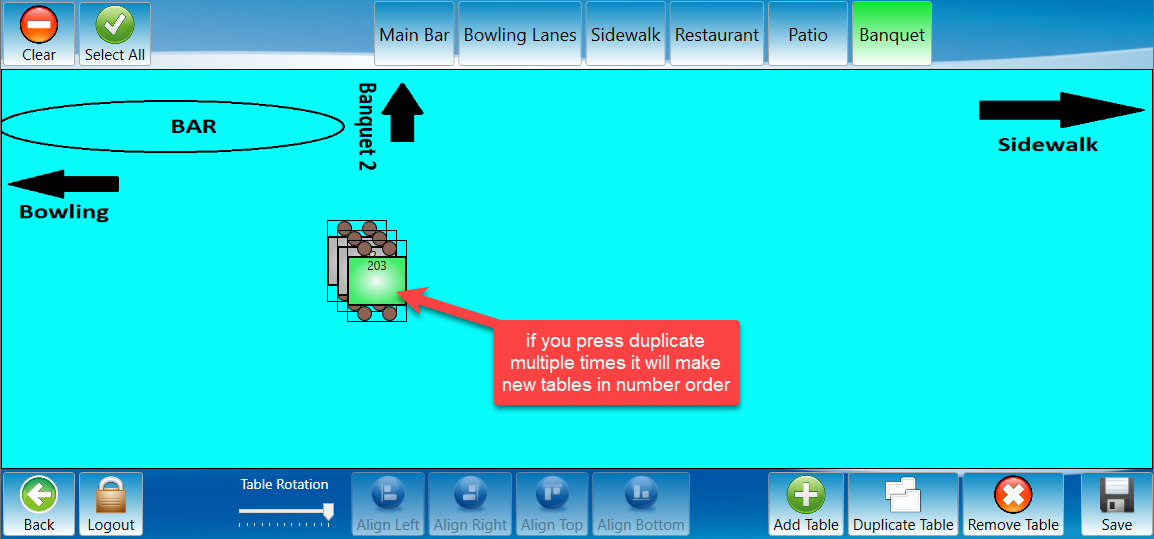
If you select duplicate table it selects the table you created and unselects the table you created it from. If you select duplicate multiple times it will continue to create new tables in number order.
-
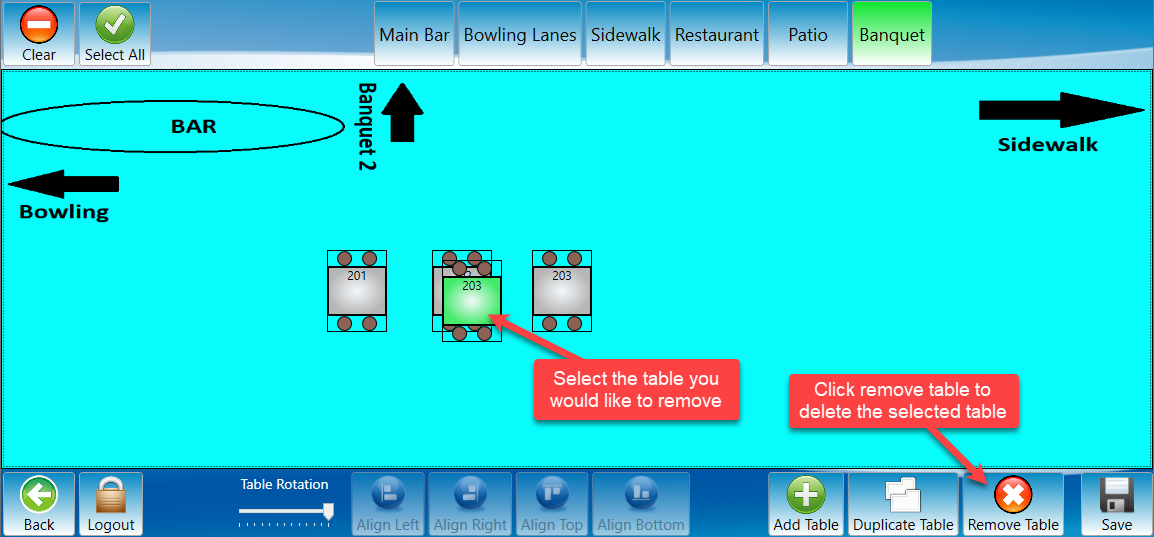
If the next table number is already assigned to another table it will create a table with a conflict that will confuse the system. When you try to add an order to a table that matches another it will not add the order to the correct table in the system.

-
-
A table number cannot be changed. A table that has a number that is already taken must be deleted.


Align and rotating tables
-
You can align the tables automatically with each other by using the buttons across the bottom middle of the screen.
-
Move at least one table to the location you would like to align tables to. Select each table you would like to align then press the align button that matches what direction you would like to align the tables to.
-
The table that is the furthest in the selected direction will always be the table that the other tables align to.
-
The tables will only move to the alignment you selected they will not automatically separate.

-
-
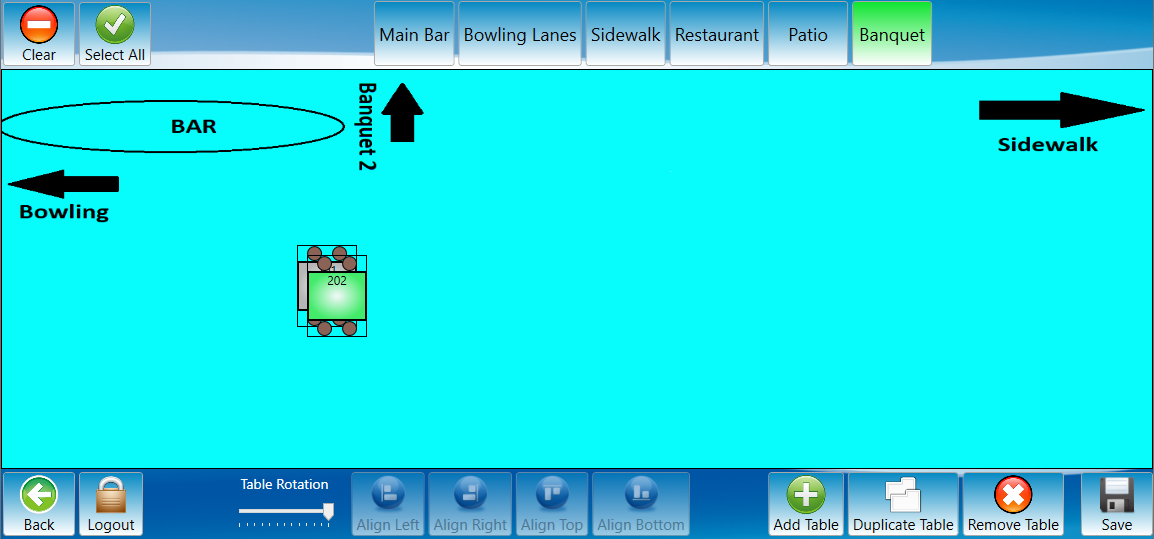
You may rotate a table with the rotation slide bar at the bottom of the screen.
-
Select the table and move the sliding bar at the bottom of the screen left or right until the table is at the desired angle.
-
Once the table is at the desired angle you may move the table without changing the angle.
-
If you make a copy of a table that has been angled the new table will be at the same angle as the existing table.
-
You may rotate multiple tables at the same time by selecting more than one before rotating them.
-
When rotating multiple tables they will automatically align to the same angle and rotate together.
-