
Updating Your INGAGE Website
Introduction
This guide will teach you how to update your INGAGE website.
Getting Started
Step 1 - Receive Email
When your website is created, you will need to notify INGAGE of the person(s) who will be editors of your website. We will then send the individual users an email that will give them access.
NOTE: Please be sure to check your Spam/Junk folder if you do not receive the email in your primary inbox.
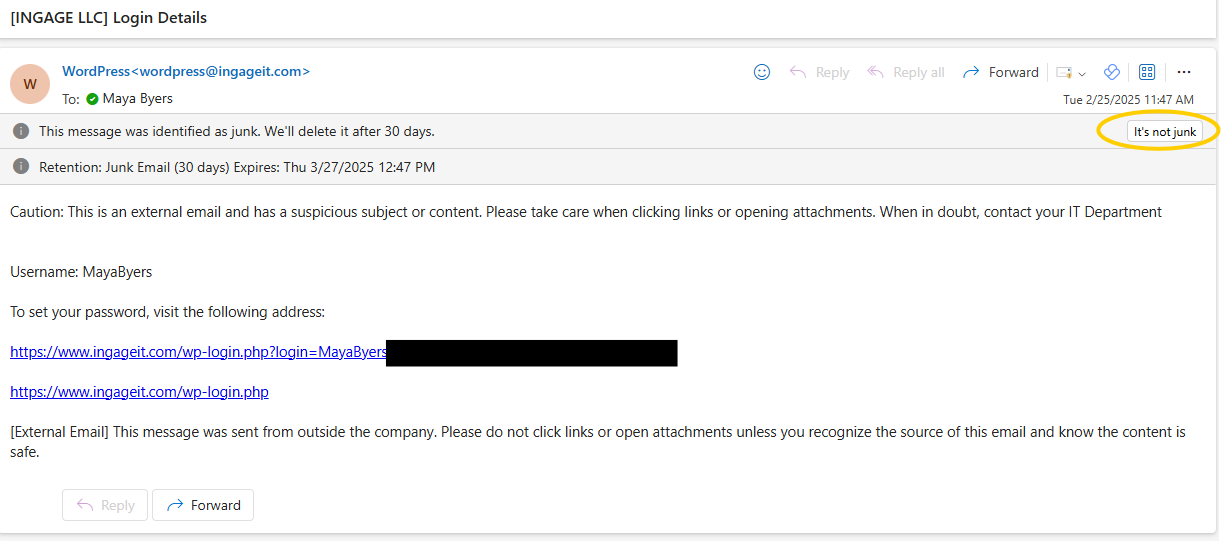
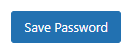
Once you receive the email, set your password using the link provided in the email. You can choose to have a password be generated for you or create your own. When complete, click "Save Password":
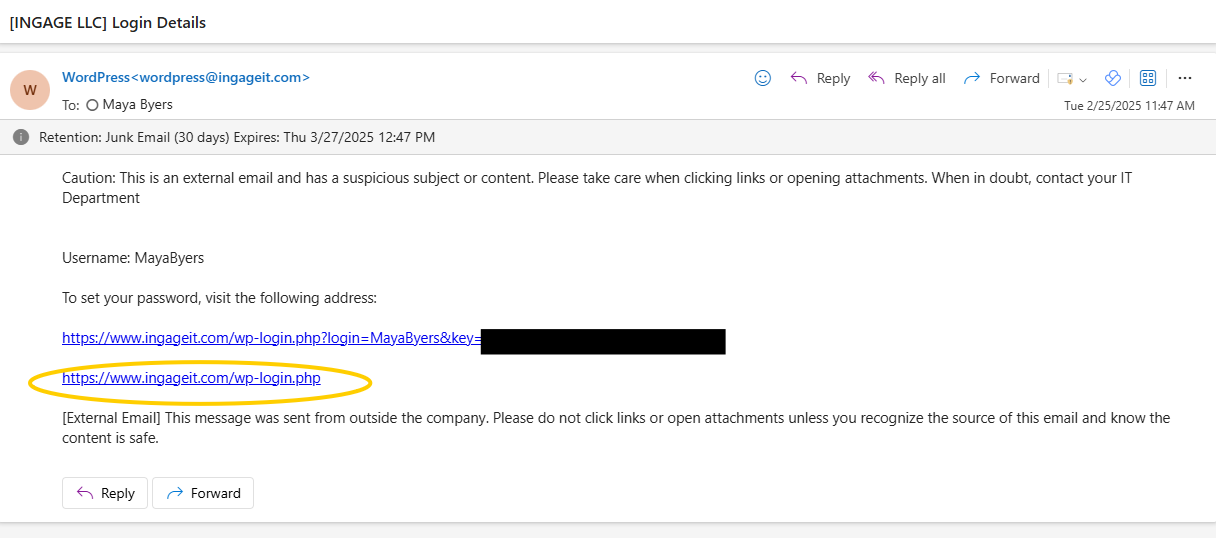
Step 2 - Click on Second Link to Access Website Control Panel
Return to the login details email and click on the second link to access the website control panel:
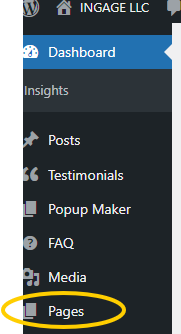
Step 3 - Access Pages
To select the webpage you would like to edit, click on "Pages" from the lefthand menu:
Hover over the page you want to edit and select "Edit with Divi":

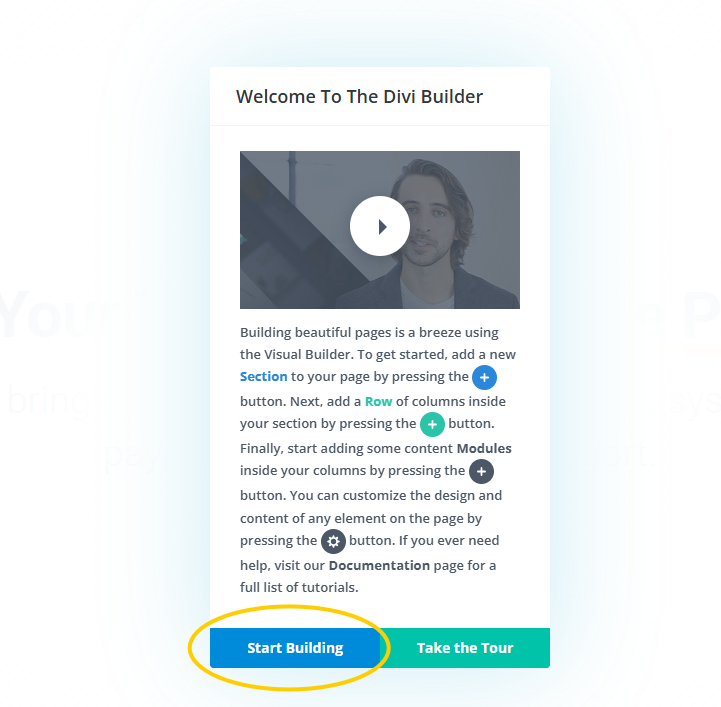
If you receive this message, you can click on "Start Building":
Editing Your Site
Step 4 - Making Desired Changes/Edits
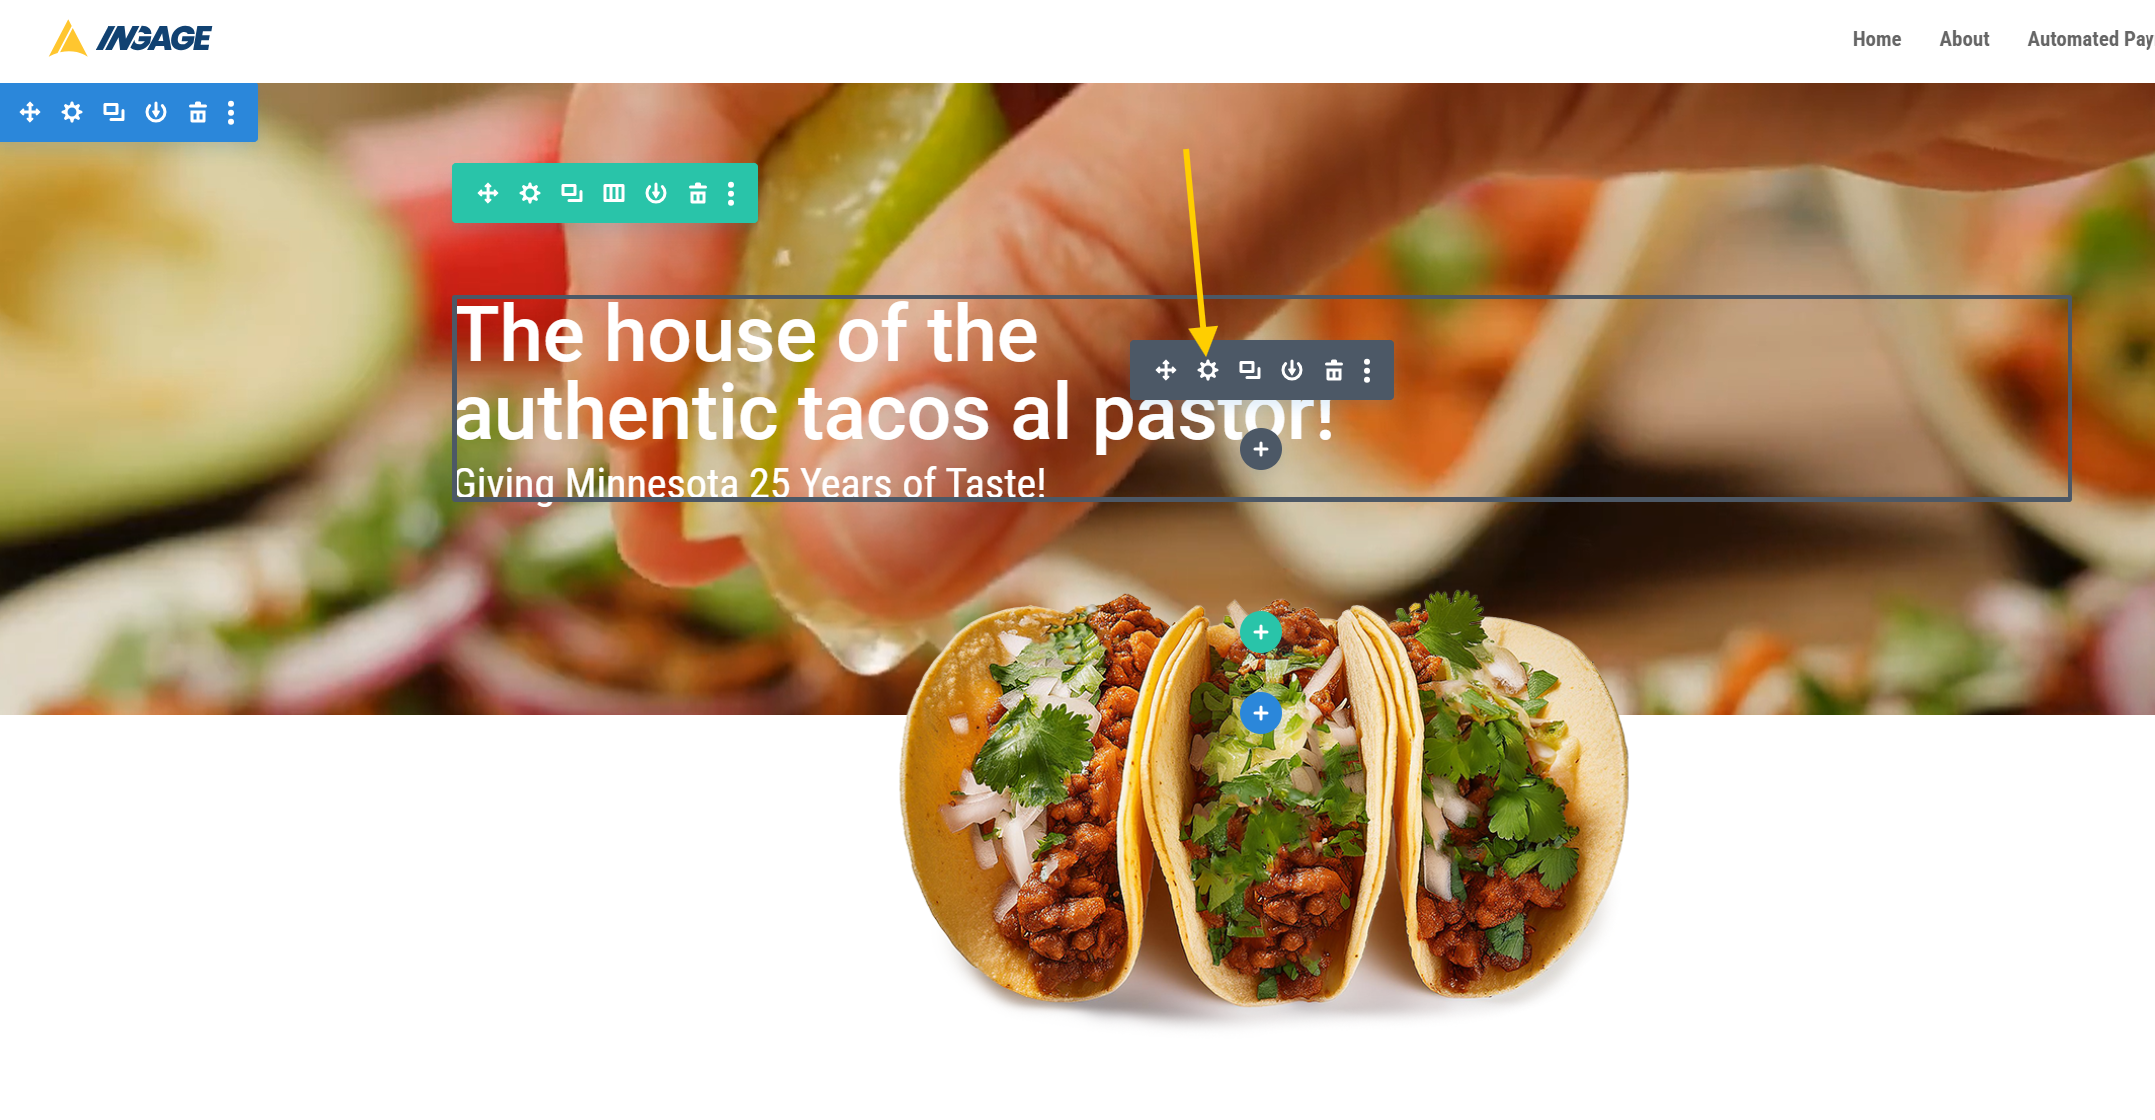
To edit text, hover over the text module, represented by a gray outlined box and click on the gear icon:
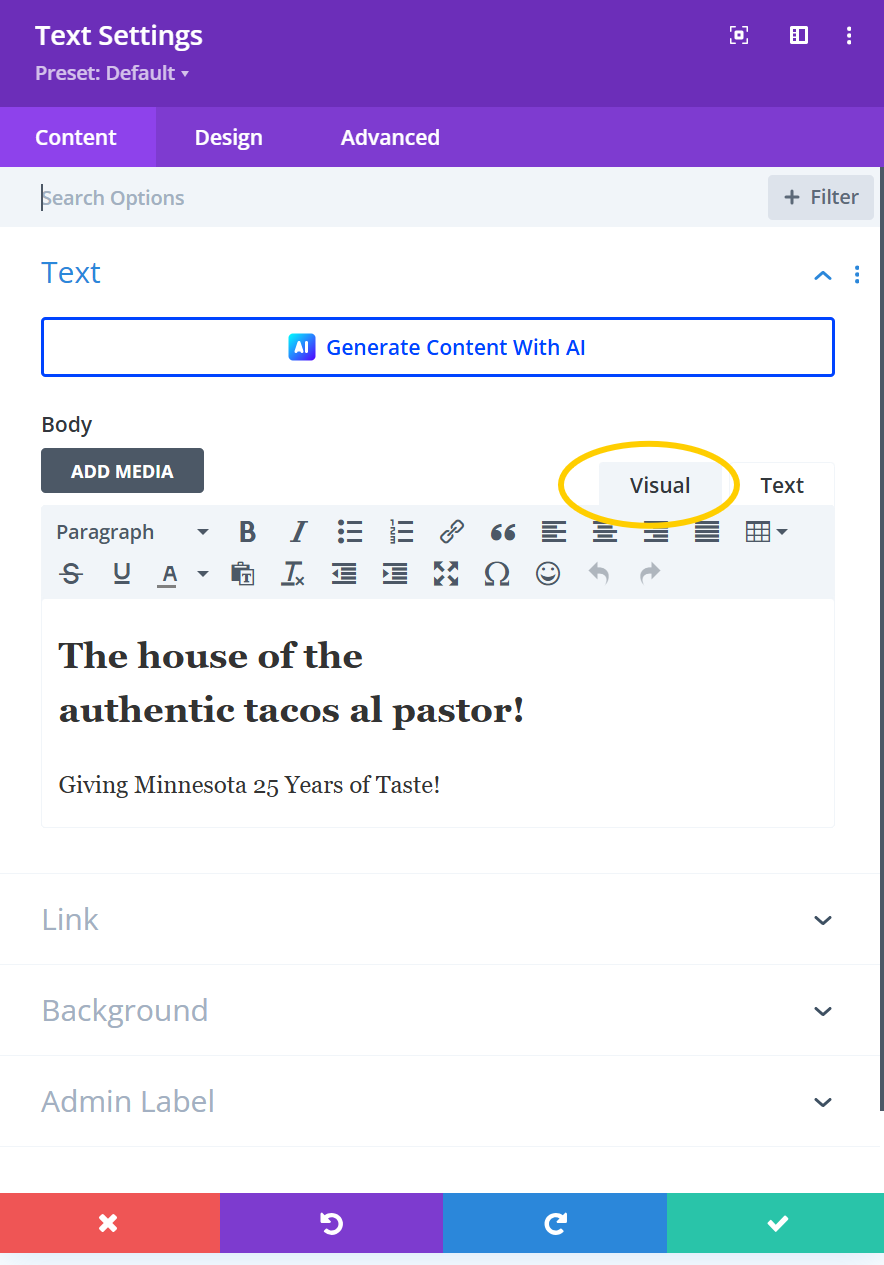
An editing pop-up will appear on the righthand side:

Make your desired edits in the visual editor:
After making your changes, select the green box in the lower righthand corner to save your changes:
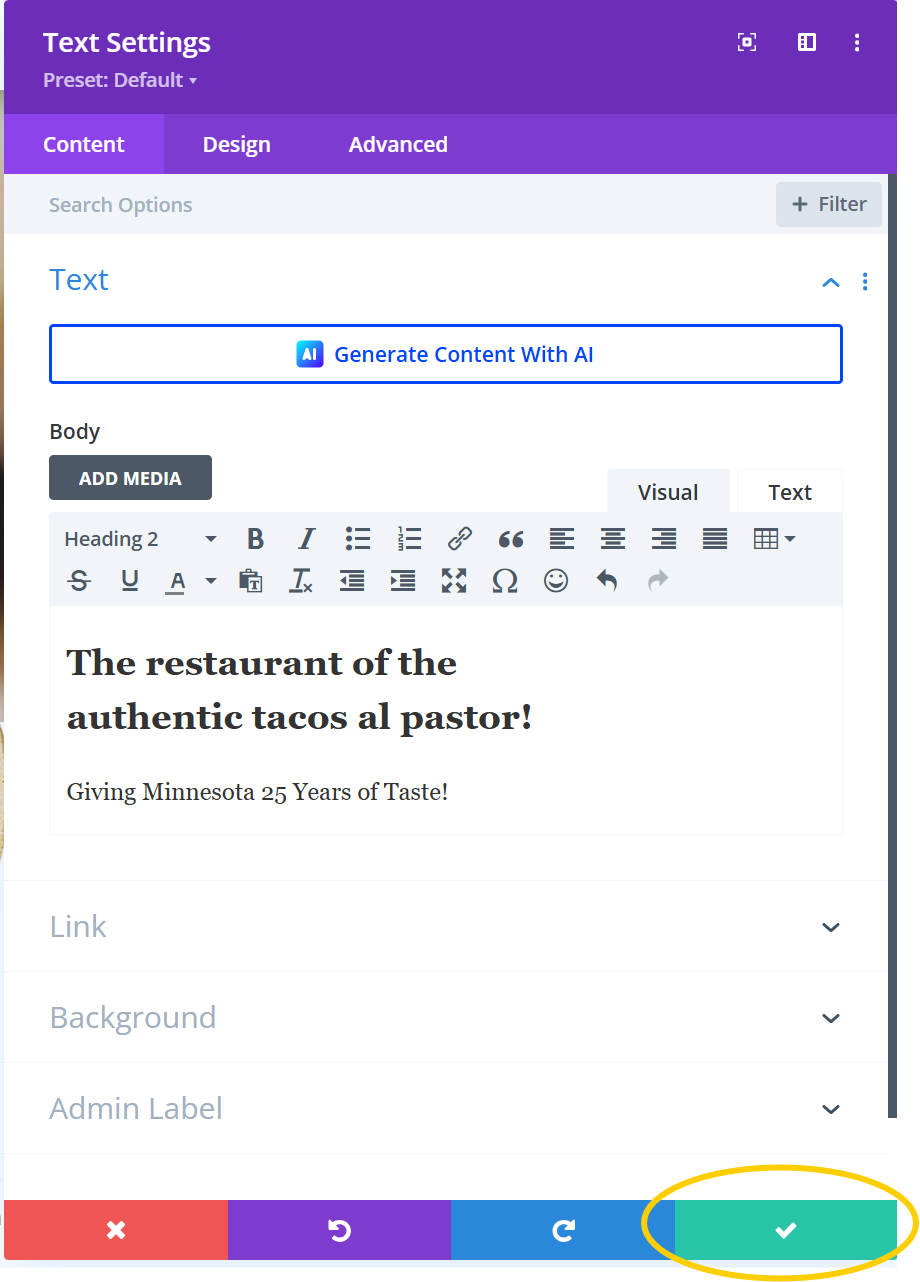
NOTE: The red box will undo all of your changes. The purple box will undo a single change. The blue box will restore a single change.
Step 5 - Making Color Changes
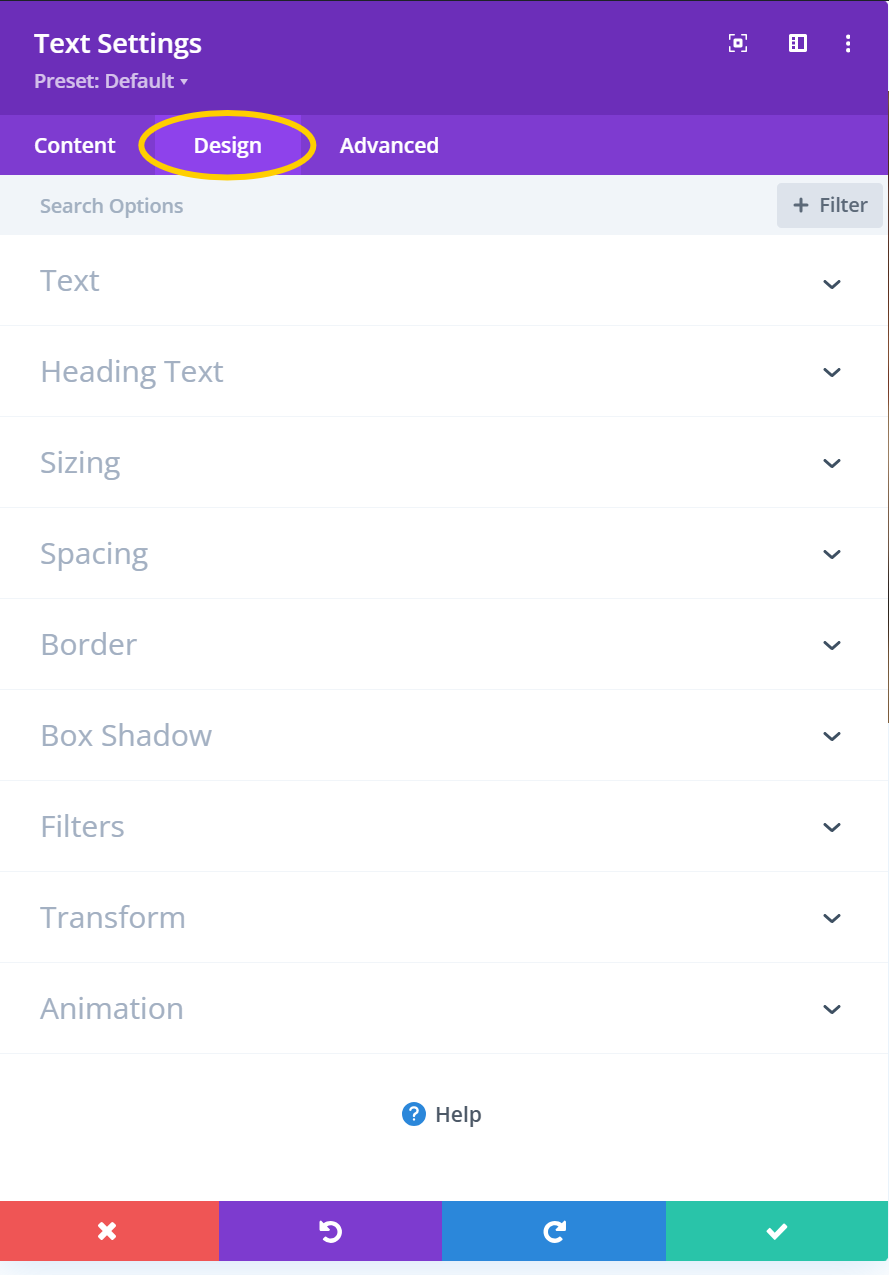
To make color changes, choose the "Design" tab:
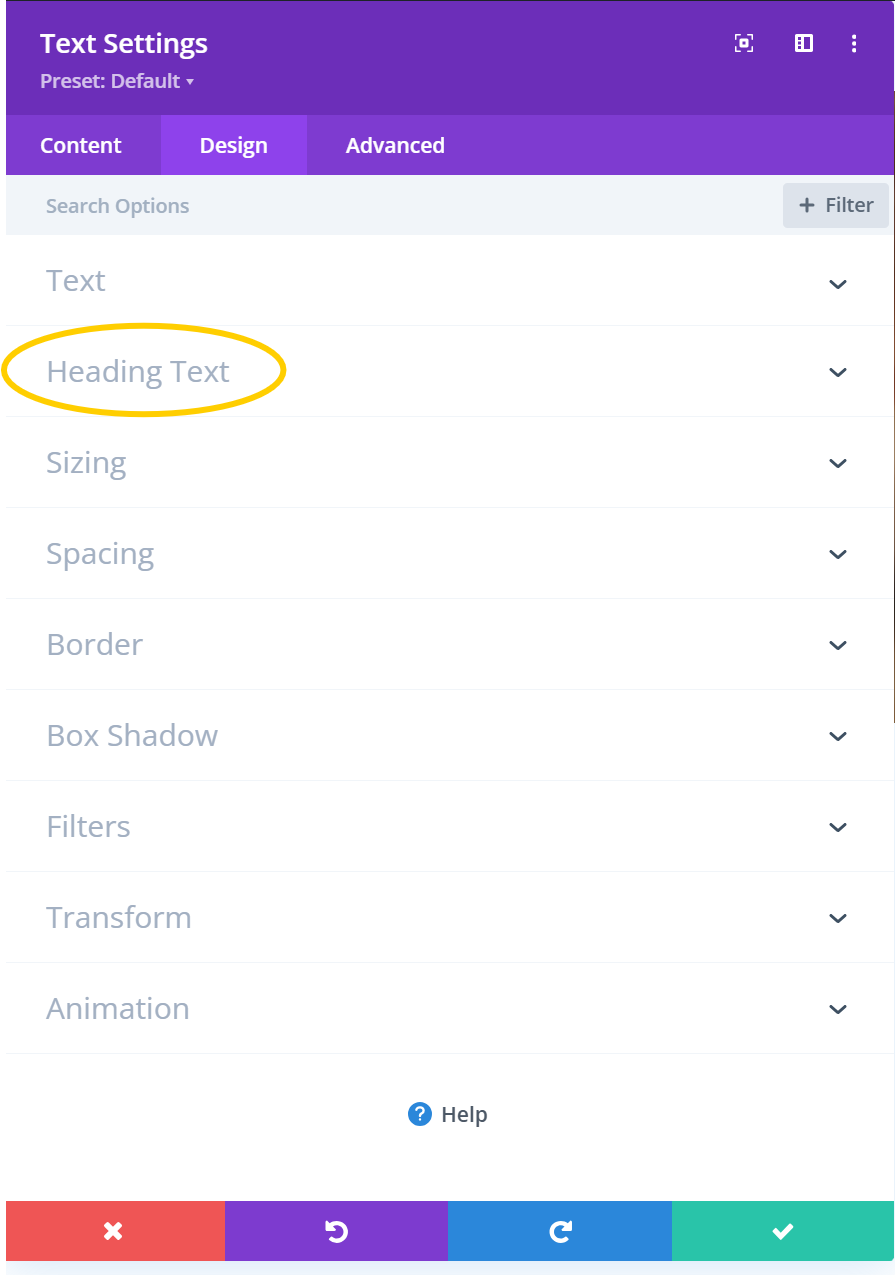
From there, select the appropriate dropdown. In this example, we are going to change the heading text color, so we will click on "Heading Text":
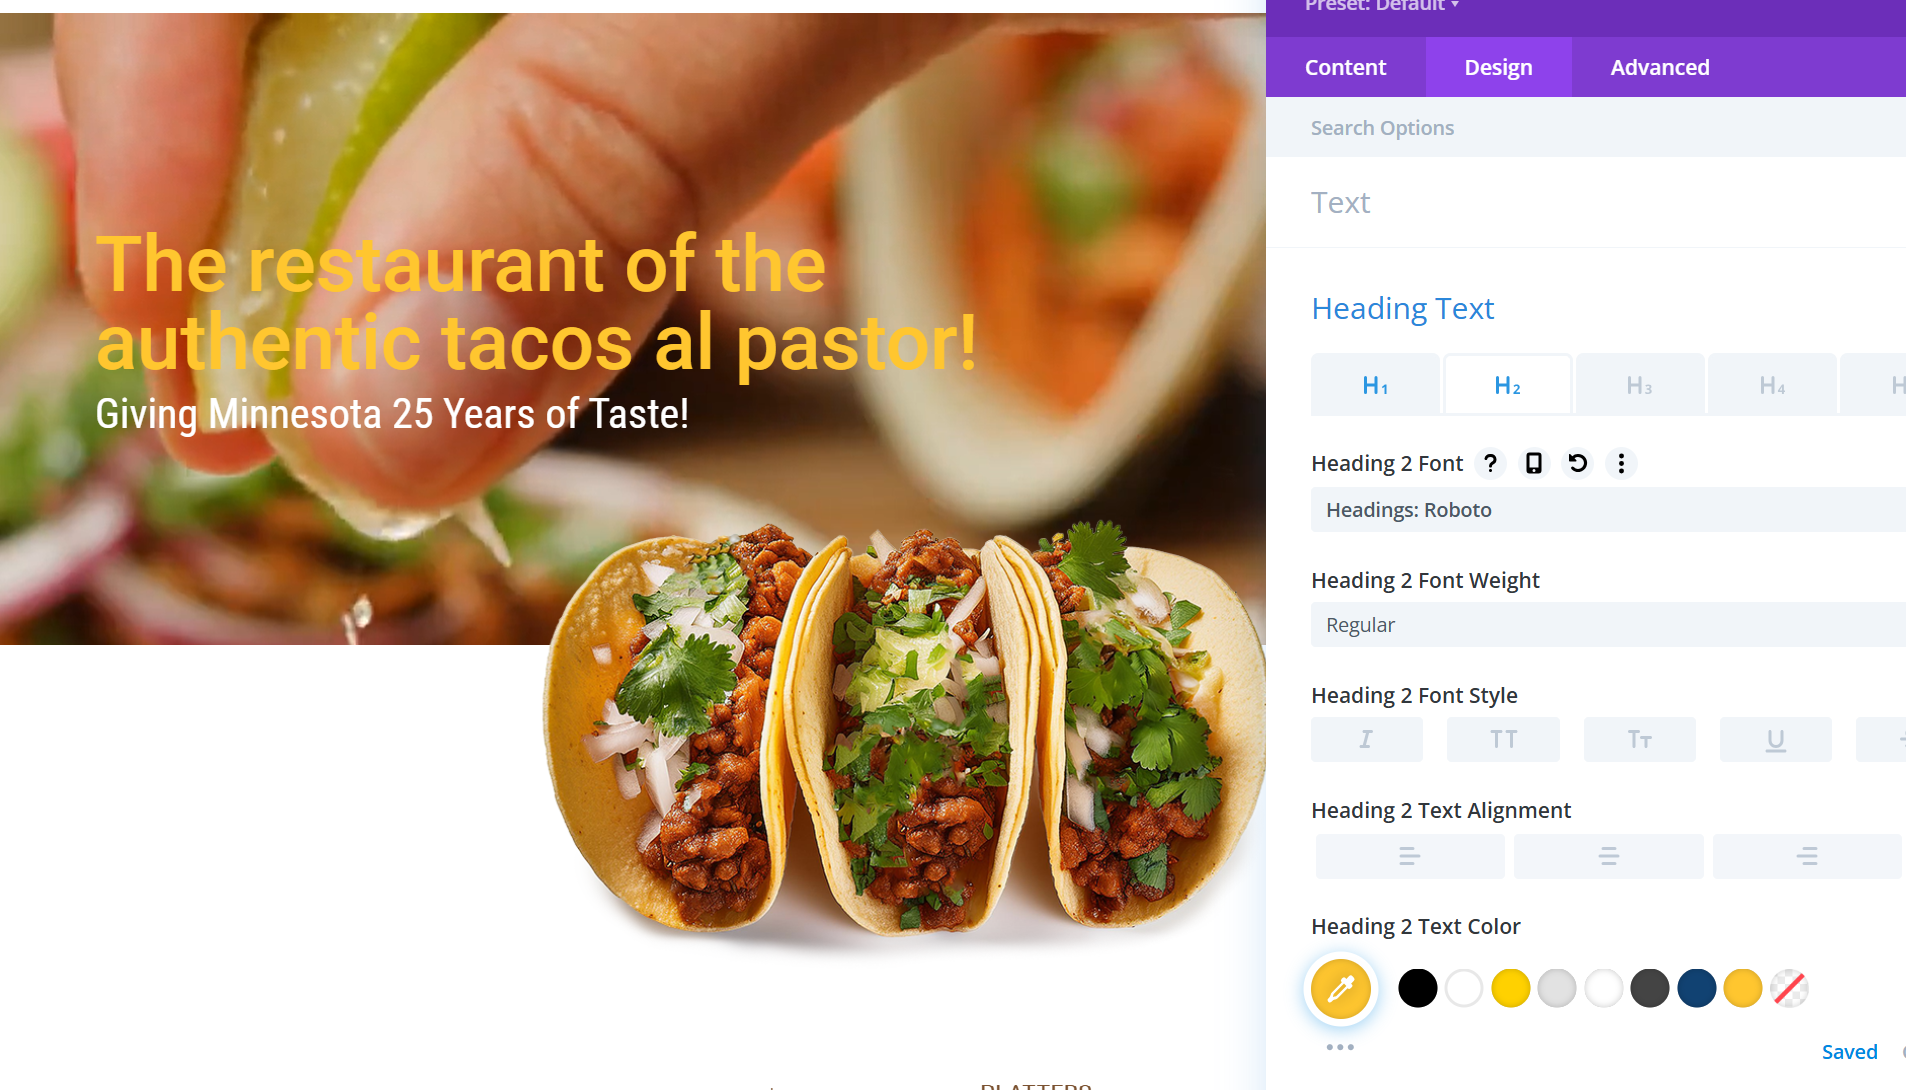
Then choose the header tag appropriate to the header you wish to edit. If you are not sure which header is which, hovering over the header tag with your mouse will make a blue box appear around the area:

To change the heading color, you can use one of the pre-selected colors designed to match your brand, or create your own using the dropper under "Heading Text Color".
In this example, we changed the color to yellow:
NOTE: When completed, do not forget to hit the green box in the lower righthand corner to save your changes.
Step 6 - Making a Food Menu Change
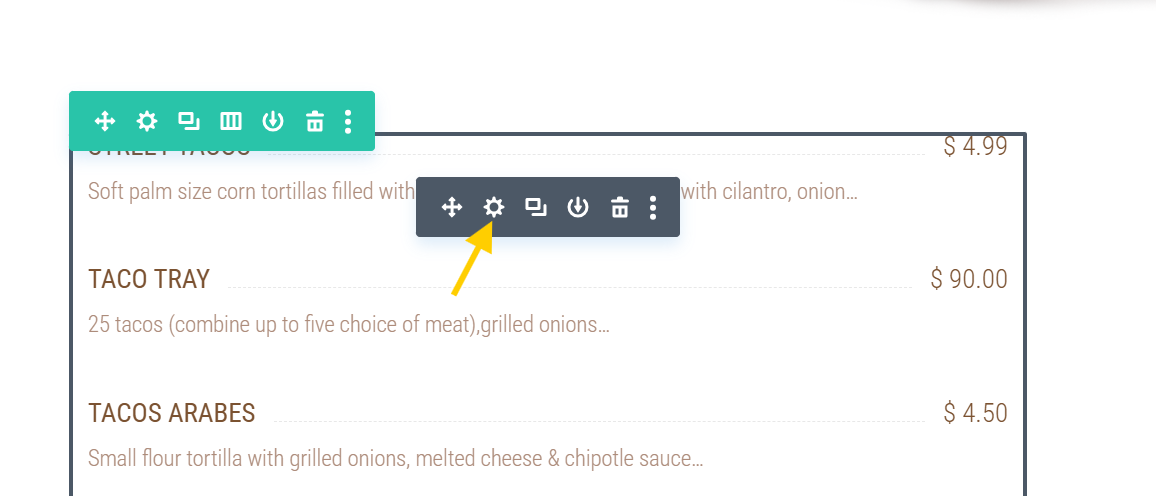
To change or update a food menu item, hover over the menu area until the gray box appears and click the gear icon:
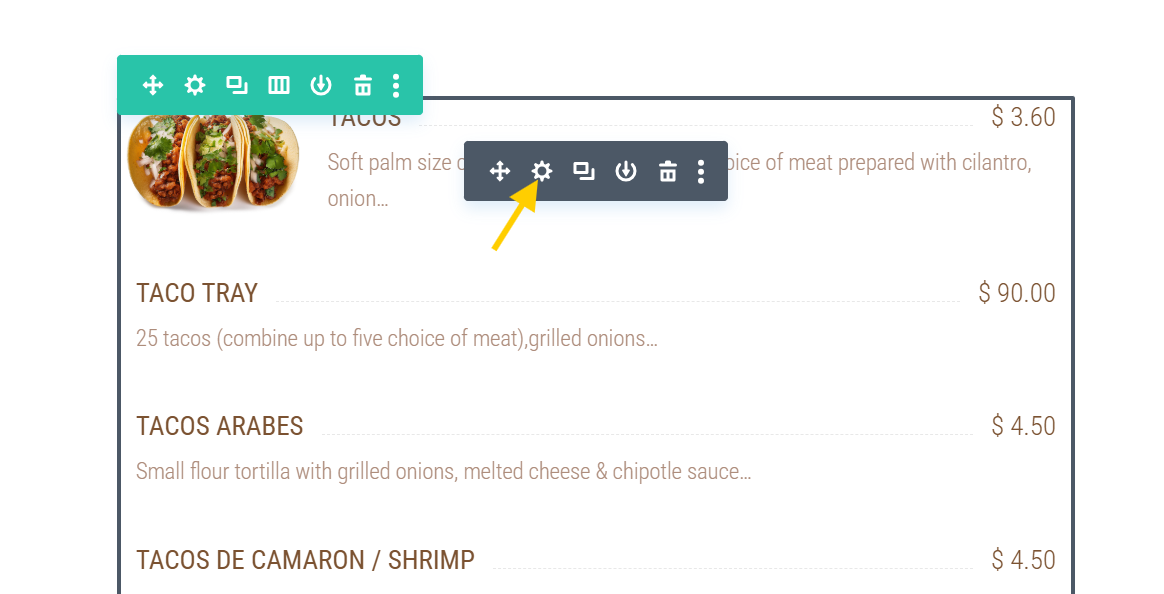
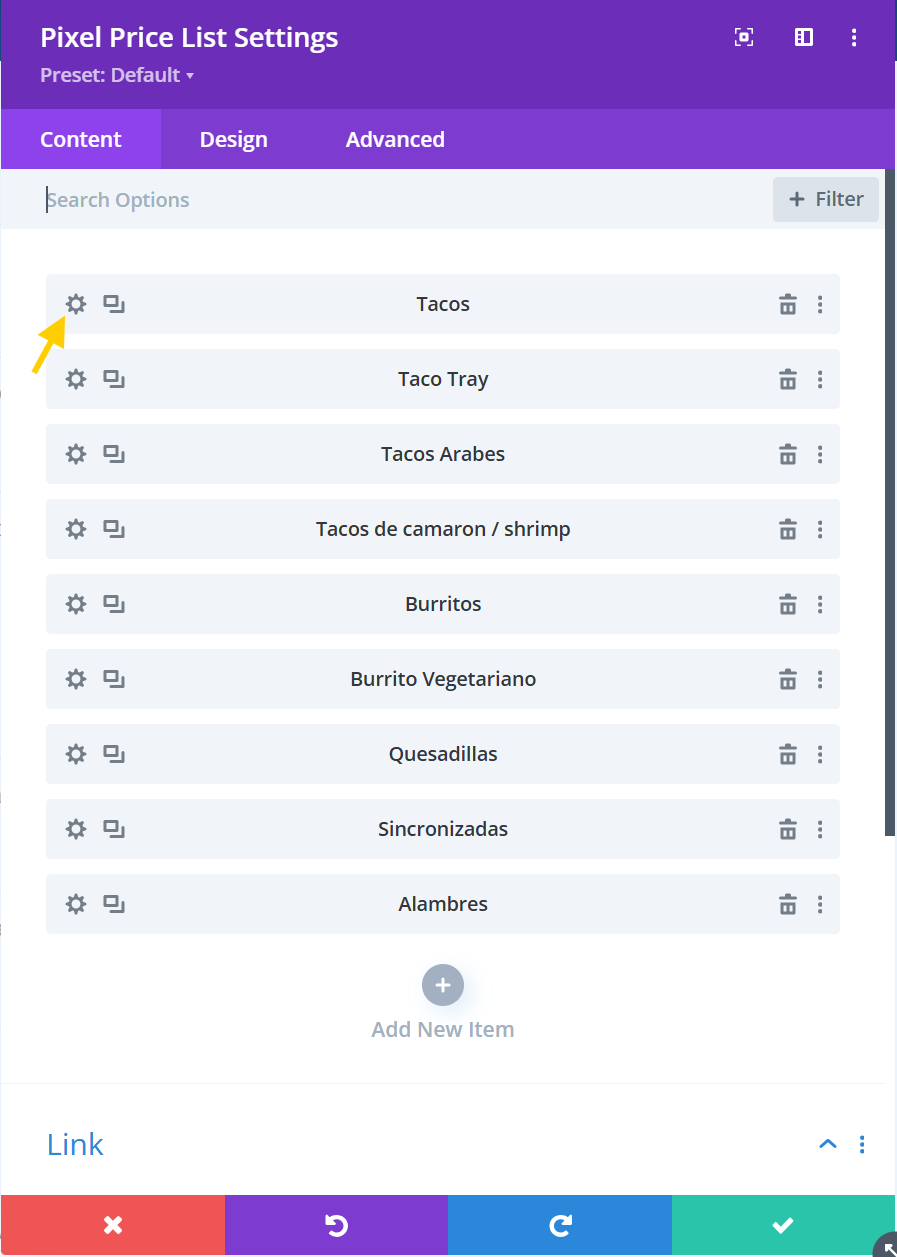
Click on the gear icon next to the menu item from the editing pop-up you want to change:
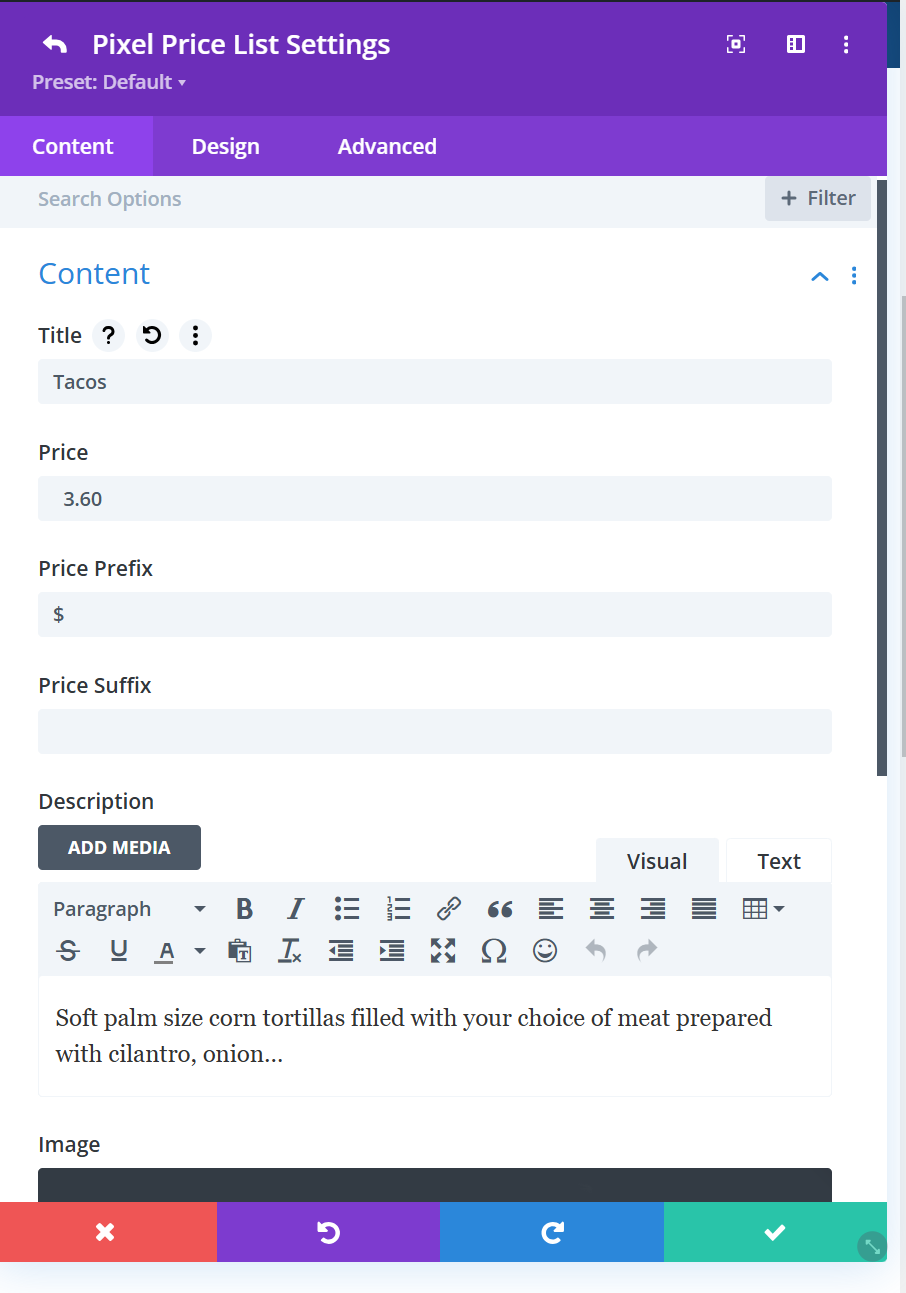
We are going to change the name of the menu item from "Tacos" to "Street Tacos" and the menu price to "$4.99". To do this, we first have to click on the "Content" drop down to reveal the current fields:
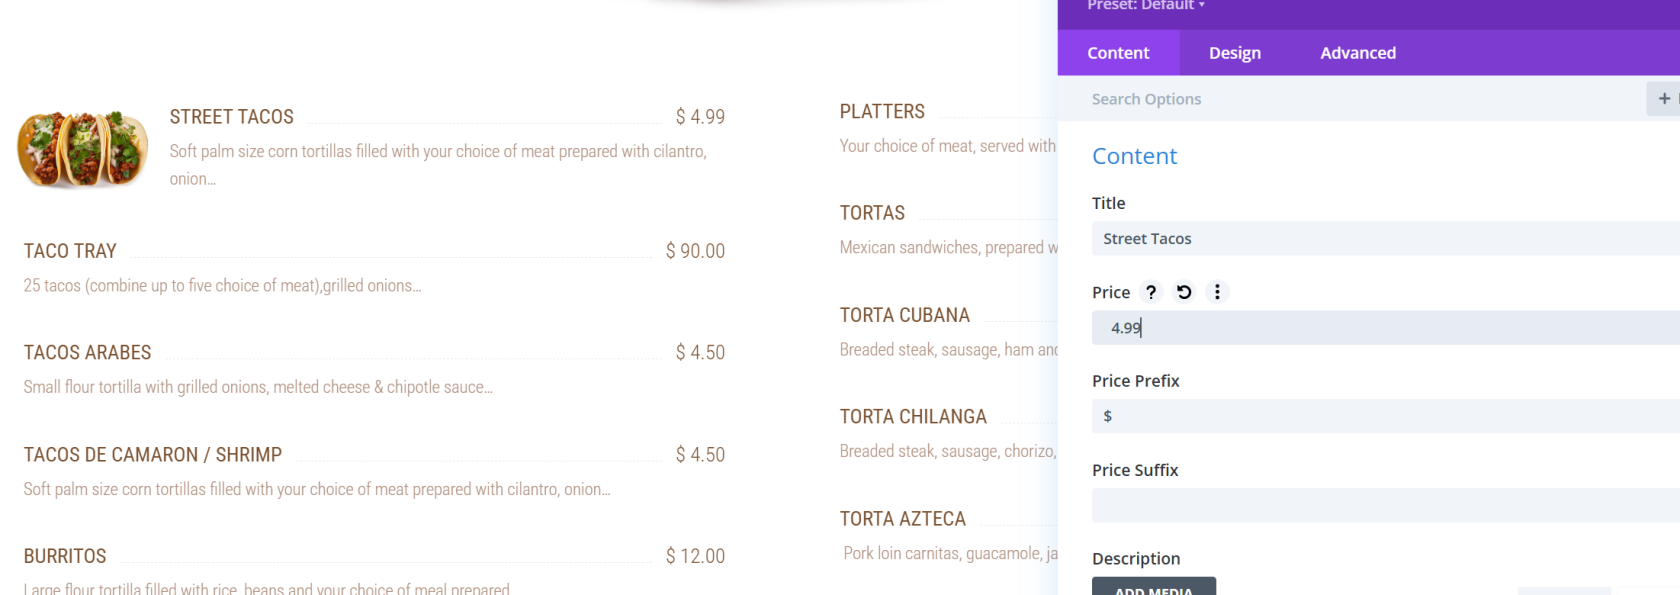
Make your desired changes in the text fields and click the green save button. You will notice you can preview your changes on the webpage as you make them:
NOTE: When completed, do not forget to hit the green box in the lower righthand corner to save your changes.
Step 7 - Adding a Photo to a Food Menu Item
To add a photo to a food menu item, hover over the menu area until the gray box appears and click the gear icon:
Click on the gear icon next to the menu item from the editing pop-up you want to change:
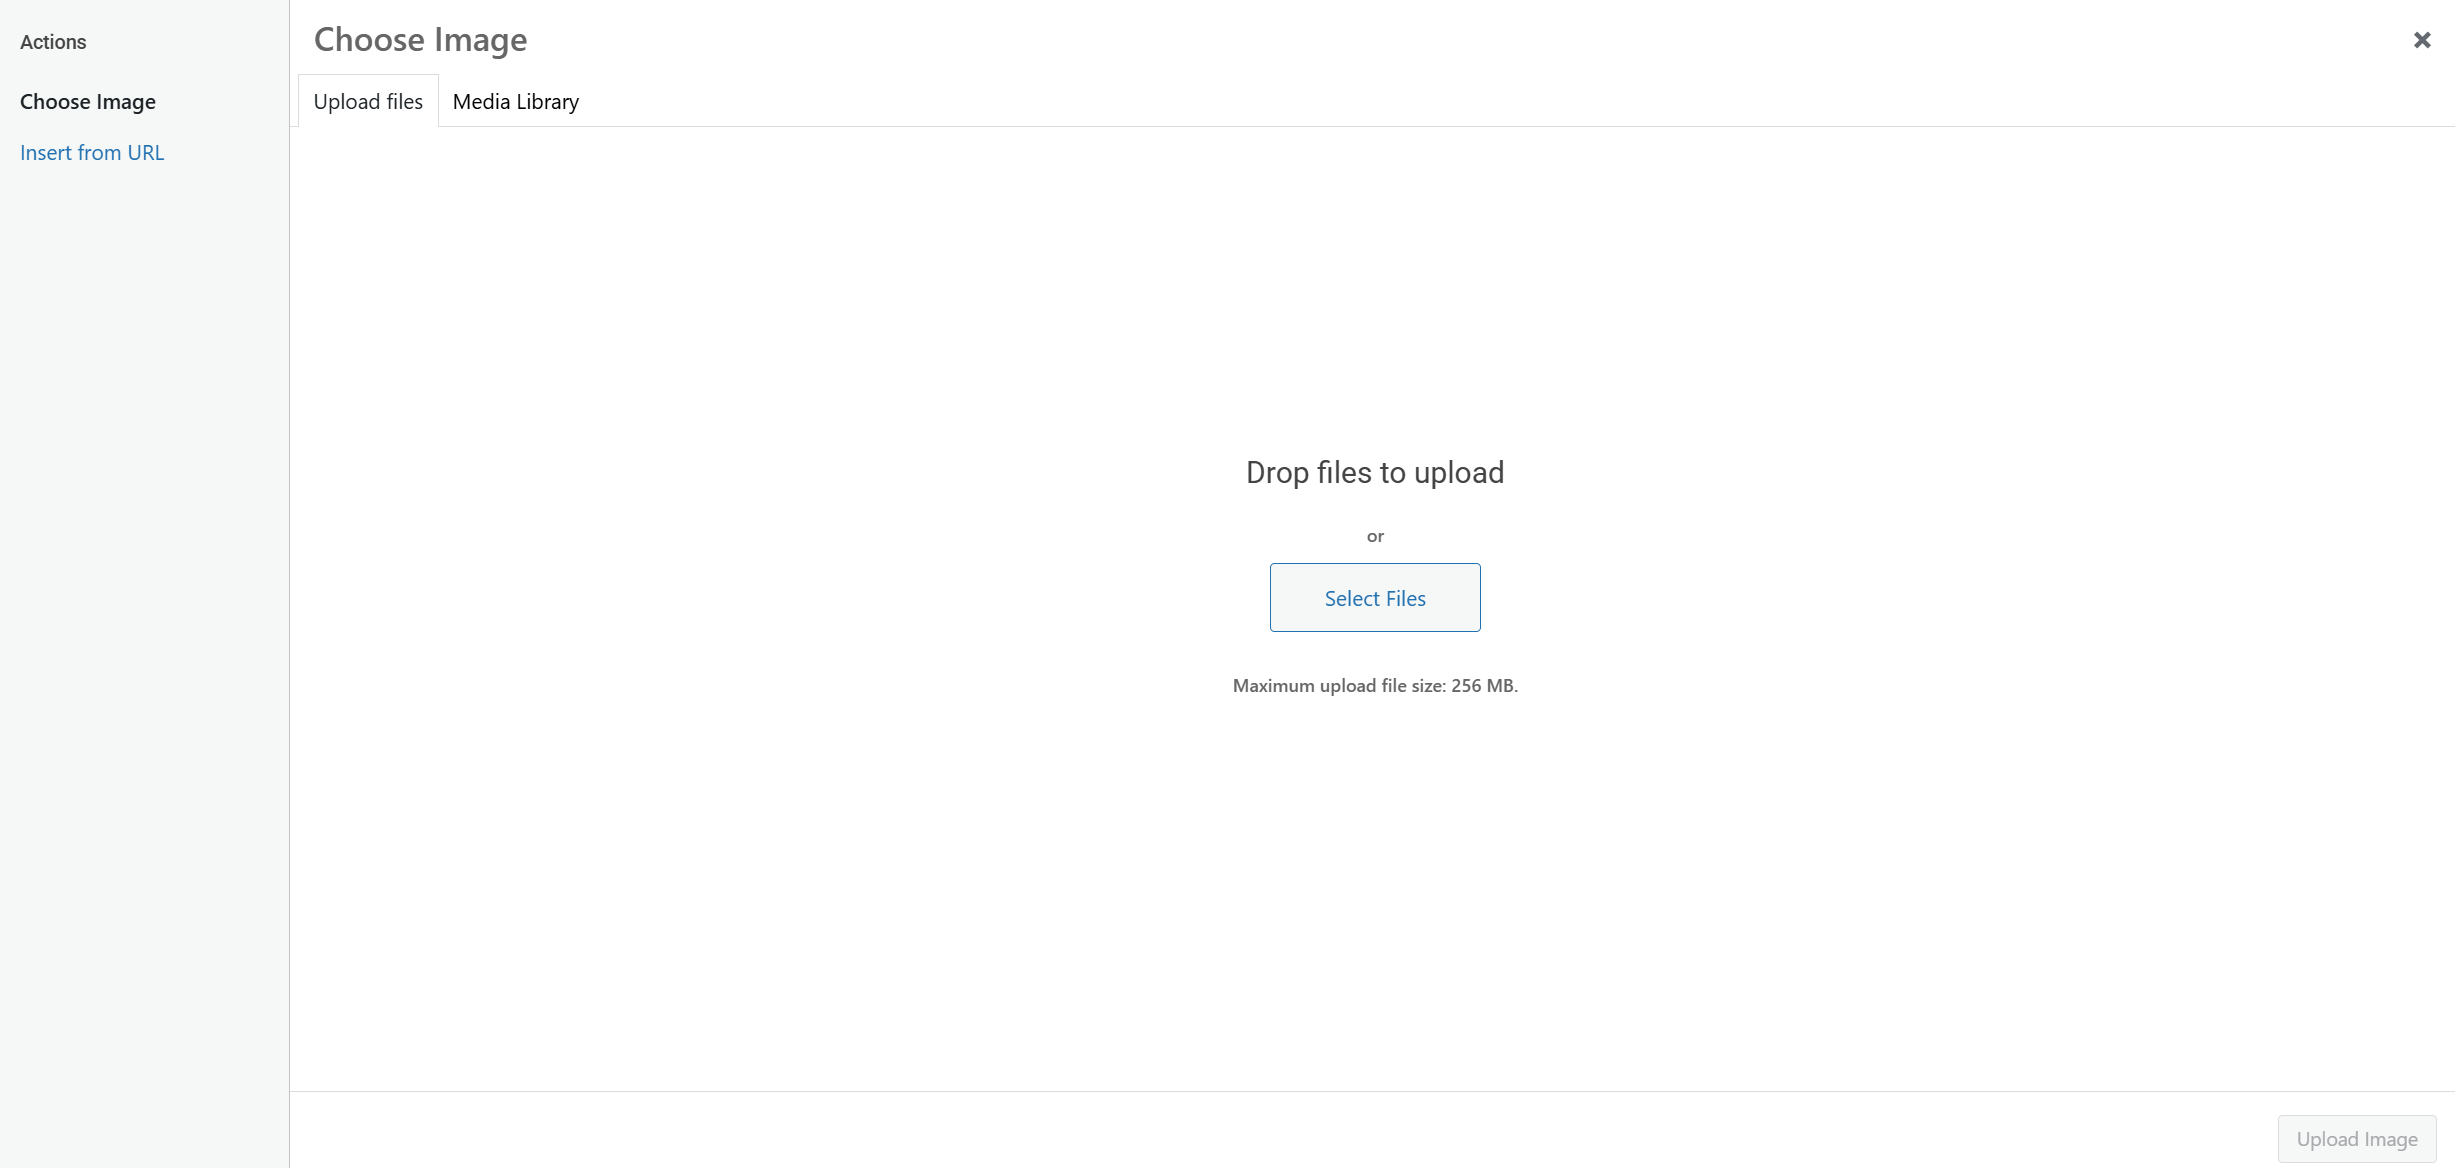
Scroll down to the bottom of the editing pop-up and click into the image box where it says "Add Image" with a plus sign.
A new pop-up will appear. You can select a photo from your "Media Library" or upload a new photo from your device:
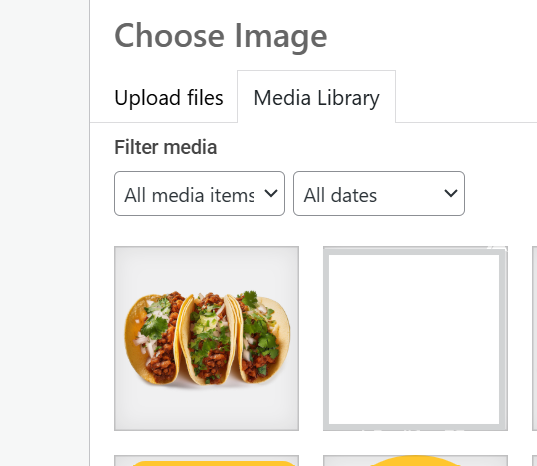
As we have already uploaded this photo before, we are going to select "Media Library", and then select the picture of the tacos:
The image details will pop-up on the righthand side:
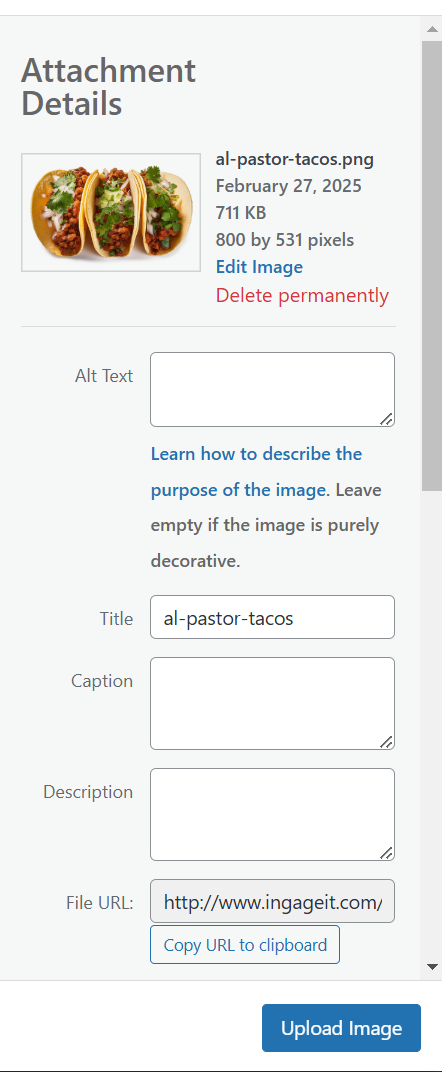
To confirm your selection, hit the blue "Upload Image" button. Your image will now populate in the menu:
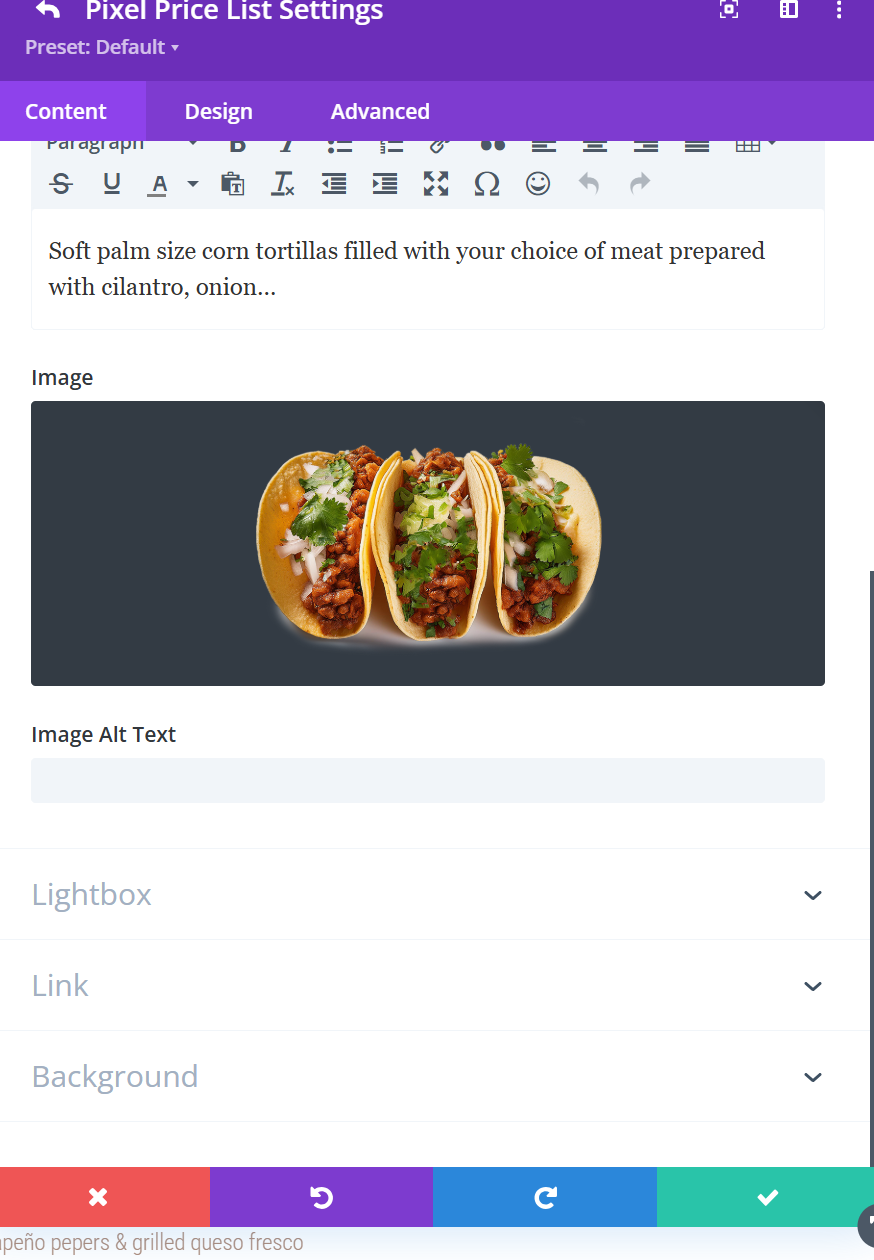
NOTE: When completed, do not forget to hit the green box in the lower righthand corner to save your changes.

No Comments