
Creating Customer Accounts
This page contains information on how to create customer accounts in Sail.
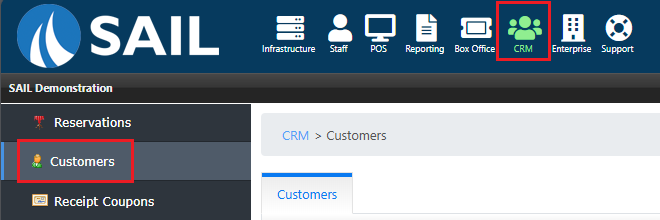
1. Navigate to Customers
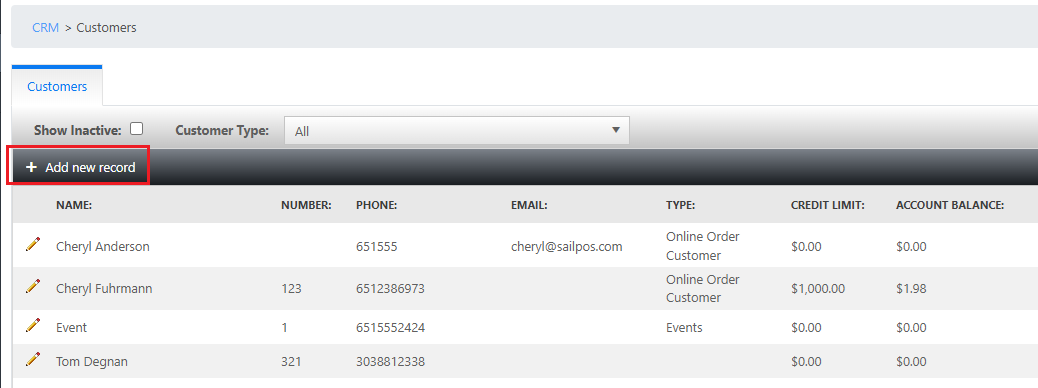
2. Creating a Customer Account
If creating a new account, click +Add New Record.
In the Customer Account section:
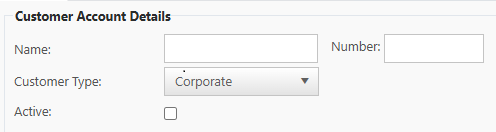
- The name is required. This can be the name of the group, event, or the customers name.
- The number is optional. This could be another way to look up the customer on the terminal, this is recommended to fill out.
- Select the Customer Type. This is used for filtering.
- Check Active.
In the Main Contact section:
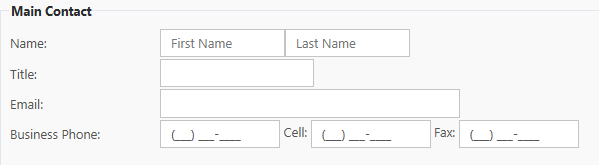
- The first and last name of the main contact is required.
- Additional information in this section is optional.
In the Company Information section:
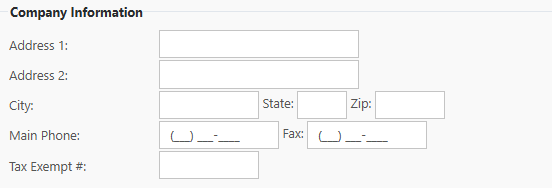
- The main Phone Number is required.
- Additional information in this section is optional.
In the Credit Information section:
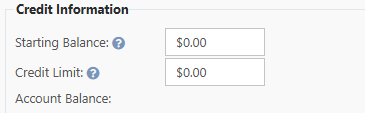
- The Starting Balance is ONLY used if there is an existing balance in your previous system.
- Note: A positive balance means the customer owes you money and a negative balance means that they already have paid a deposit and now have a credit on their account.
- The Credit Limit is ONLY used if you'd like to extend a credit to this customer so they can put orders on their account and pay for them at a later date.
- Note: It is usually set higher than what you expect the customer to spend.