
Creating Customer Accounts
This page contains information on how to create customer accounts in Sail.
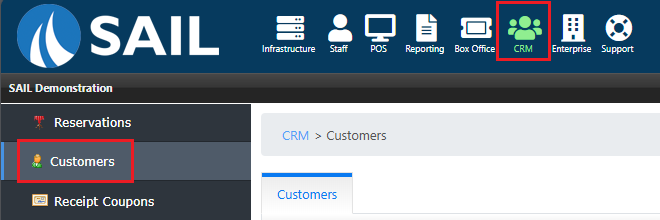
1. Navigate to Customers
2. Creating a Customer Account in Backoffice
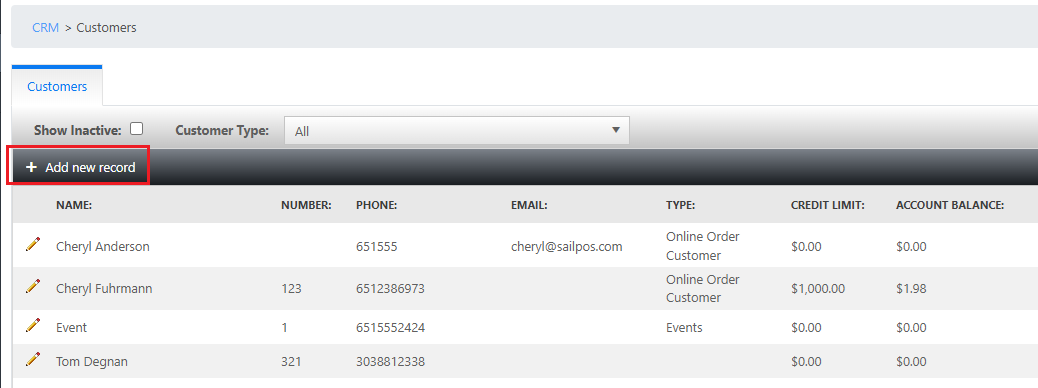
If creating a new account, click +Add New Record.
Customer Account:

- The Name is required. This can be the name of the group, event, or the customers name.
- The Acct Number is optional. This could be another way to look up the customer on the terminal
- First and Last Name is the name of the customer contact, this is a required field.
- Select the Customer Type. This is used for filtering.
- Check Active.
Contact Information:
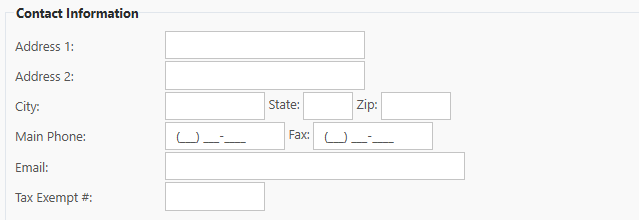
- The main Phone Number is required. This can be used to search for the customer on the terminal
- Additional information in this section is optional.
Credit Information:
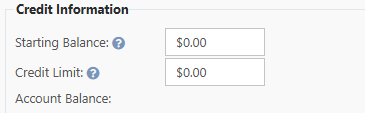
- The Starting Balance is ONLY used if there is an existing balance in your previous system.
- Note: A positive balance means the customer owes you money and a negative balance means that they already have paid a deposit and now have a credit on their account.
- The Credit Limit is ONLY used if you'd like to extend a credit to this customer so they can put orders on their account and pay for them at a later date.
- Note: It is usually set higher than what you expect the customer to spend.
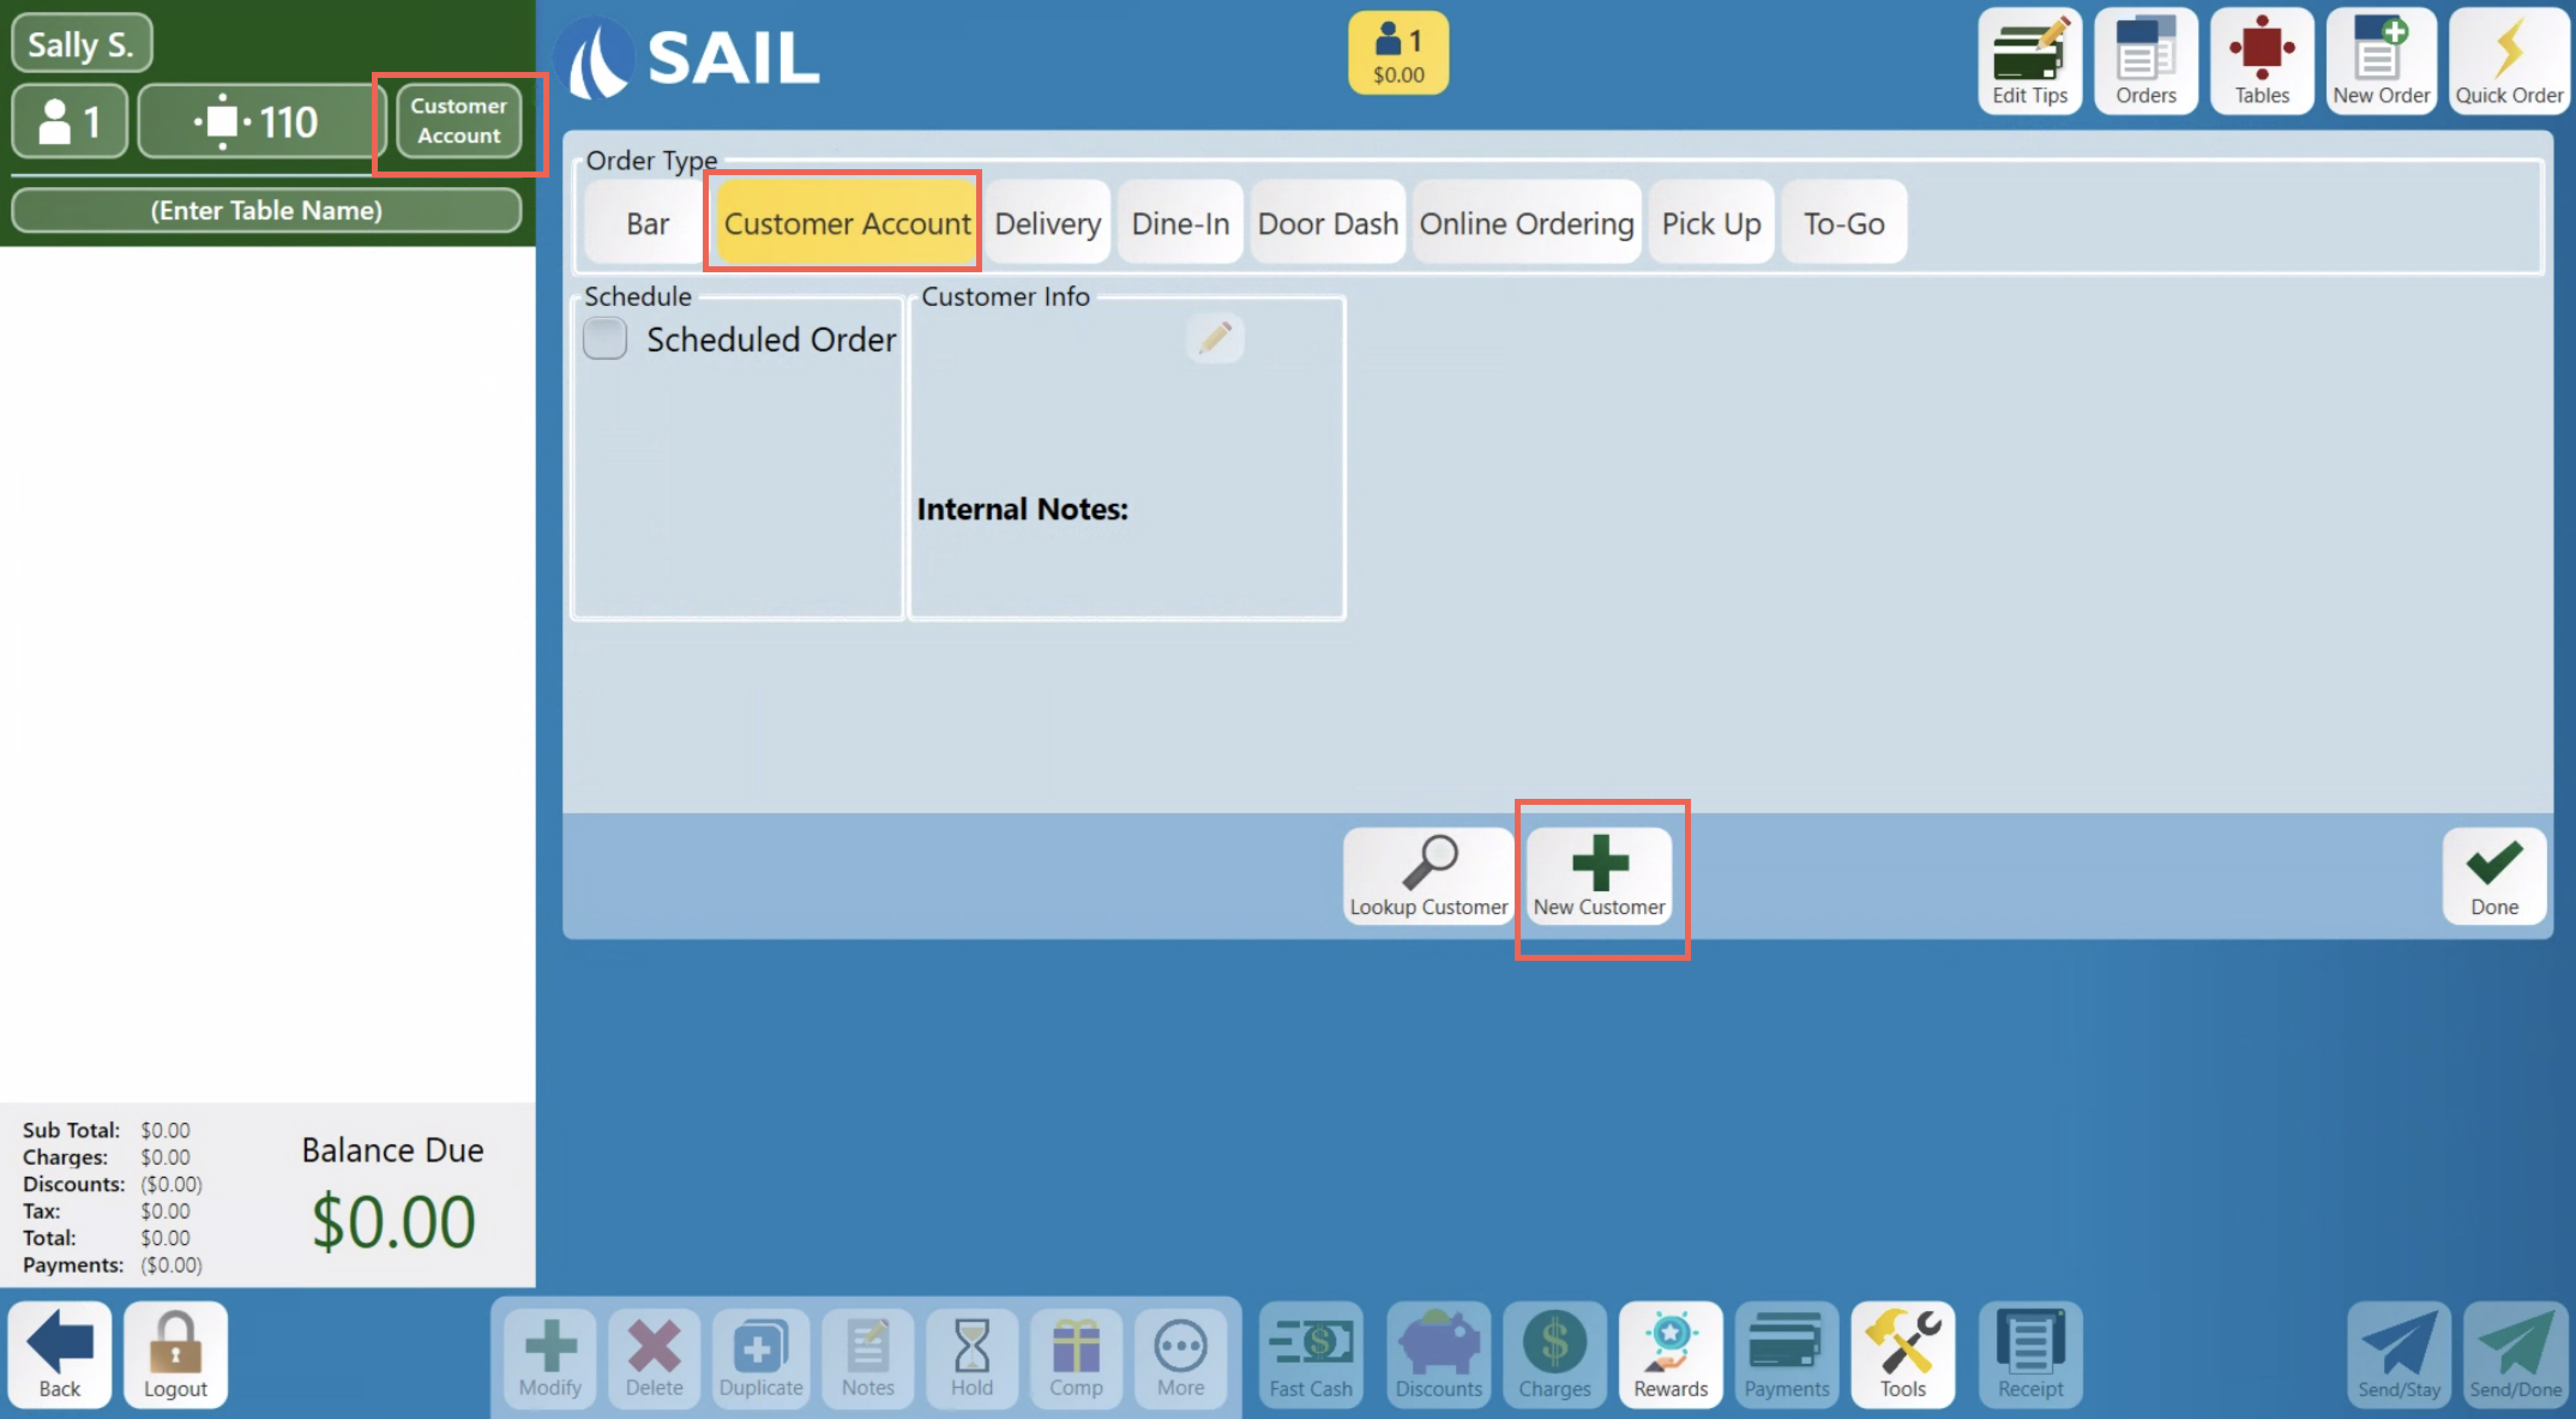
3. Creating a Customer Account on the terminal
Log Into Terminal --> Start a new order --> Change the order type to "Customer Accounts" --> Then click on New Customer
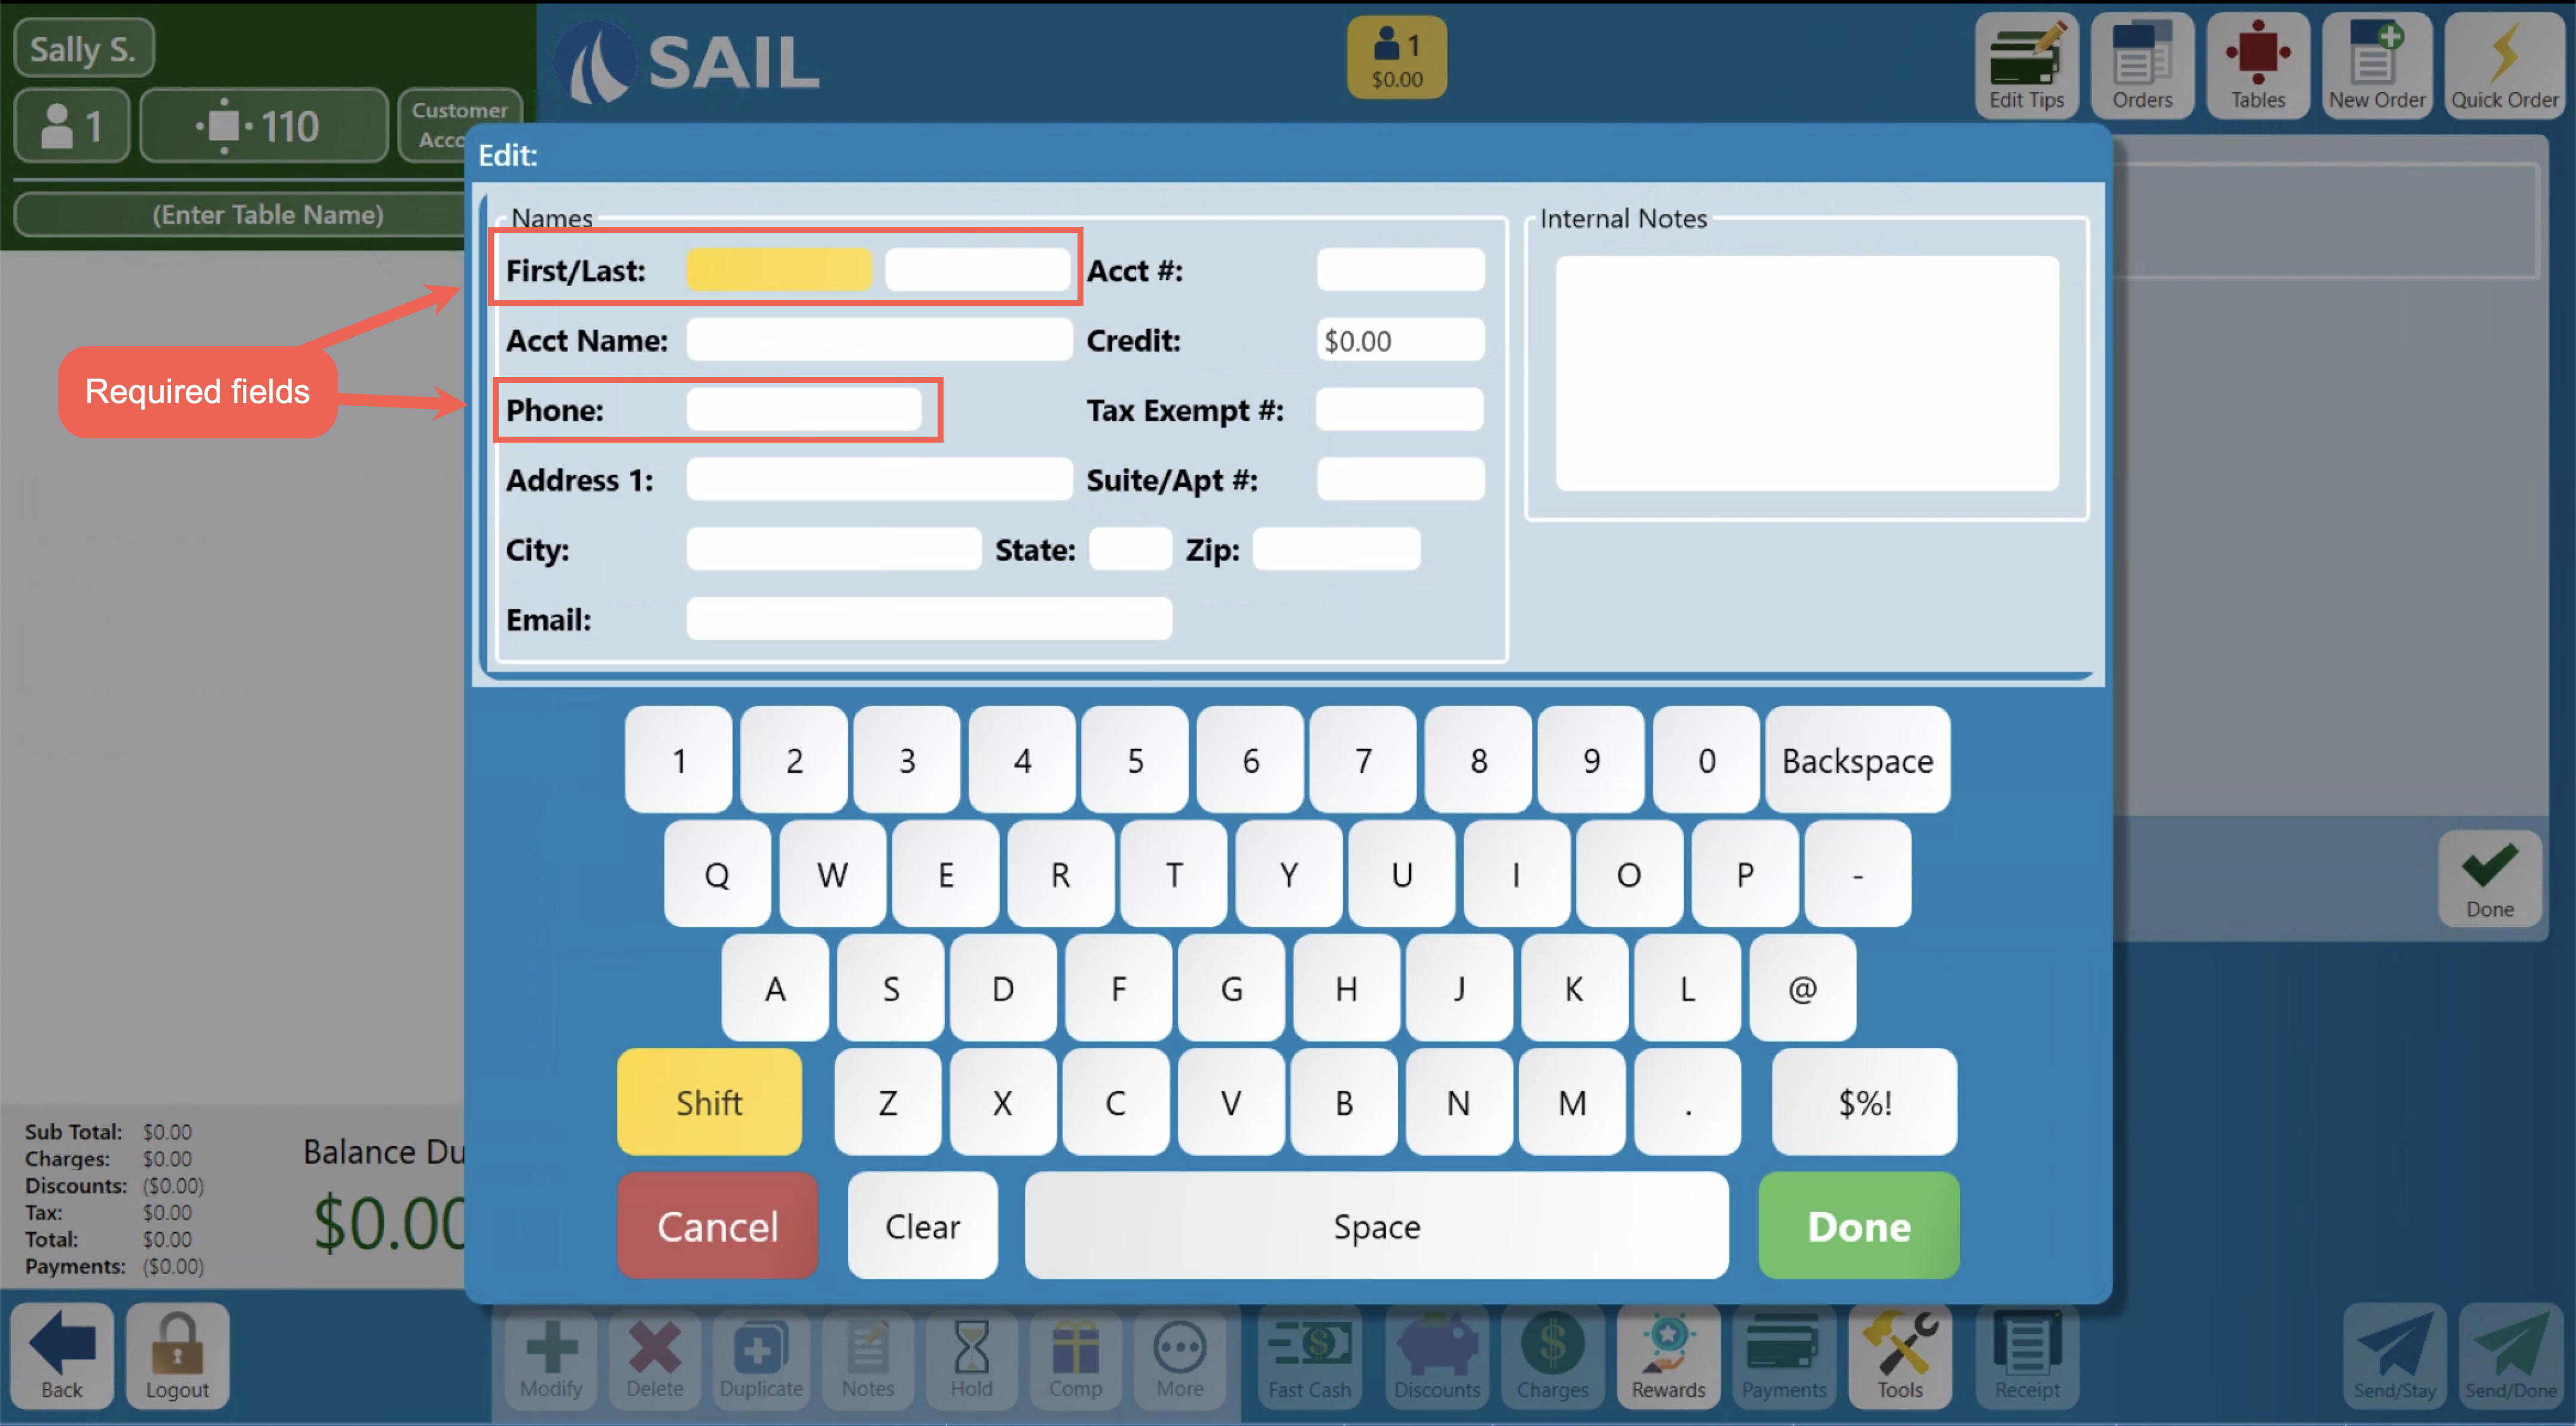
- First and Last Name is the name of the customer contact, this is a required field.
- Acct Name (is the same as "Name" in backoffice) This can be the name of the group, event, or the customers name. If you leave this blank here, it will automatically fill in the first and last name as the account name once you save it.
- The Acct # is optional. This could be another way to look up the customer on the terminal
- The Credit Limit is ONLY used if you'd like to extend a credit to this customer so they can put orders on their account and pay for them at a later date.
- Phone number is a required field.
- All other information is optional
Once you have filled out all the information you'd like, then click Done, Then Save.
No Comments