
How to create and/or edit a job role
This document will outline how to create and or edit a job roll in back office.

Create a new job role
-
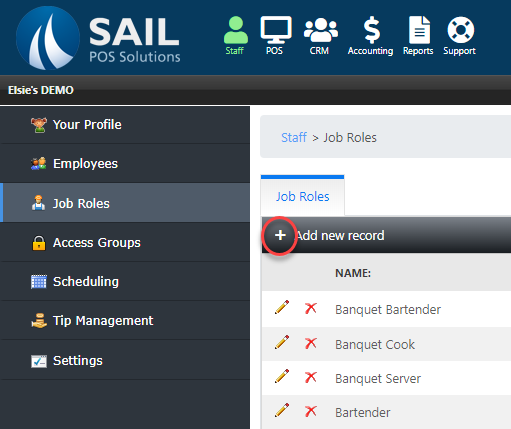
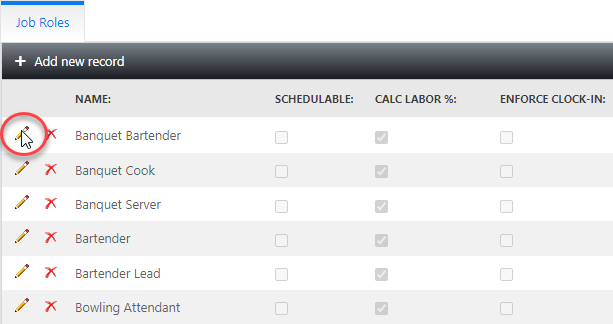
To create a new job role start by selecting the plus sign in the upper left hand corner of the screen.

-
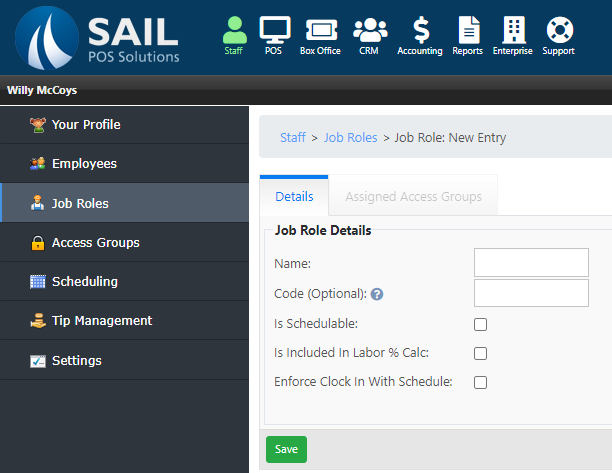
A Prompt with fields that will create a new job role will appear.
-
Name:

-
Set the name of the new job role. This is the job title.
-
-
Code:

-
This will set a code for the job which can be included in exports.
-
-
Is Schedulable:

-
This will set the new job role to be available for use with the scheduling system.
-
-
Is Included in labor % Calc:

-
This will set the new job role to be included in the labor %.
-
-
Enforce Clock in with Schedule:

-
This will set the job role to have limits on when you can clock in based around when you are scheduled.
-
-
Save:


Assign access levels to the job role
-
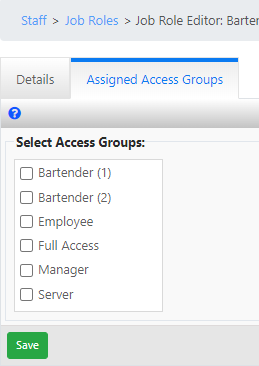
Once created the next step is to assign an access group to the job role. Select the access group tab.

-
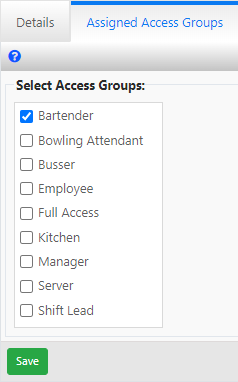
Select the checkbox next to any access group or groups you would like the new job roll to have access privilege's of.

Edit an existing job role
-
Click the pencil to open the editor prompt.

-
You may change any of the options described above then hit save.
No Comments