
PLU: Advanced Tab
This page will detail the advanced tab on PLUs settings.
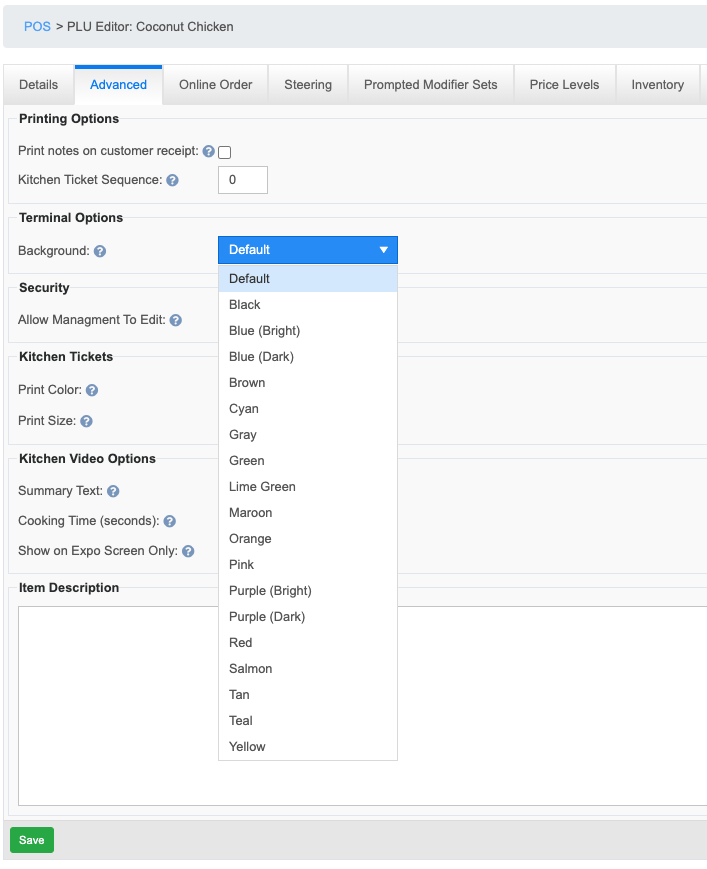
This tab has many of the PLU settings. It has a variety of different functions from making server notes visible on customer receipts, to deciding sort order, or making it a refund button. This tab can be thought of as a miscellaneous settings tab, if it doesn’t have an obvious connection to one of the other tabs chances are you will find the setting here.

How to change the color of the individual button
-
-
In addition, we’ve double the number of color options available.


-
Printing options
-
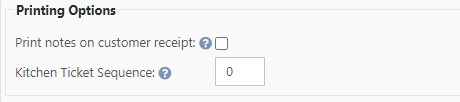
Print Notes on customer receipt
-
This will activate printing the notes that a server enters on a customer receipt.
-
-
Kitchen Ticket Sequence
-
Adjusting this sequence number will alter the order in which items are printed on a kitchen ticket relative to other items on the ticket. Items printed on a ticket will appear in the following order:
Sequence (lowest first), Cook time (longest first), the order in which the item was rang in
-
-
-
Terminal options

-
Background. This will set the color of the button in the terminal. If left Default it will inherit its color from the terminal screen set up section.
-
-
PLU Details

-
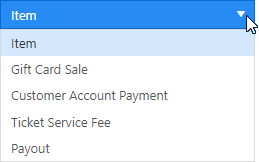
You may set the PLU type in this section. The PLU type will let you pick what kind of action the PLU button will perform.
-
The following links will take you to a document that will go into more detail on what each PLU type is and how to configure that type of PLU.
-
Item: This link will take you to “How to make a PLU” button because this is the default PLU type that you would use for a standard PLU button.
-
Customer Account Payment
-
Ticket Service Fee
-
-
-
Security
-
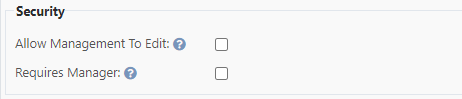
Allow management to edit. This will make it so someone with manager rights can make changes to the PLU.
-
Requires Manager. Select the check box to make this button unavailable (grayed out) when someone without manager access rights is logged in.
-
See PLU Security for more information.
-
-
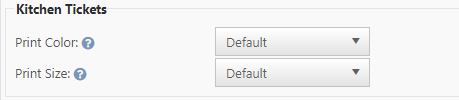
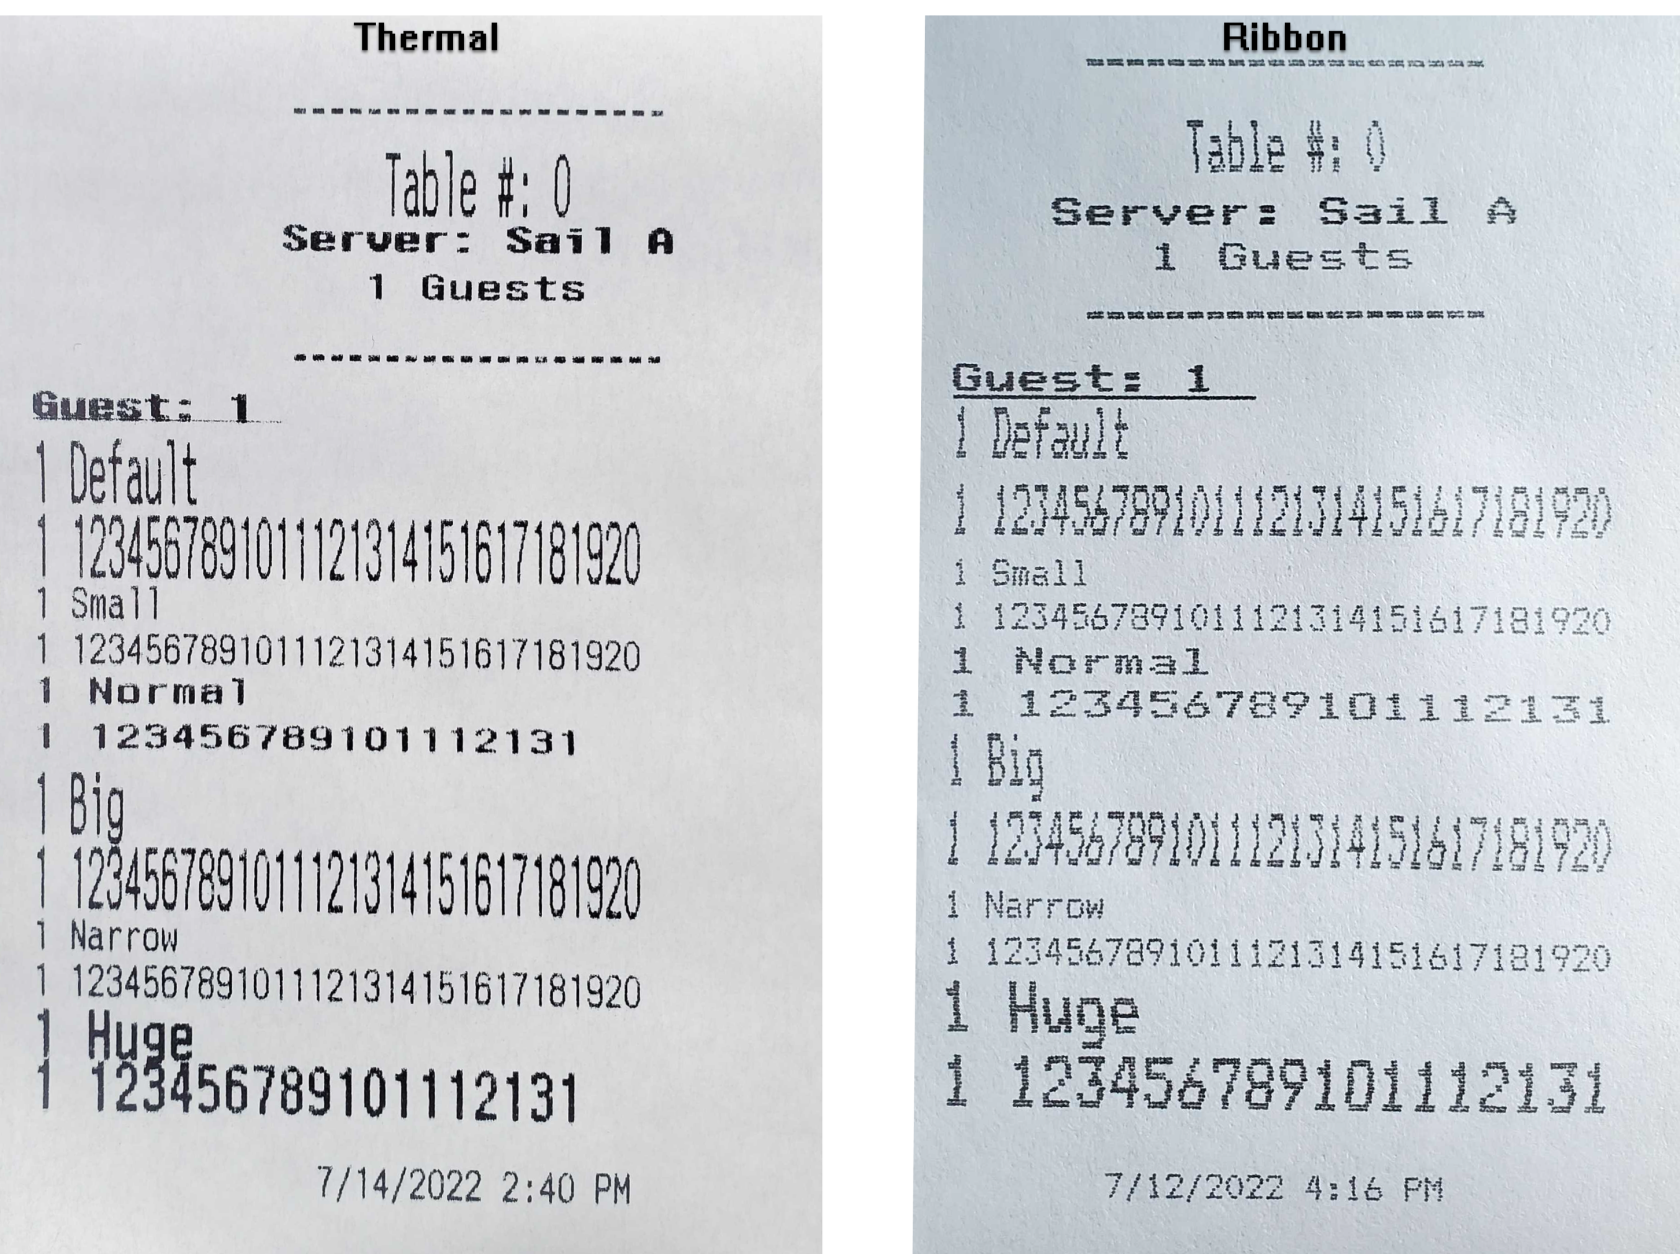
Kitchen Tickets
-
The size and color of the PLU item can be adjusted here. If left default PLUs are Black and Modifier PLUs are red.
-
-
Kitchen Video options

-
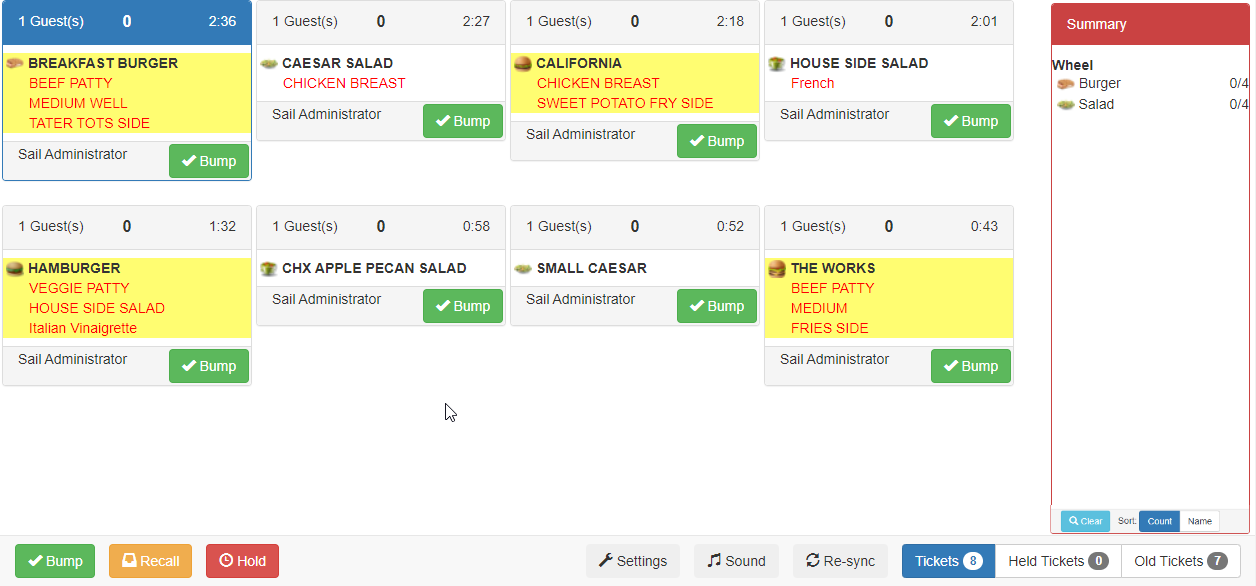
Summary Text: This will group items together in the summary section of Kitchen Video. All items with the same summary text name will be grouped together. For example when you select the summary text Burger and press the search button it will highlight all the items on the screen that have burger as their summary text.
-
Cooking Time: This will set the order of items in kitchen video and on kitchen tickets. It will be ordered from longest time to shortest.
-
Show on Expo Screen Only: Set this to bypass the wheel and show up on the Expo station when the order is bumped. Use this when you don’t need the kitchen to see the item.
-
For example, if expo side is responsible for getting soup ready, then you don’t need soups showing up on the wheel screen for the cooks to see.
-
-
-
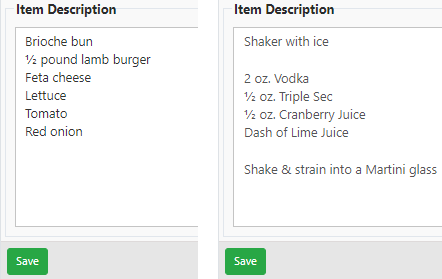
The Item Description.
-
This is where you can enter the ingredient list or preparation instructions if you would like that to populate in the system.

-


No Comments