
How to configure Delivery Zones
Delivery Zones can be defined in the system and optionally linked to a Charge. When an order that is dispatchable is created either using Online Ordering, or on the terminal, it will verify which zone (if any) the customer's address is in. If the Zone is linked to a charge, the charge will automatically be applied to an order.
How to configure a Delivery Zone
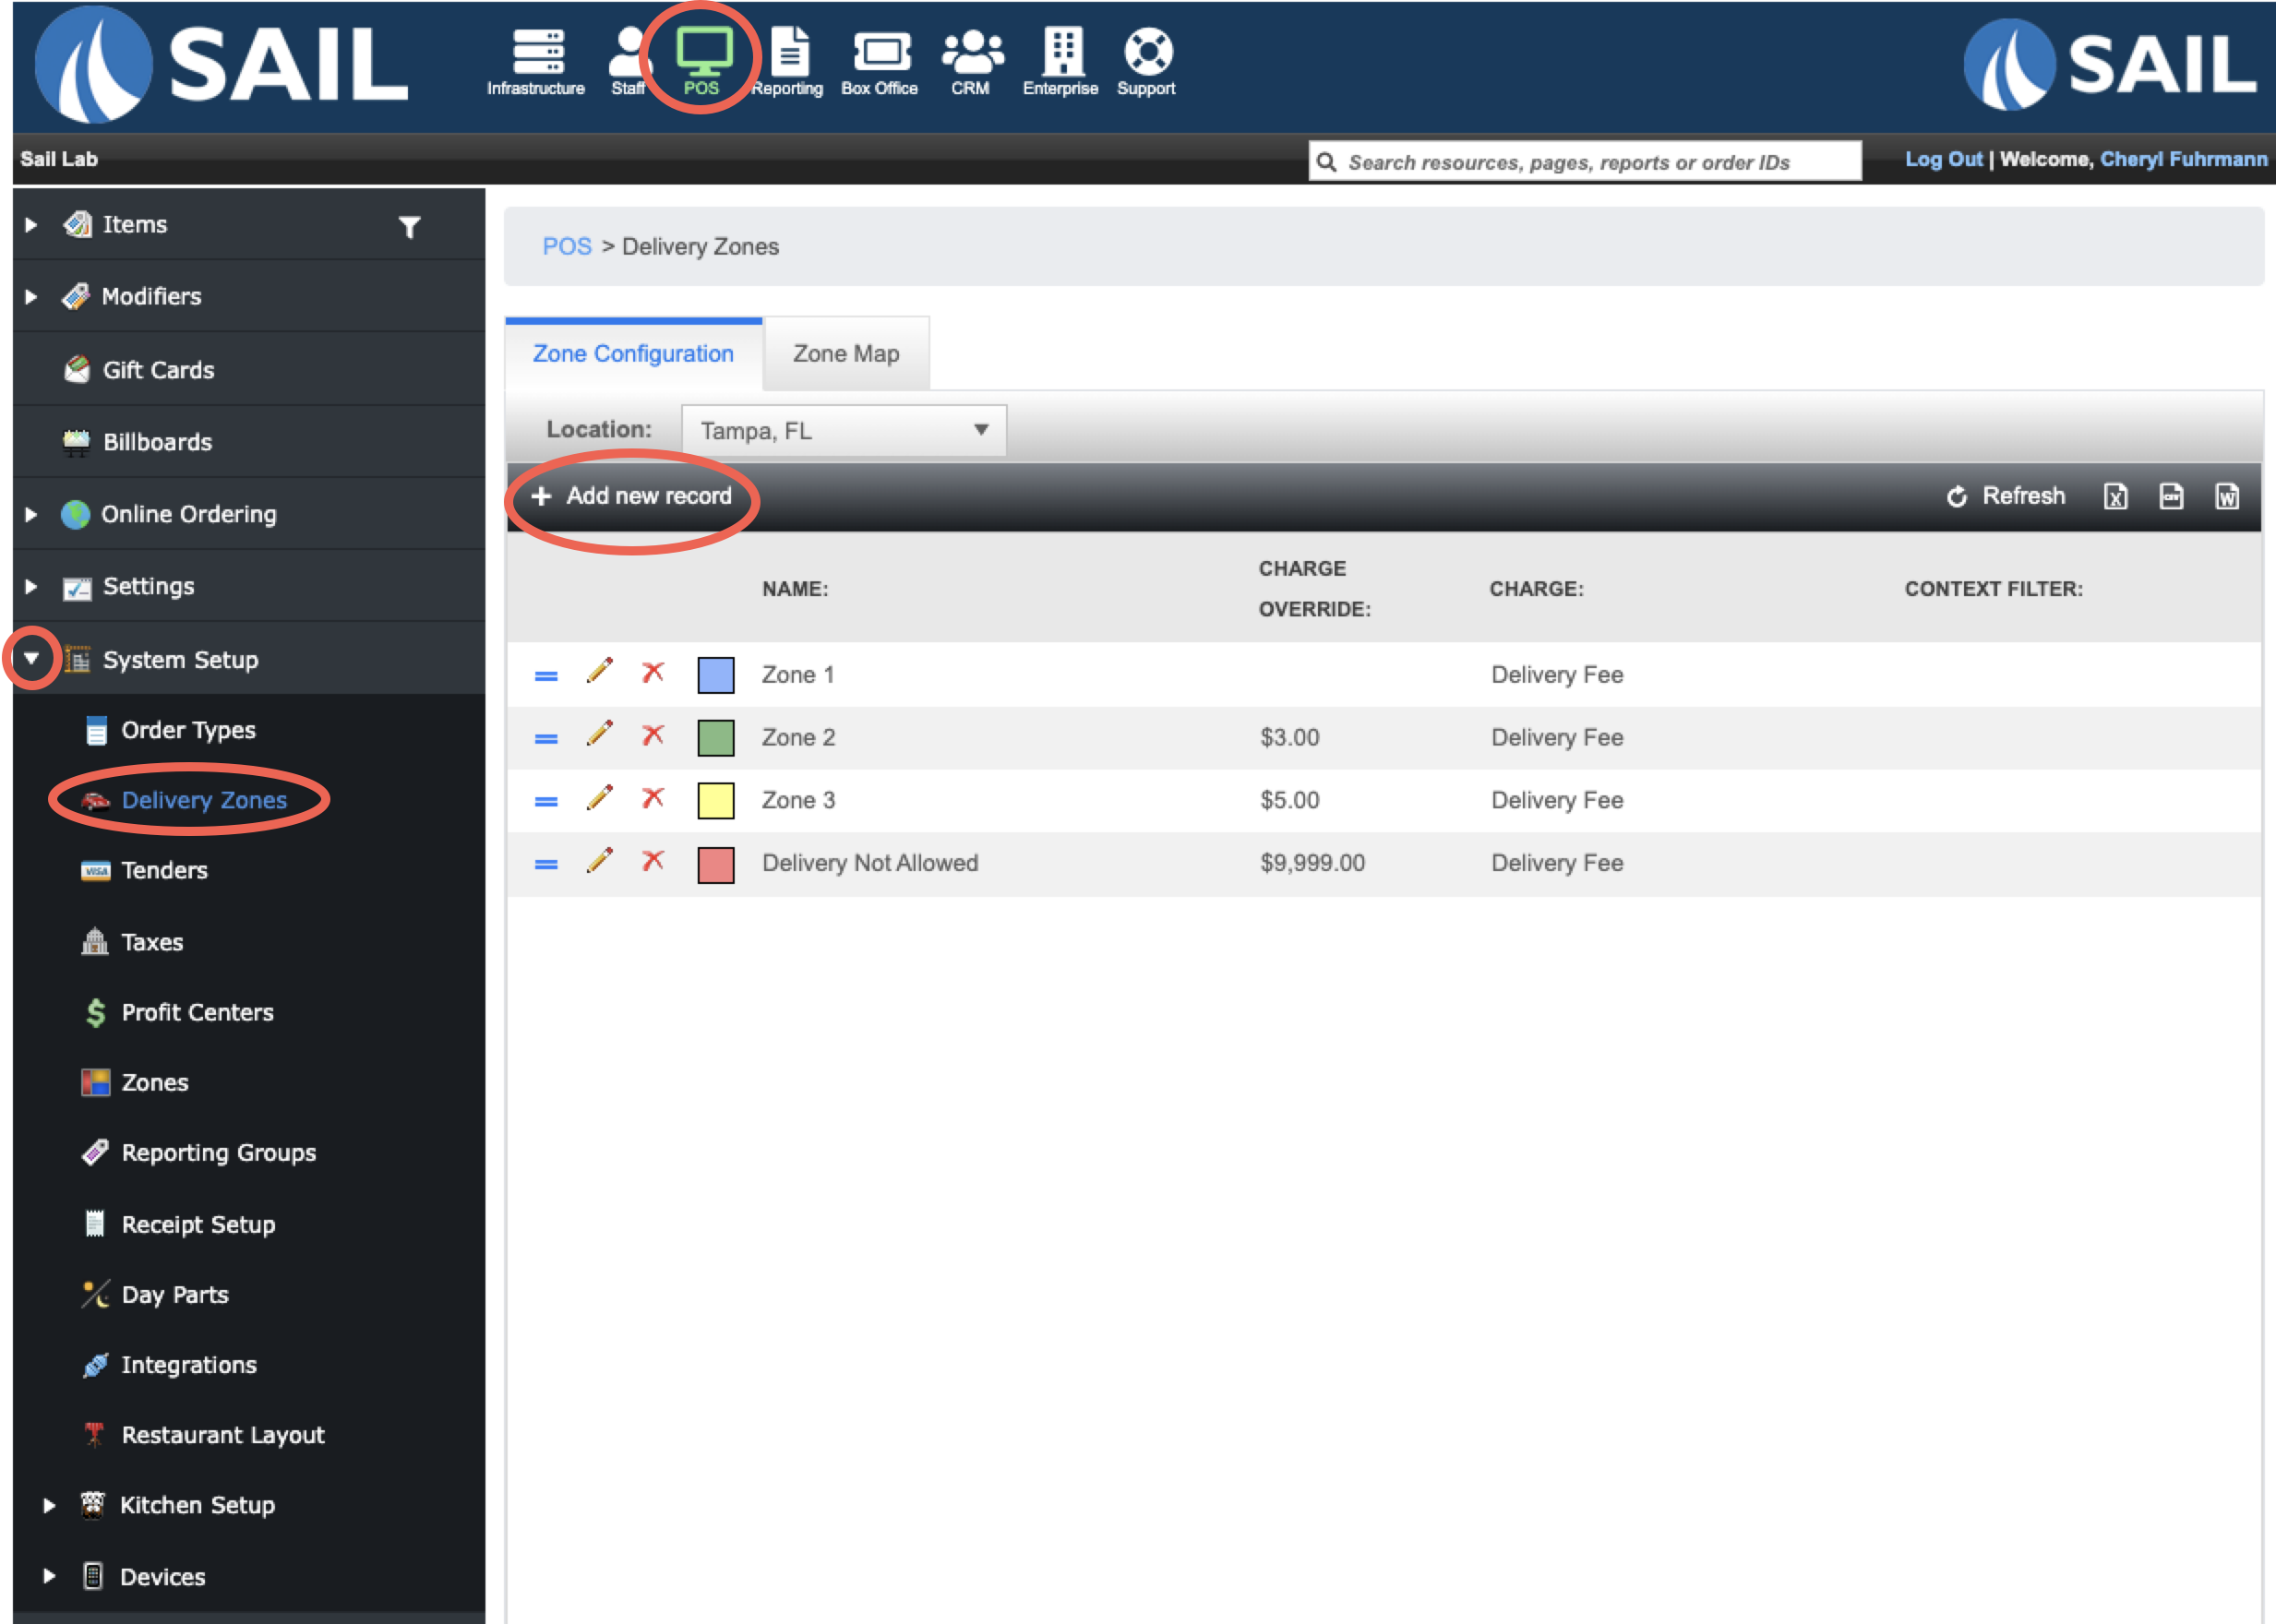
Log into Backoffice --> POS --> System Setup --> Delivery Zones --> Add new record
Zone Configuration
When you click Add new record, you’ll be able to name and configure the settings for a specific delivery zone.
You can have as many zones as you'd like
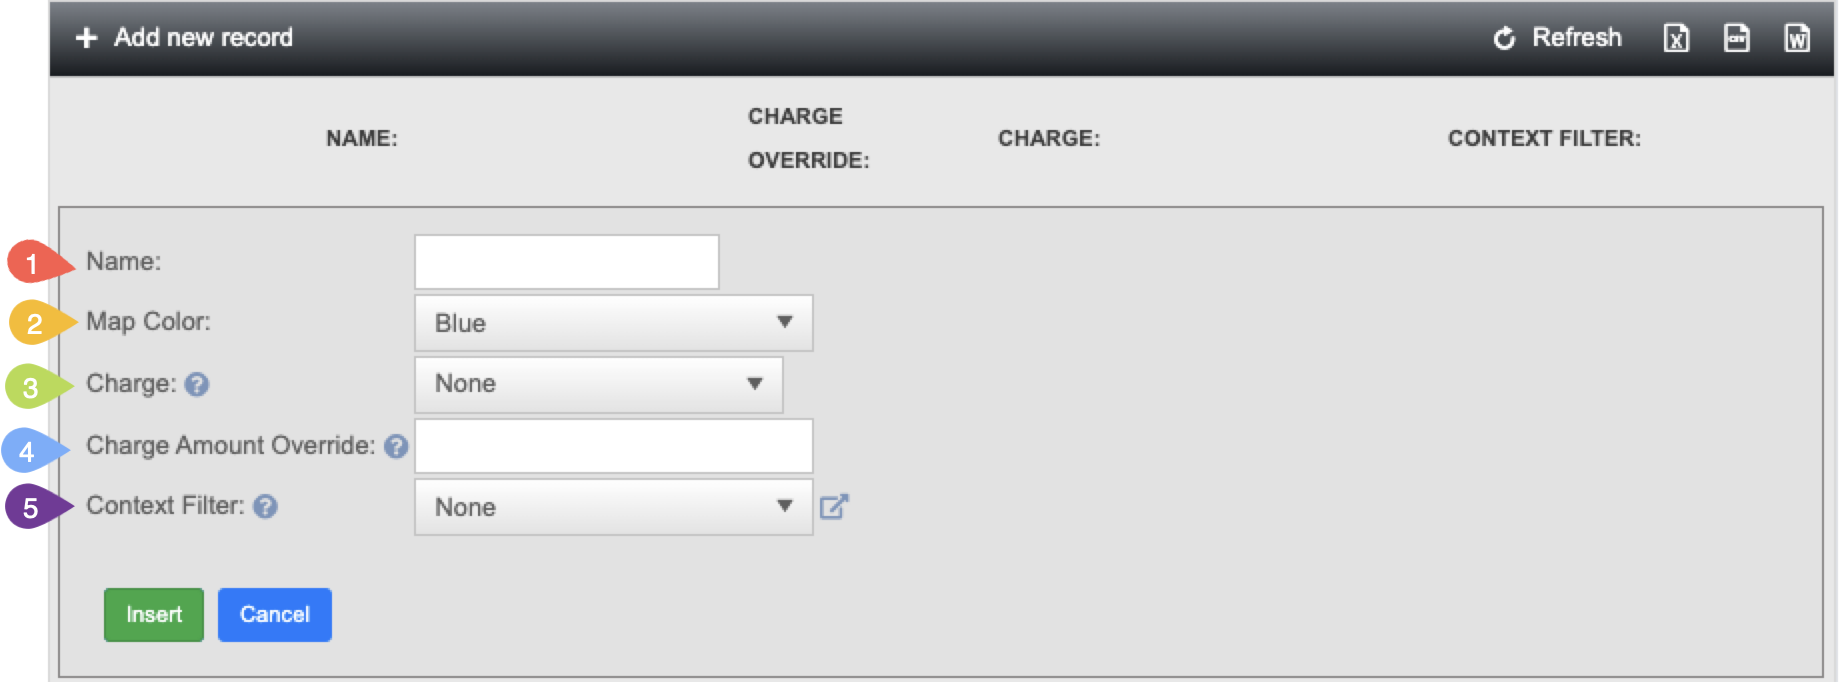
- Name: Give the zone a clear, descriptive name that reflects its purpose or geographic area.
-
Examples:
-
Zone 1 & Zone 2
-
$1 Zone & $2 Zone
-
Within 5 Miles & Beyond 5 Miles
- Primary Zone & Extended Zone
-
-
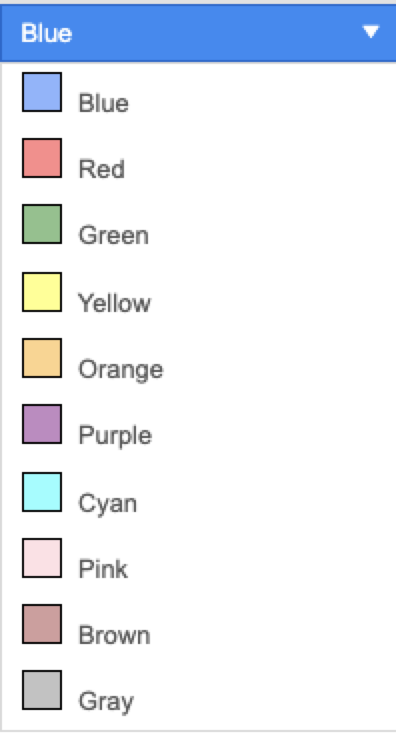
- Map Color: Choose a color to visually represent this zone on the map.
- Color Options

- Color Options
- Charge (Optional)
-
Select a delivery charge from the dropdown menu. This list includes all existing charges in the system.
-
If no charge is selected:
-
The zone will not apply a delivery fee.
-
It will simply be used to determine whether a customer is within the delivery area.
-
-
If a charge is selected:
-
Customers in this zone will be charged the selected delivery fee.
-
Each zone can have a different charge if needed.
-
-
- Charge Amount Override: (Optional)
-
Enter an amount here to override the original charge amount for this specific zone.
-
This allows you to use the same charge (e.g., "Delivery Fee") across multiple zones for reporting purposes, while applying different fee amounts.
-
Example:
-
Zone 1 uses the "Delivery Fee" charge, originally set at $1.
-
Zone 2 also uses the "Delivery Fee" charge, but you apply a Charge Amount Override to make it $3 instead
-
-
-
- Context Filter: (Optional)
- Apply a context filter to this zone if needed.
- Apply a context filter to this zone if needed.
Zone Map
Go to the Zone Map tab to create the zones
-
- Use the Zone Drop down to move between the different zones you've created
- Simply click on the map (in a circle or square rotation) to create the boundaries of your zone
- The buttons on the bottom left can help you undo a line, Start over, or complete the shape
- Then save it

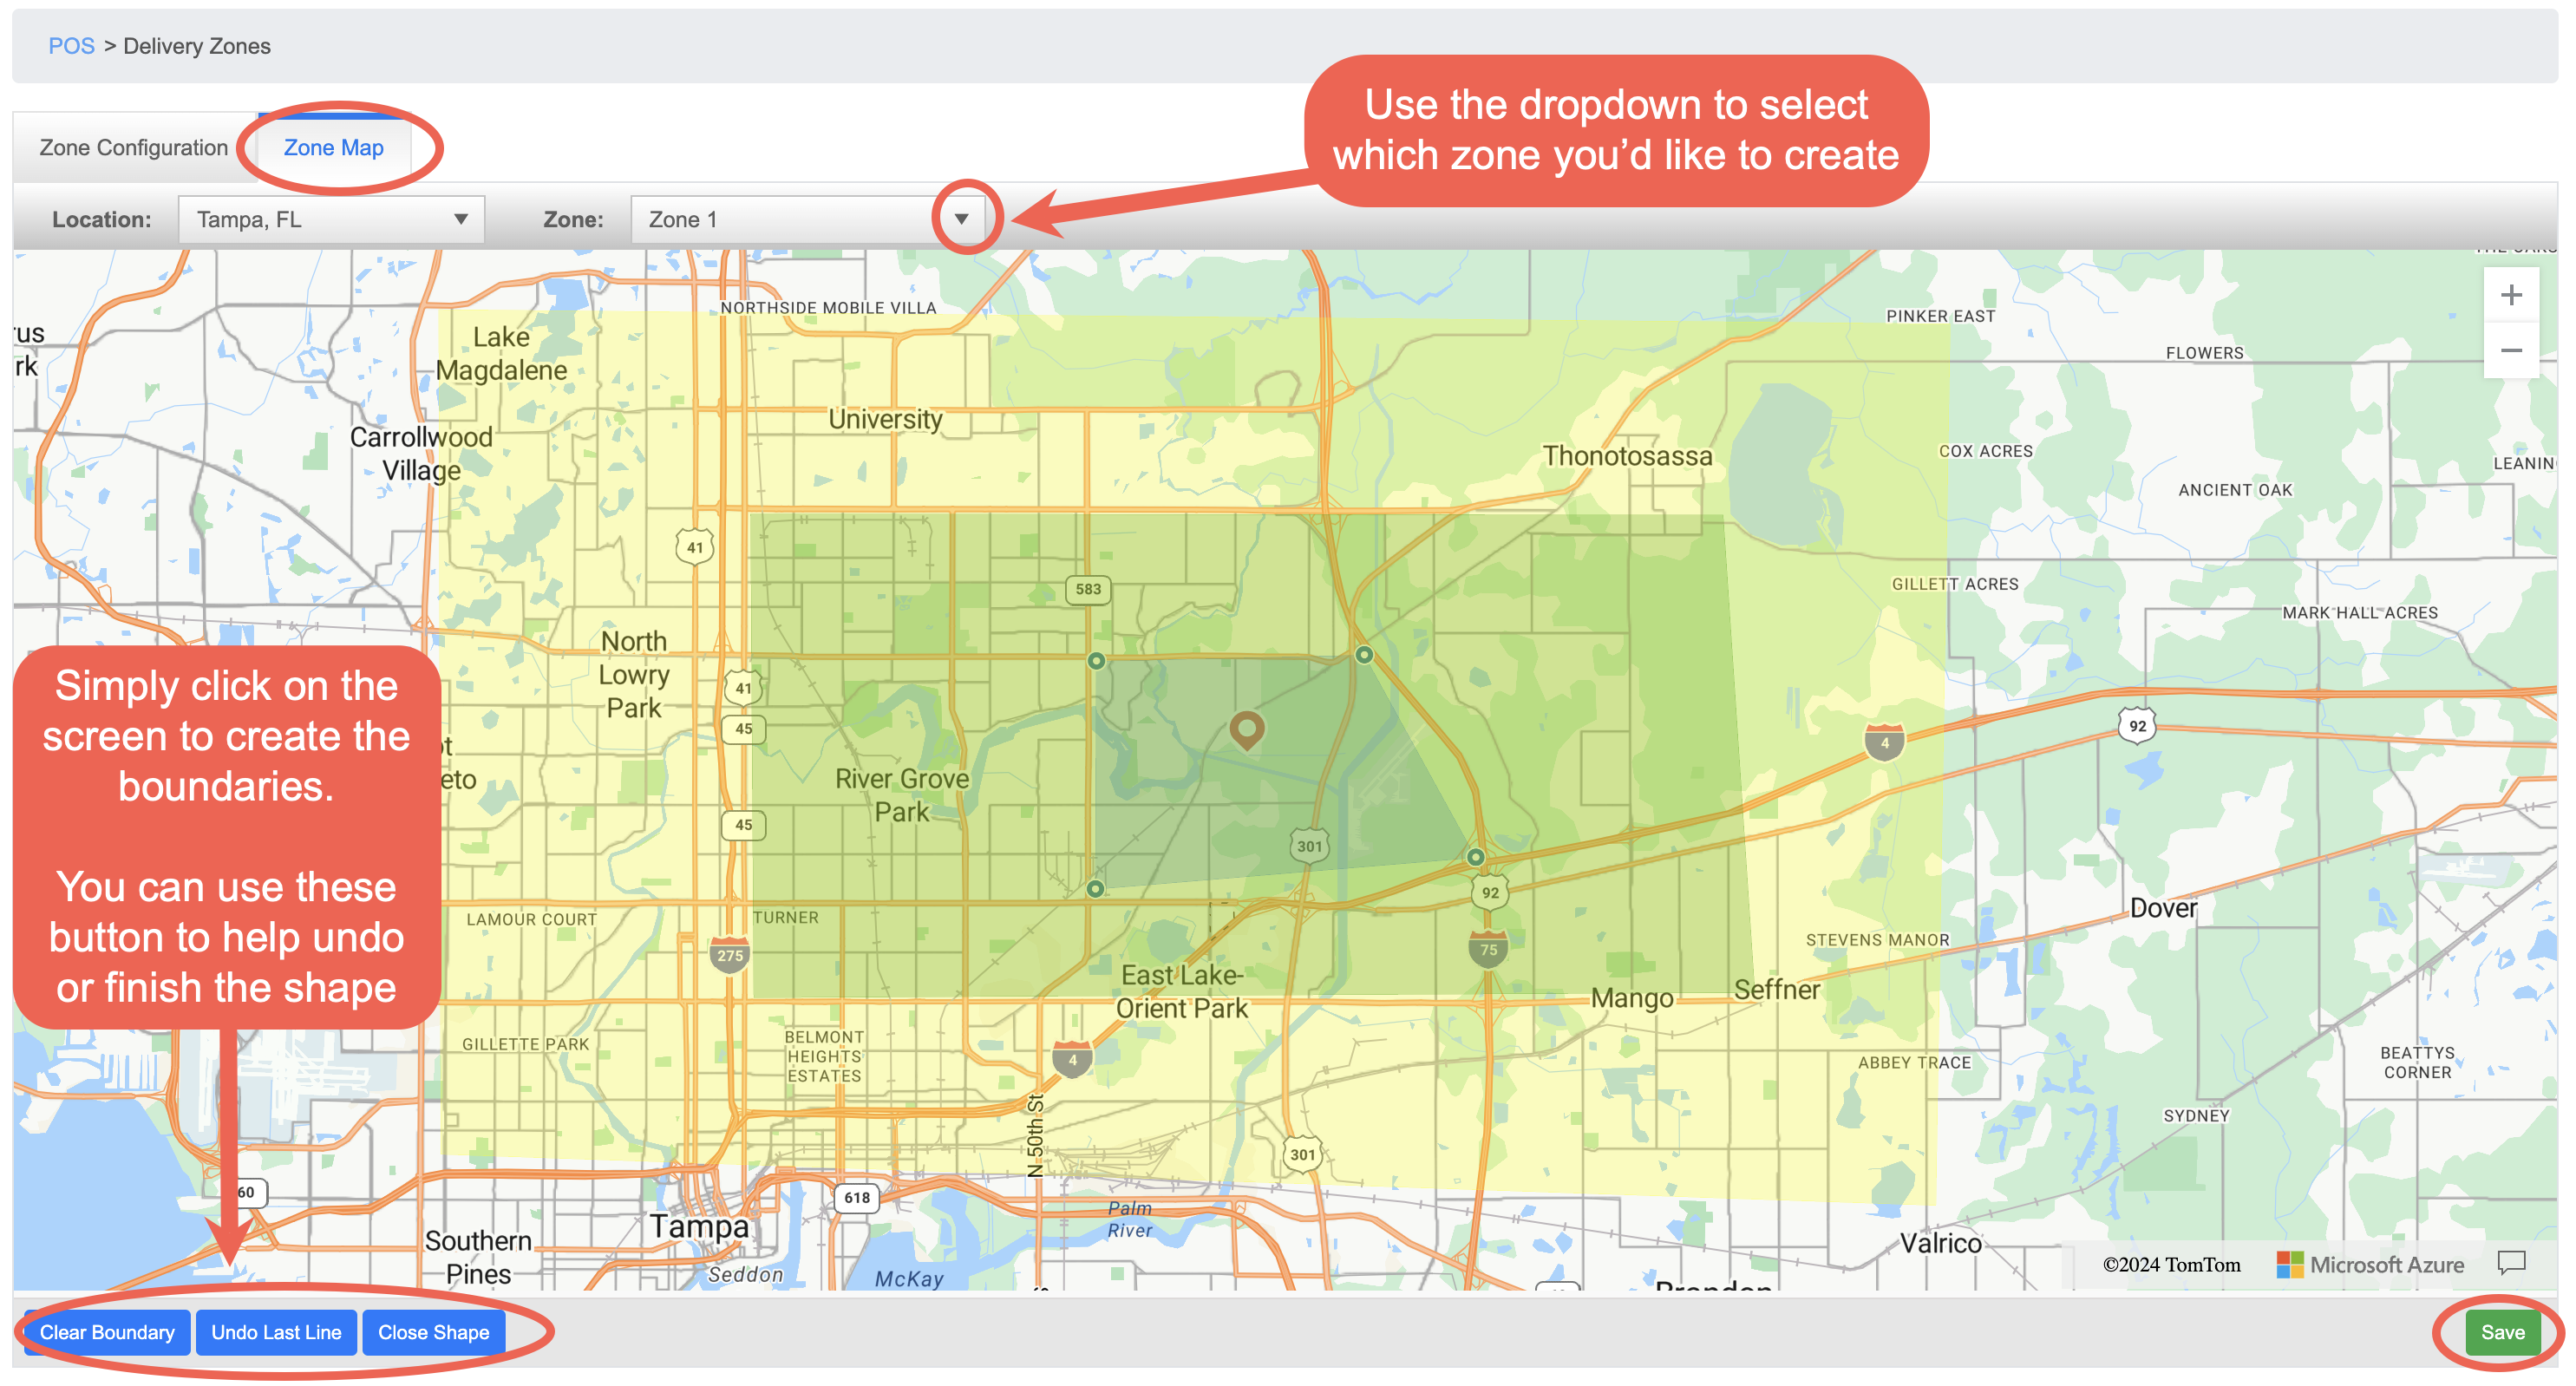
Here is an example of building zones on the zone map
No Comments