
How to configure a Discount
There are many different setting on what can be configured in a discount, and this document will walk you thru how to set one up.
Note: A couple of the features you will only see if you have Online Ordering configured
To Navigate to Discounts
- POS --> Settings --> Discounts
- Click "+Add new record"
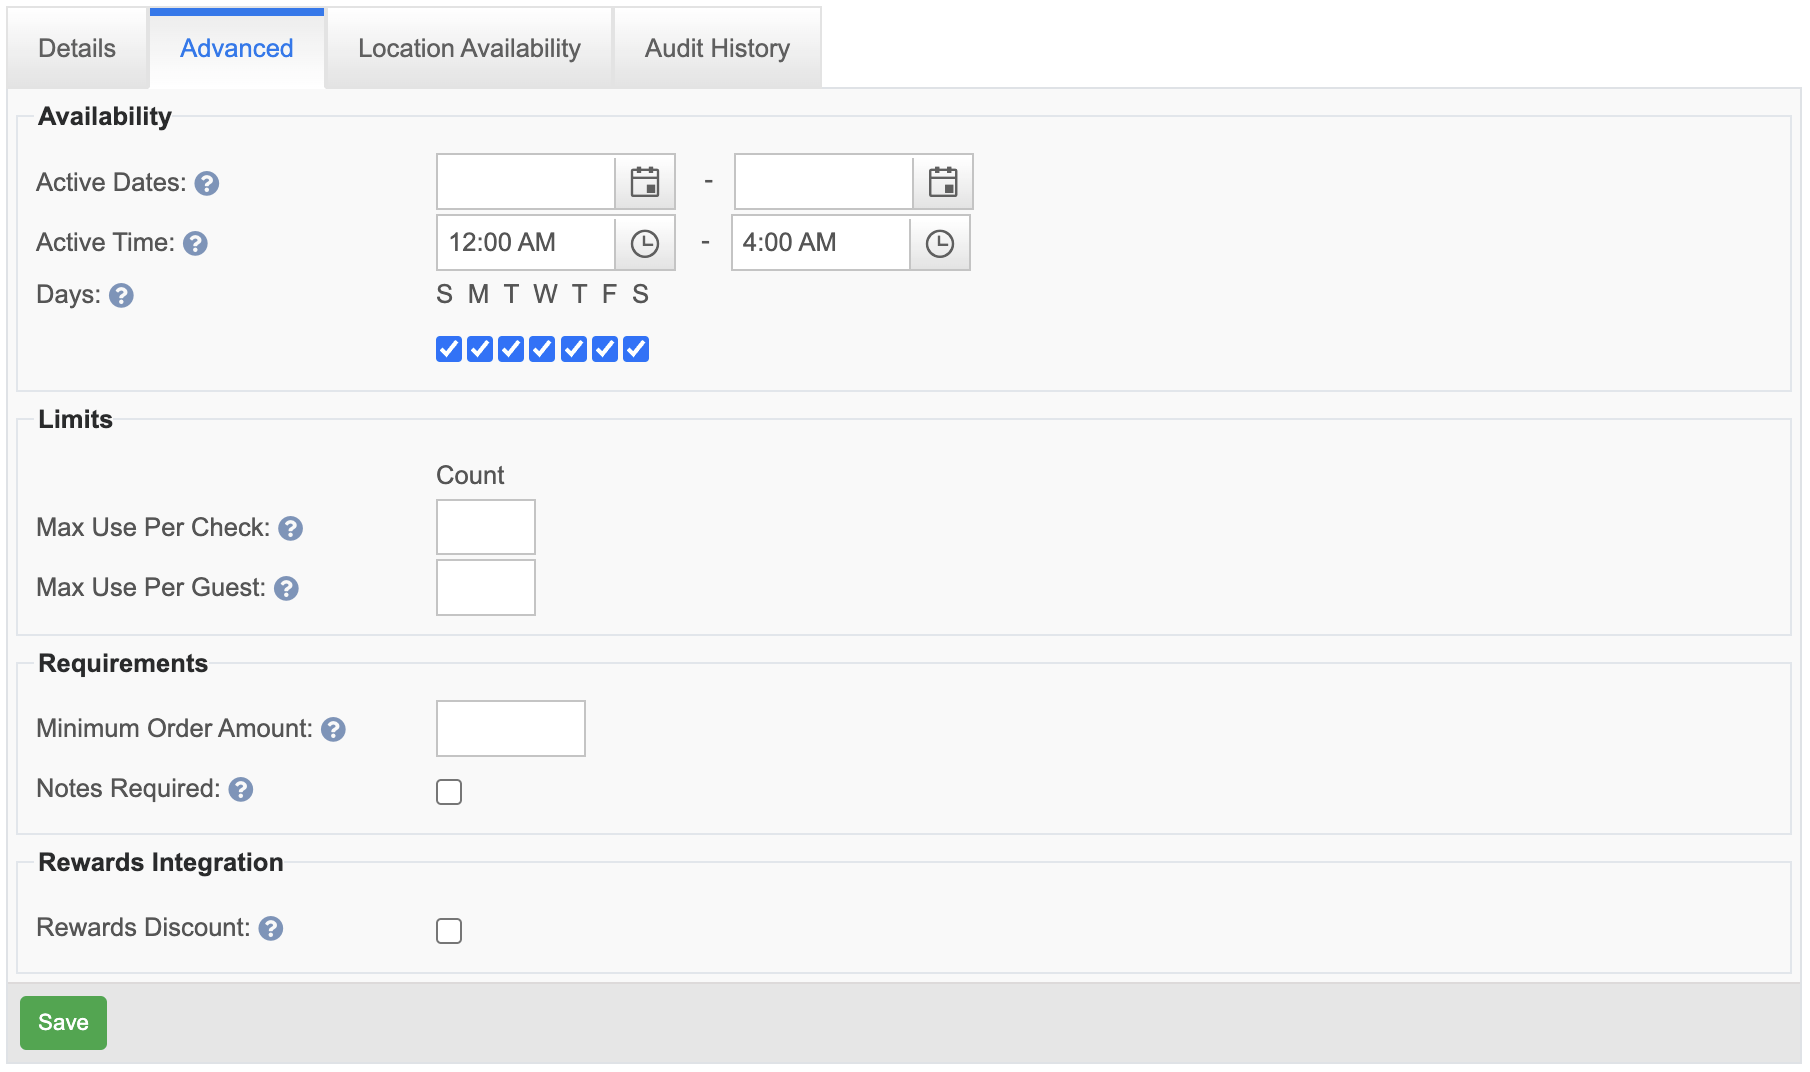
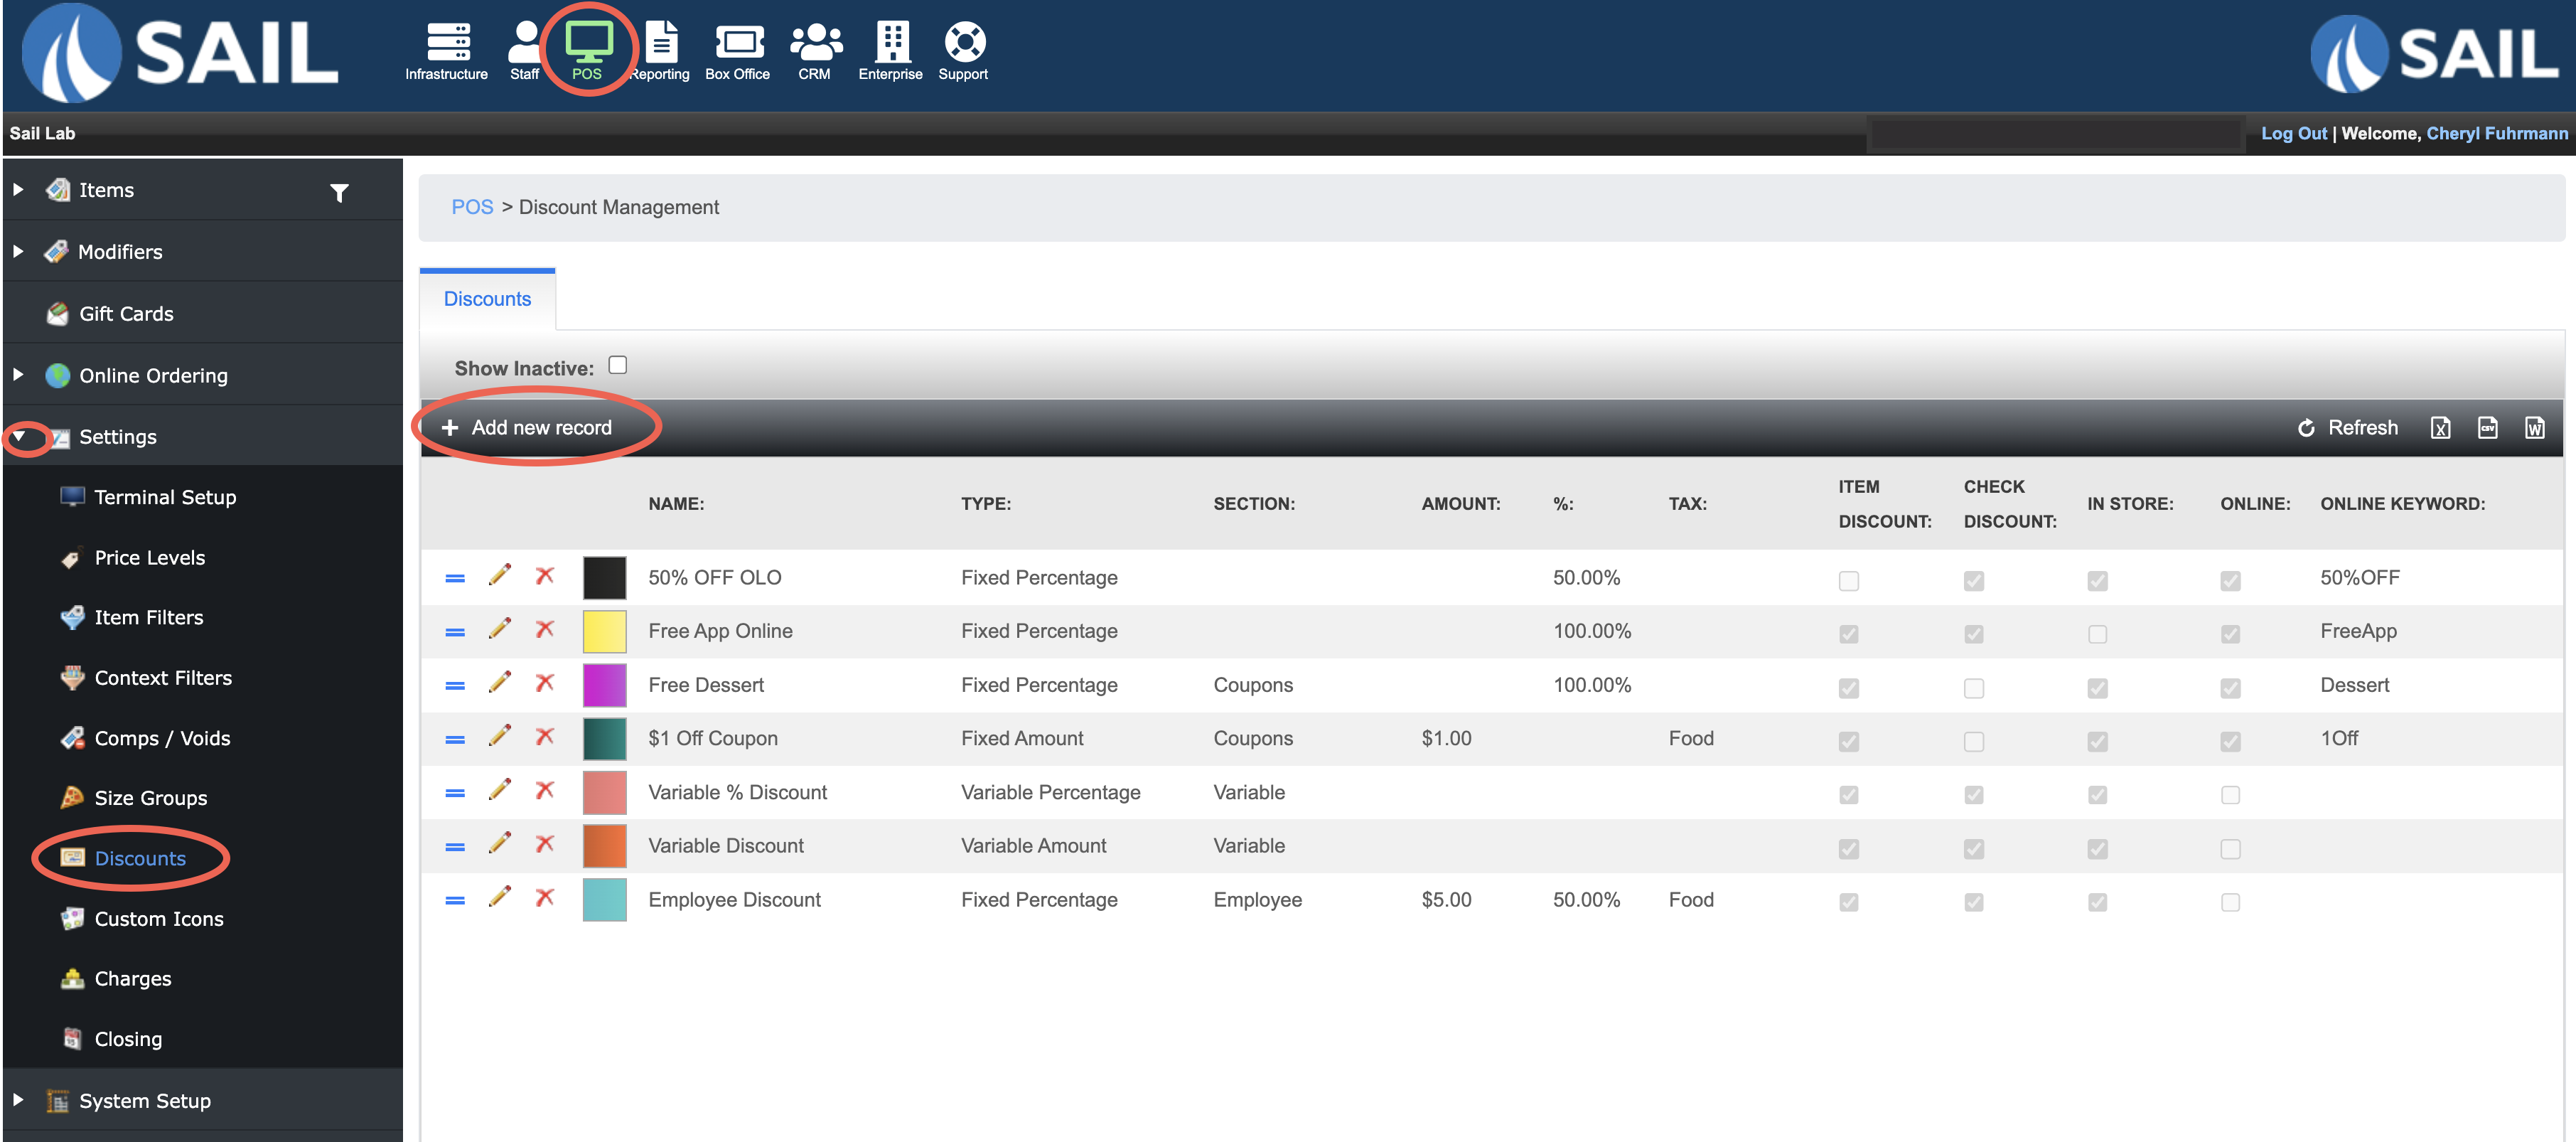
Display
- Icon: Optionally, select a percent or dollar icon to appear on the POS
- Name: Enter the name of the discount. It will appear on the POS and reports
- Section: Optionally, specify a section for this discount. The section name will group like discounts together on the POS
- Background: Select the color the button will appear on the POS system
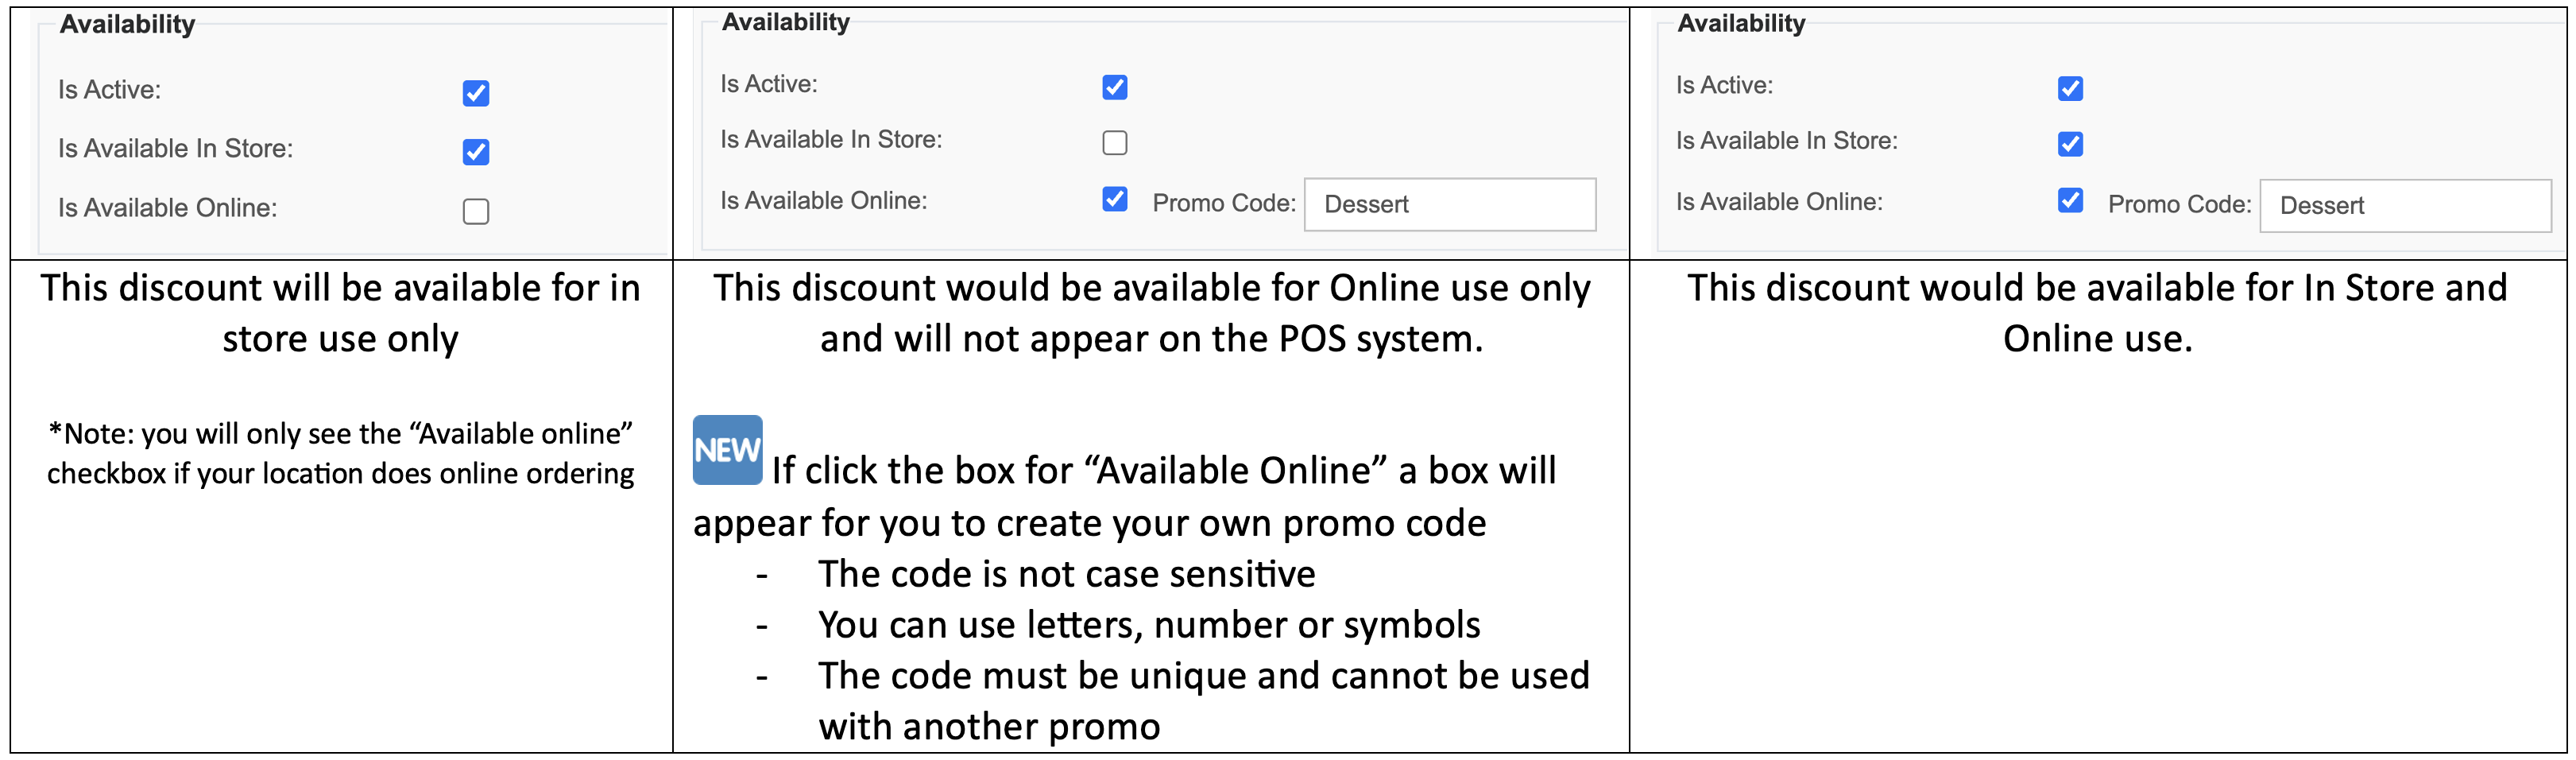
Availability
- The discount can be set for available in store, online or both
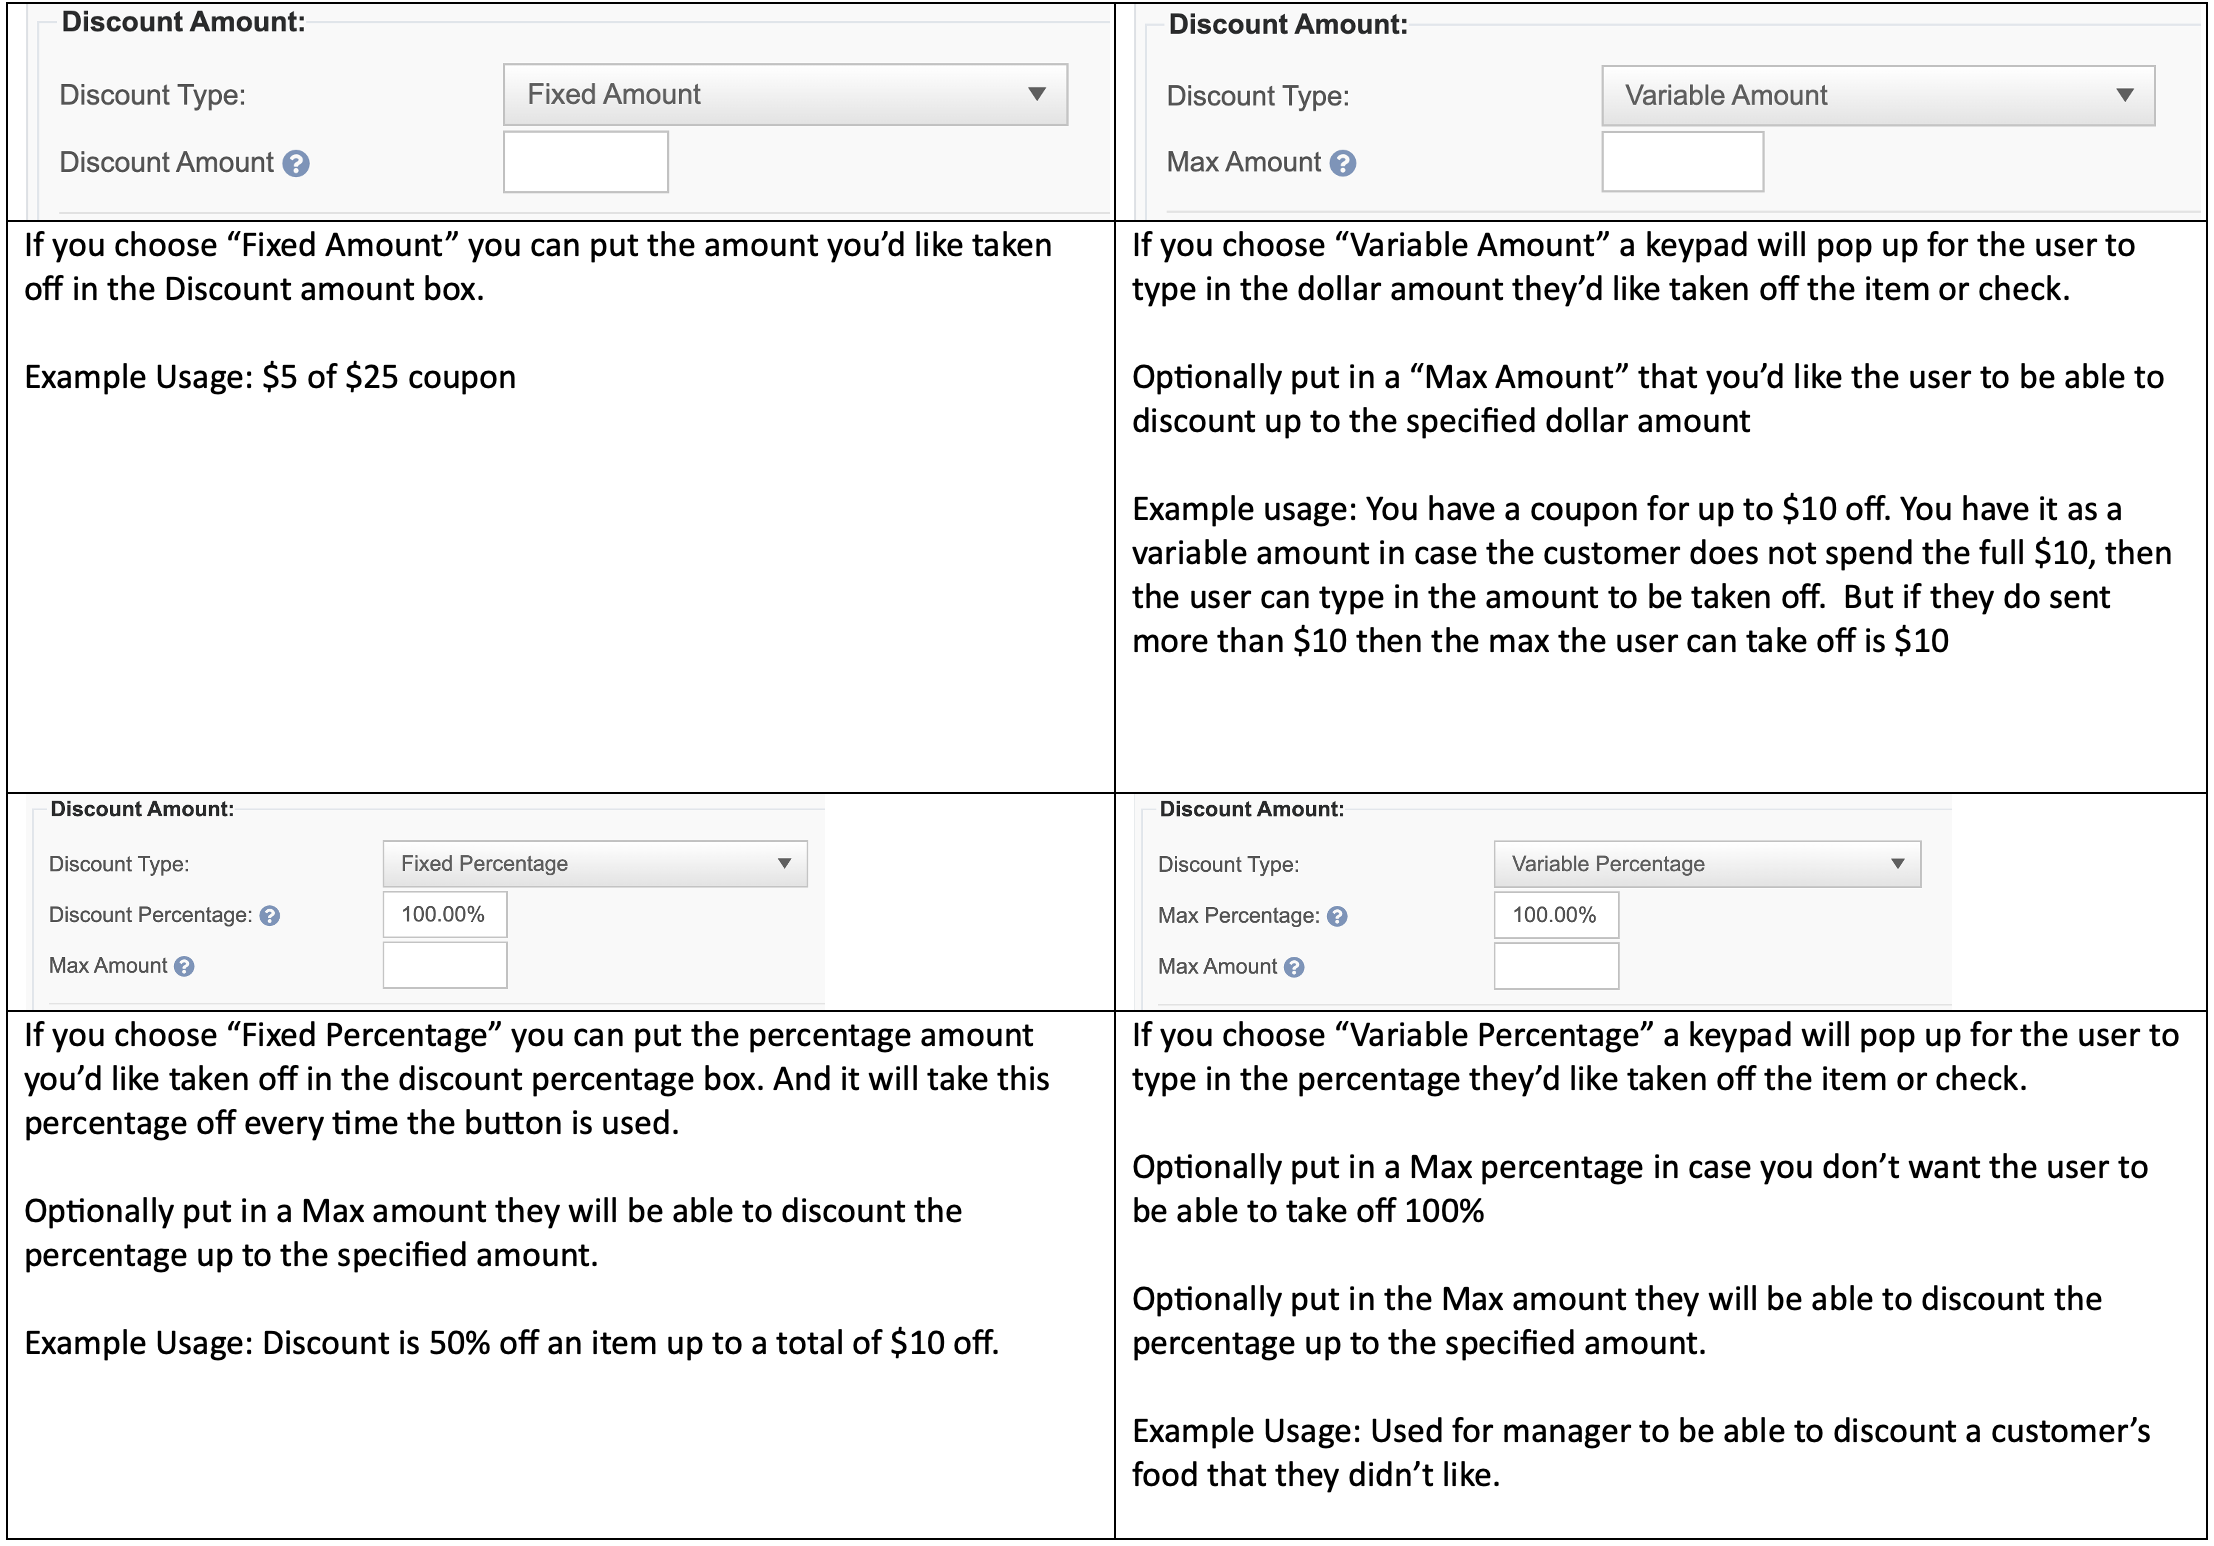
Discount Amount
- Your discount can either be a fixed amount or variable amount.
- and it can be a Dollar amount off or a percentage amount off
- Here are all your options:
Tax Type
- Tax type can be used to select the tax type this discount is valid for.
- When the discount is a fixed amount, it will deduct the tax amount based on the tax type specified here
- If the discount is based on a percentage, it will only apply the percentage to the items that match this tax type.
- Example usage: Employee discount set to the food tax type
- If your staff stays after work and has food and drinks this discount would only take the amount off the food tax type and not any alcohol
- If can not select more than 1 tax type, so if your discount is valid on more than 1 tax type then you can select "Any" from the drop down
![]()
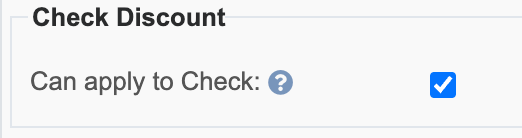
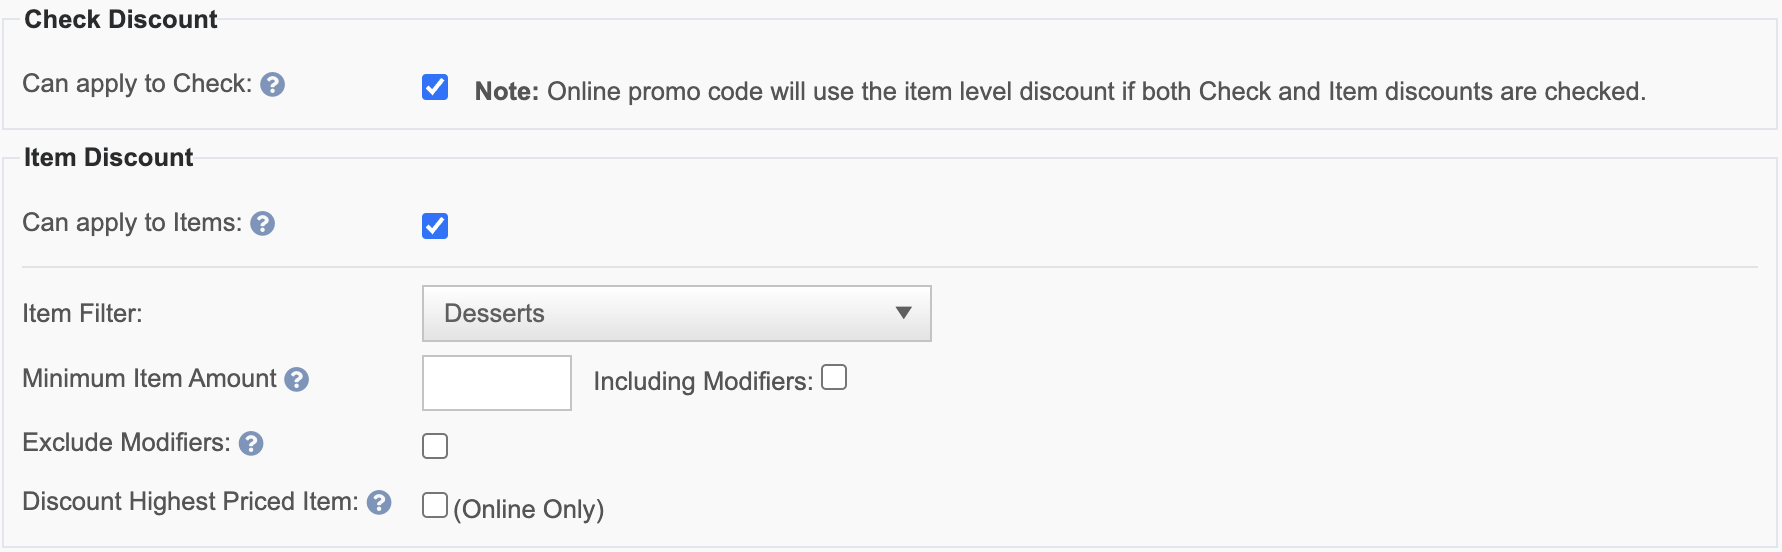
Check Discount
- A check level discount will not look at the items on your order, it will only take the dollar amount or percentage off the subtotal of the order.
- Because Check level discounts don't look at the items it will not take the amount off the reporting group of the items and will show as its own line item on the Sales reports
- When using a check level discount in store, the seats at the top of the screen need to be selected for which seats you'd like the discount applied to
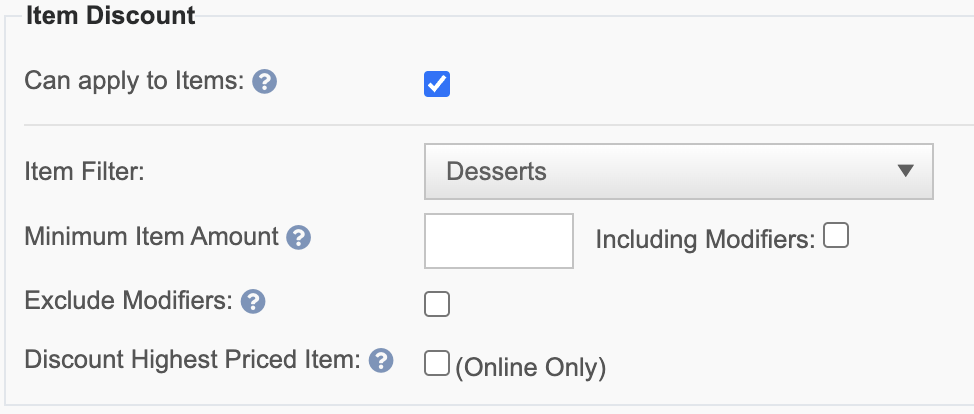
Item Discount
- An item level discount will only take the discount off the individual item selected
- Because its coming off the individual item it will also be taken off the reporting group on the sales reports
- Optional settings
- Item Filter: you can create an item filter to select only the items you'd like this discount to apply to
- Minimum Item amount: The subtotal of the parent item (before modifiers) being discounted must be equal or greater than this amount for the discount to be applicable.
- Including Modifiers: The subtotal of the parent item (including modifiers) being discounted must be equal or greater than this amount for the discount to be applicable.
- Exclude Modifiers: If checked it will only discount the parent item. The customer will still need to be charged for additional modifiers
- Discount Highest prices item: If checked it will discount the highest priced item on the order.
- If not checked it will default to discount the lowest priced item on the order
- This checkbox is only for online use, because in store the user needs to select the item being discounted
Both Check and Item discount
- A discount can be used as both a check level or an item level discount
- They will be separated on the terminal screens and you will need to select the correct button
- For the item level discounts you will need to have an item selected and use the discount on the top in the Item level section
- For the check level discounts you will need to have 1 or more seats selected and use the discount on the bottom in the check level section.
- If you use this option, note that online the promo code will use the item level discount only
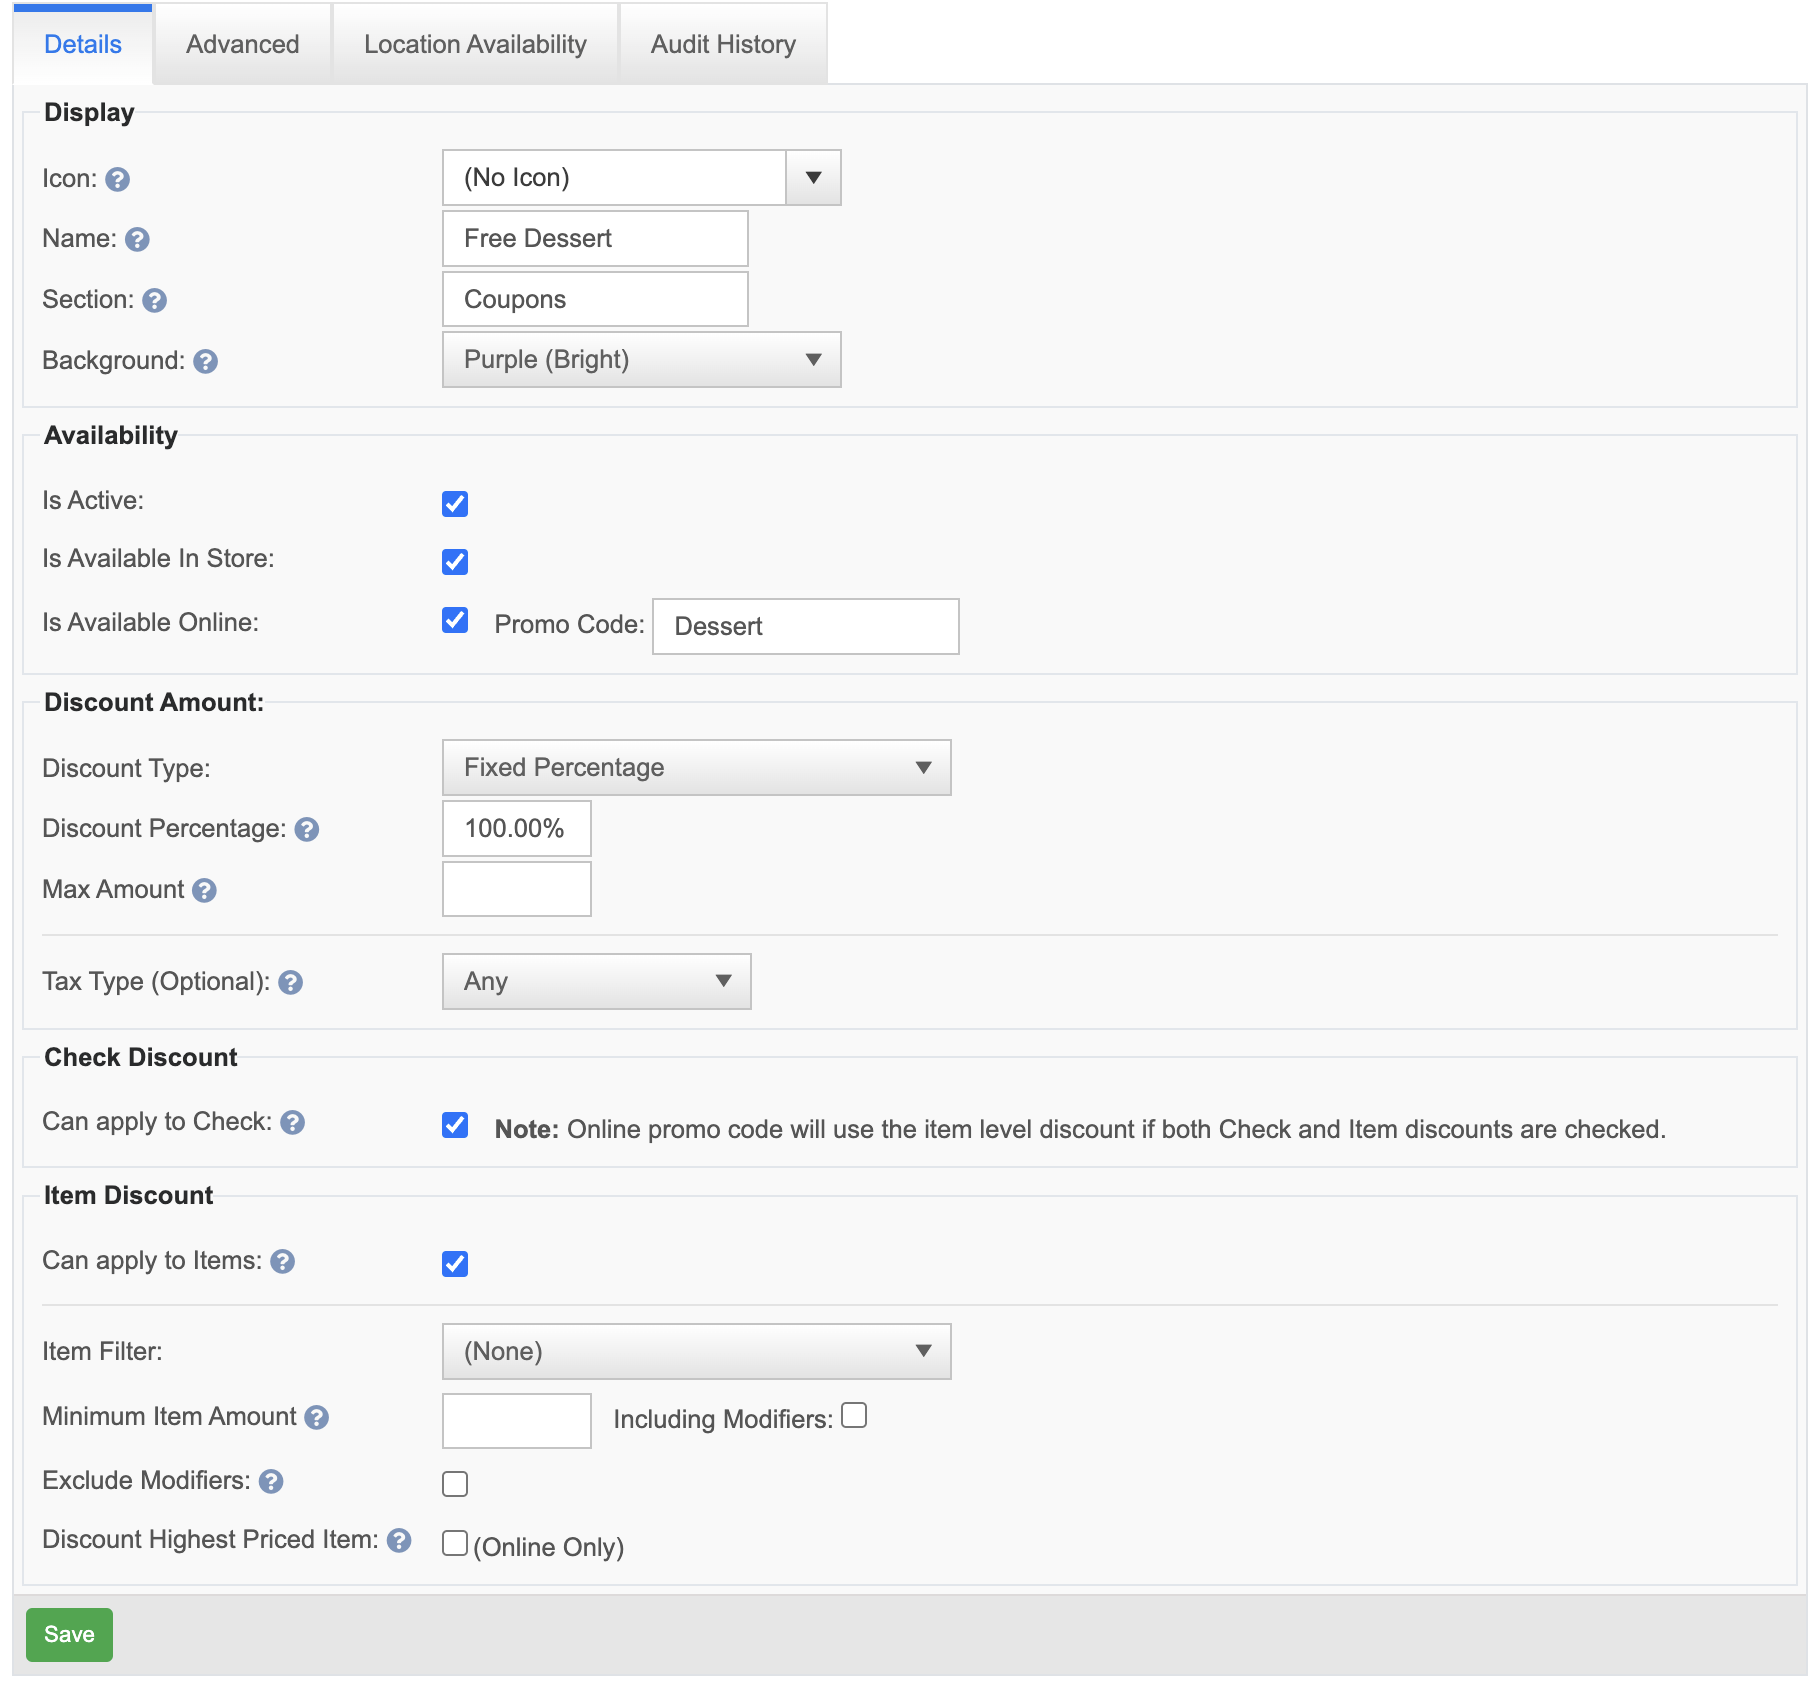
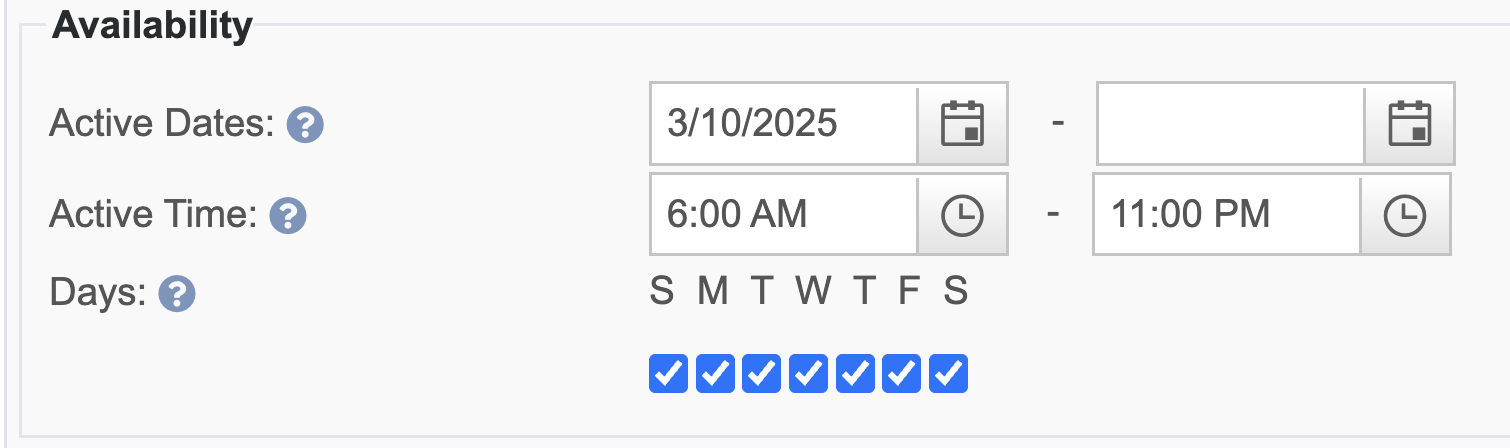
Advanced Availability
- Active Dates: Optionally set a date range that this discount is valid for
- If both dates are blank the discount will be valid until you inactivate it
- If the starting date is blank and ending it filled it, Then it is good immediately and good until the end of the day on the ending date.
- If the start date is filled in and the ending day is blank, Then this discount is not good until the beginning of the starting date and will continue to be valid until you inactive it.
- Active Times: Optionally set a time range that this discount is valid for
- Days: Optionally select the days of the week that this discount is valid for
Limits
- You can restrict how many times a discount can be applied per check or per guest:
- Max Use per Check: Set the maximum number of times this discount can be used on a single check
- Max Use per Guest: Set the maximum number of times this discount can be used for each individual guest.

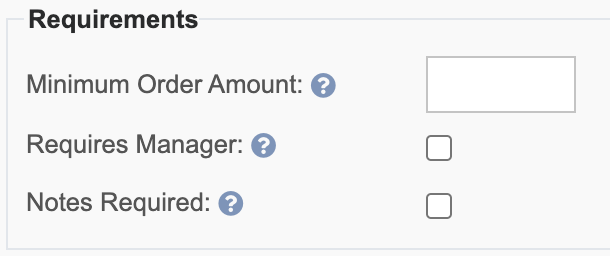
Requirements
- Optionally you can now set a "Minimum order Amount"
- The order subtotal must be equal or greater than the amount for this discount to be applicable
- Example usage for a check level discount: if you have a $5 off $25 coupon, you would set the minimum order amount to $25. This ensures that the $5 off discount can only be applied when the customer’s total check reaches or exceeds $25
- Example usage for an Item level discount: if you offer a “Free Cheese Bread with a $25 purchase” promotion, you would set the minimum order amount to $25. Once the customer’s check subtotal reaches or exceeds that amount, the discount can be applied directly to the Cheese Bread item, making it free.
- Requires Manager: Optionally select if this discount can only be entered by a manager (configured in job role tasks)
- Notes Required: Optionally select notes being required. The POS will prompt a keyboard for the user to enter notes to explain why they are doing the discount. These notes are visible in the discount audit report
Now that you've configured the discount click the link to see How to add a discount to an item or check on the terminal
No Comments