
How to create a Shortcut
This document will show you how to create a Shortcut
A shortcut is a set of actions that can occur with 1 button click
How to create a new Shortcut
- Backoffice --> POS
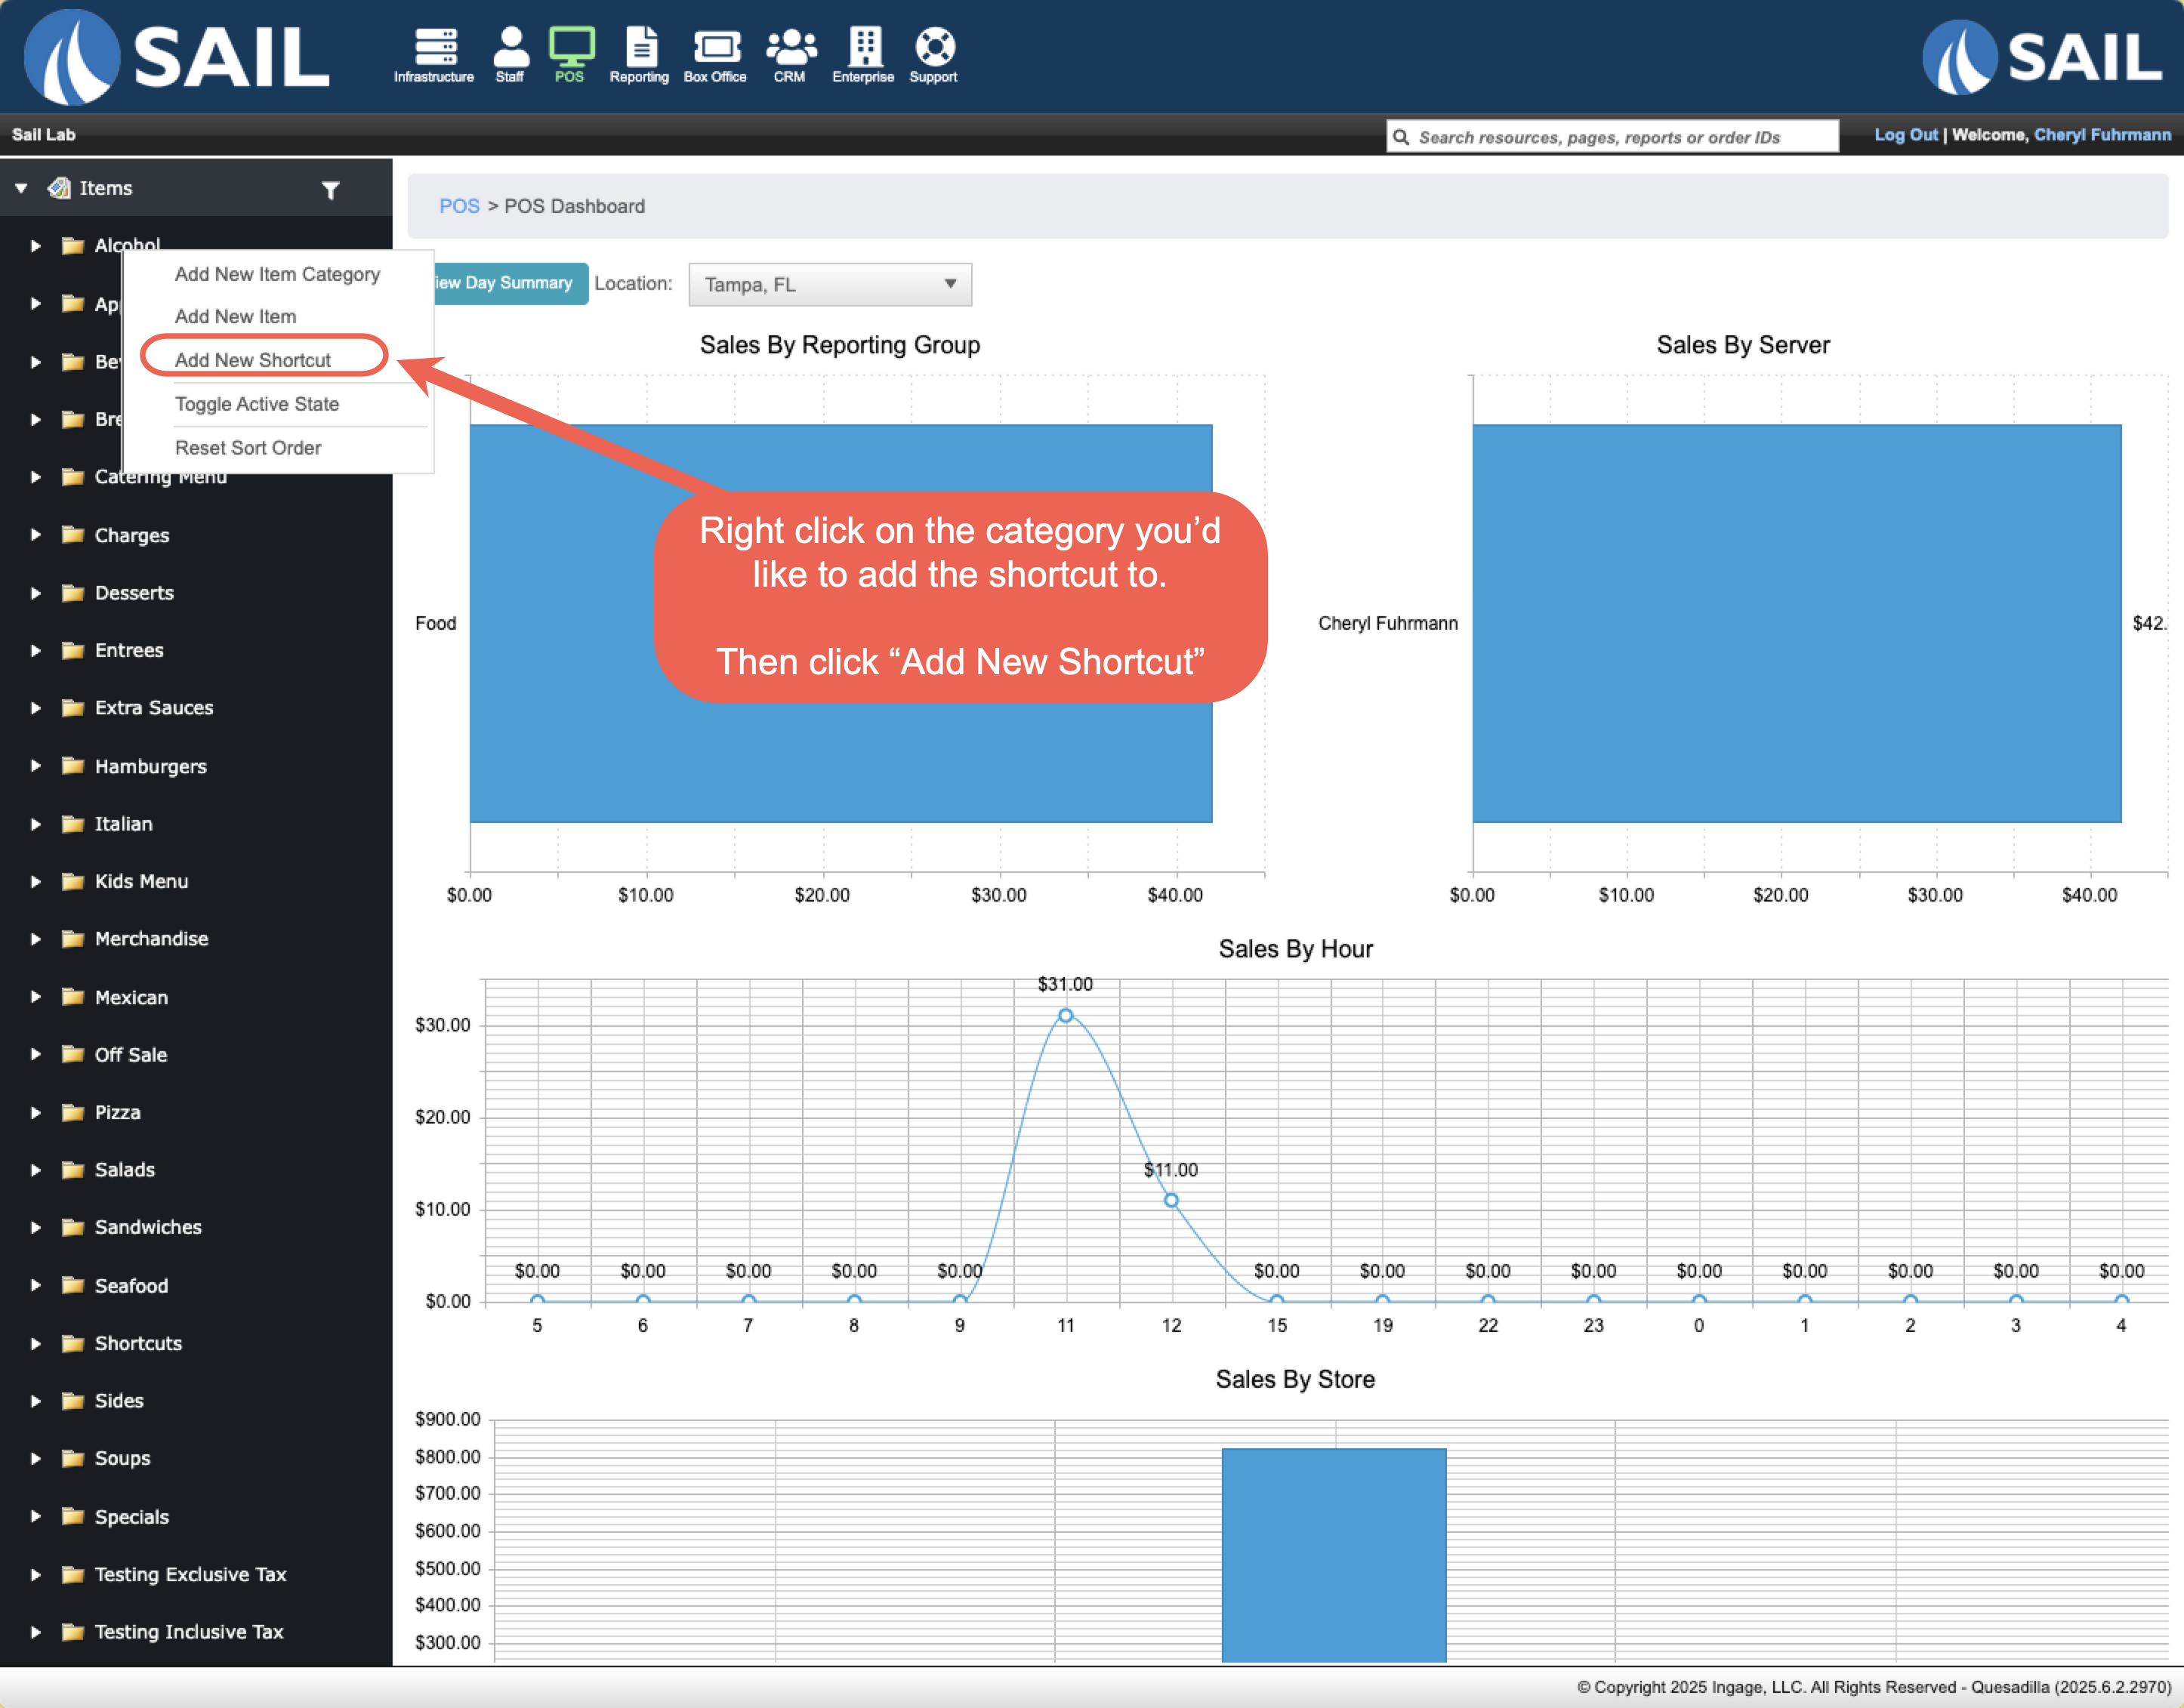
- Right Click on the category you'd like to add the shortcut to
- Shortcuts can ONLY go in categories
- Then click "Add New Shortcut"
Give your shortcut a name:
- Icon: The shortcut will appear like any other item on the screen, so you can give it an icon
- Name: This name will only appear on the terminal and handheld.
- It will not appear on reports or receipts
- Description: You can optionally enter a description to better describe it for future references
- the Optional Settings section will apply to the whole shortcut and not the individual actions
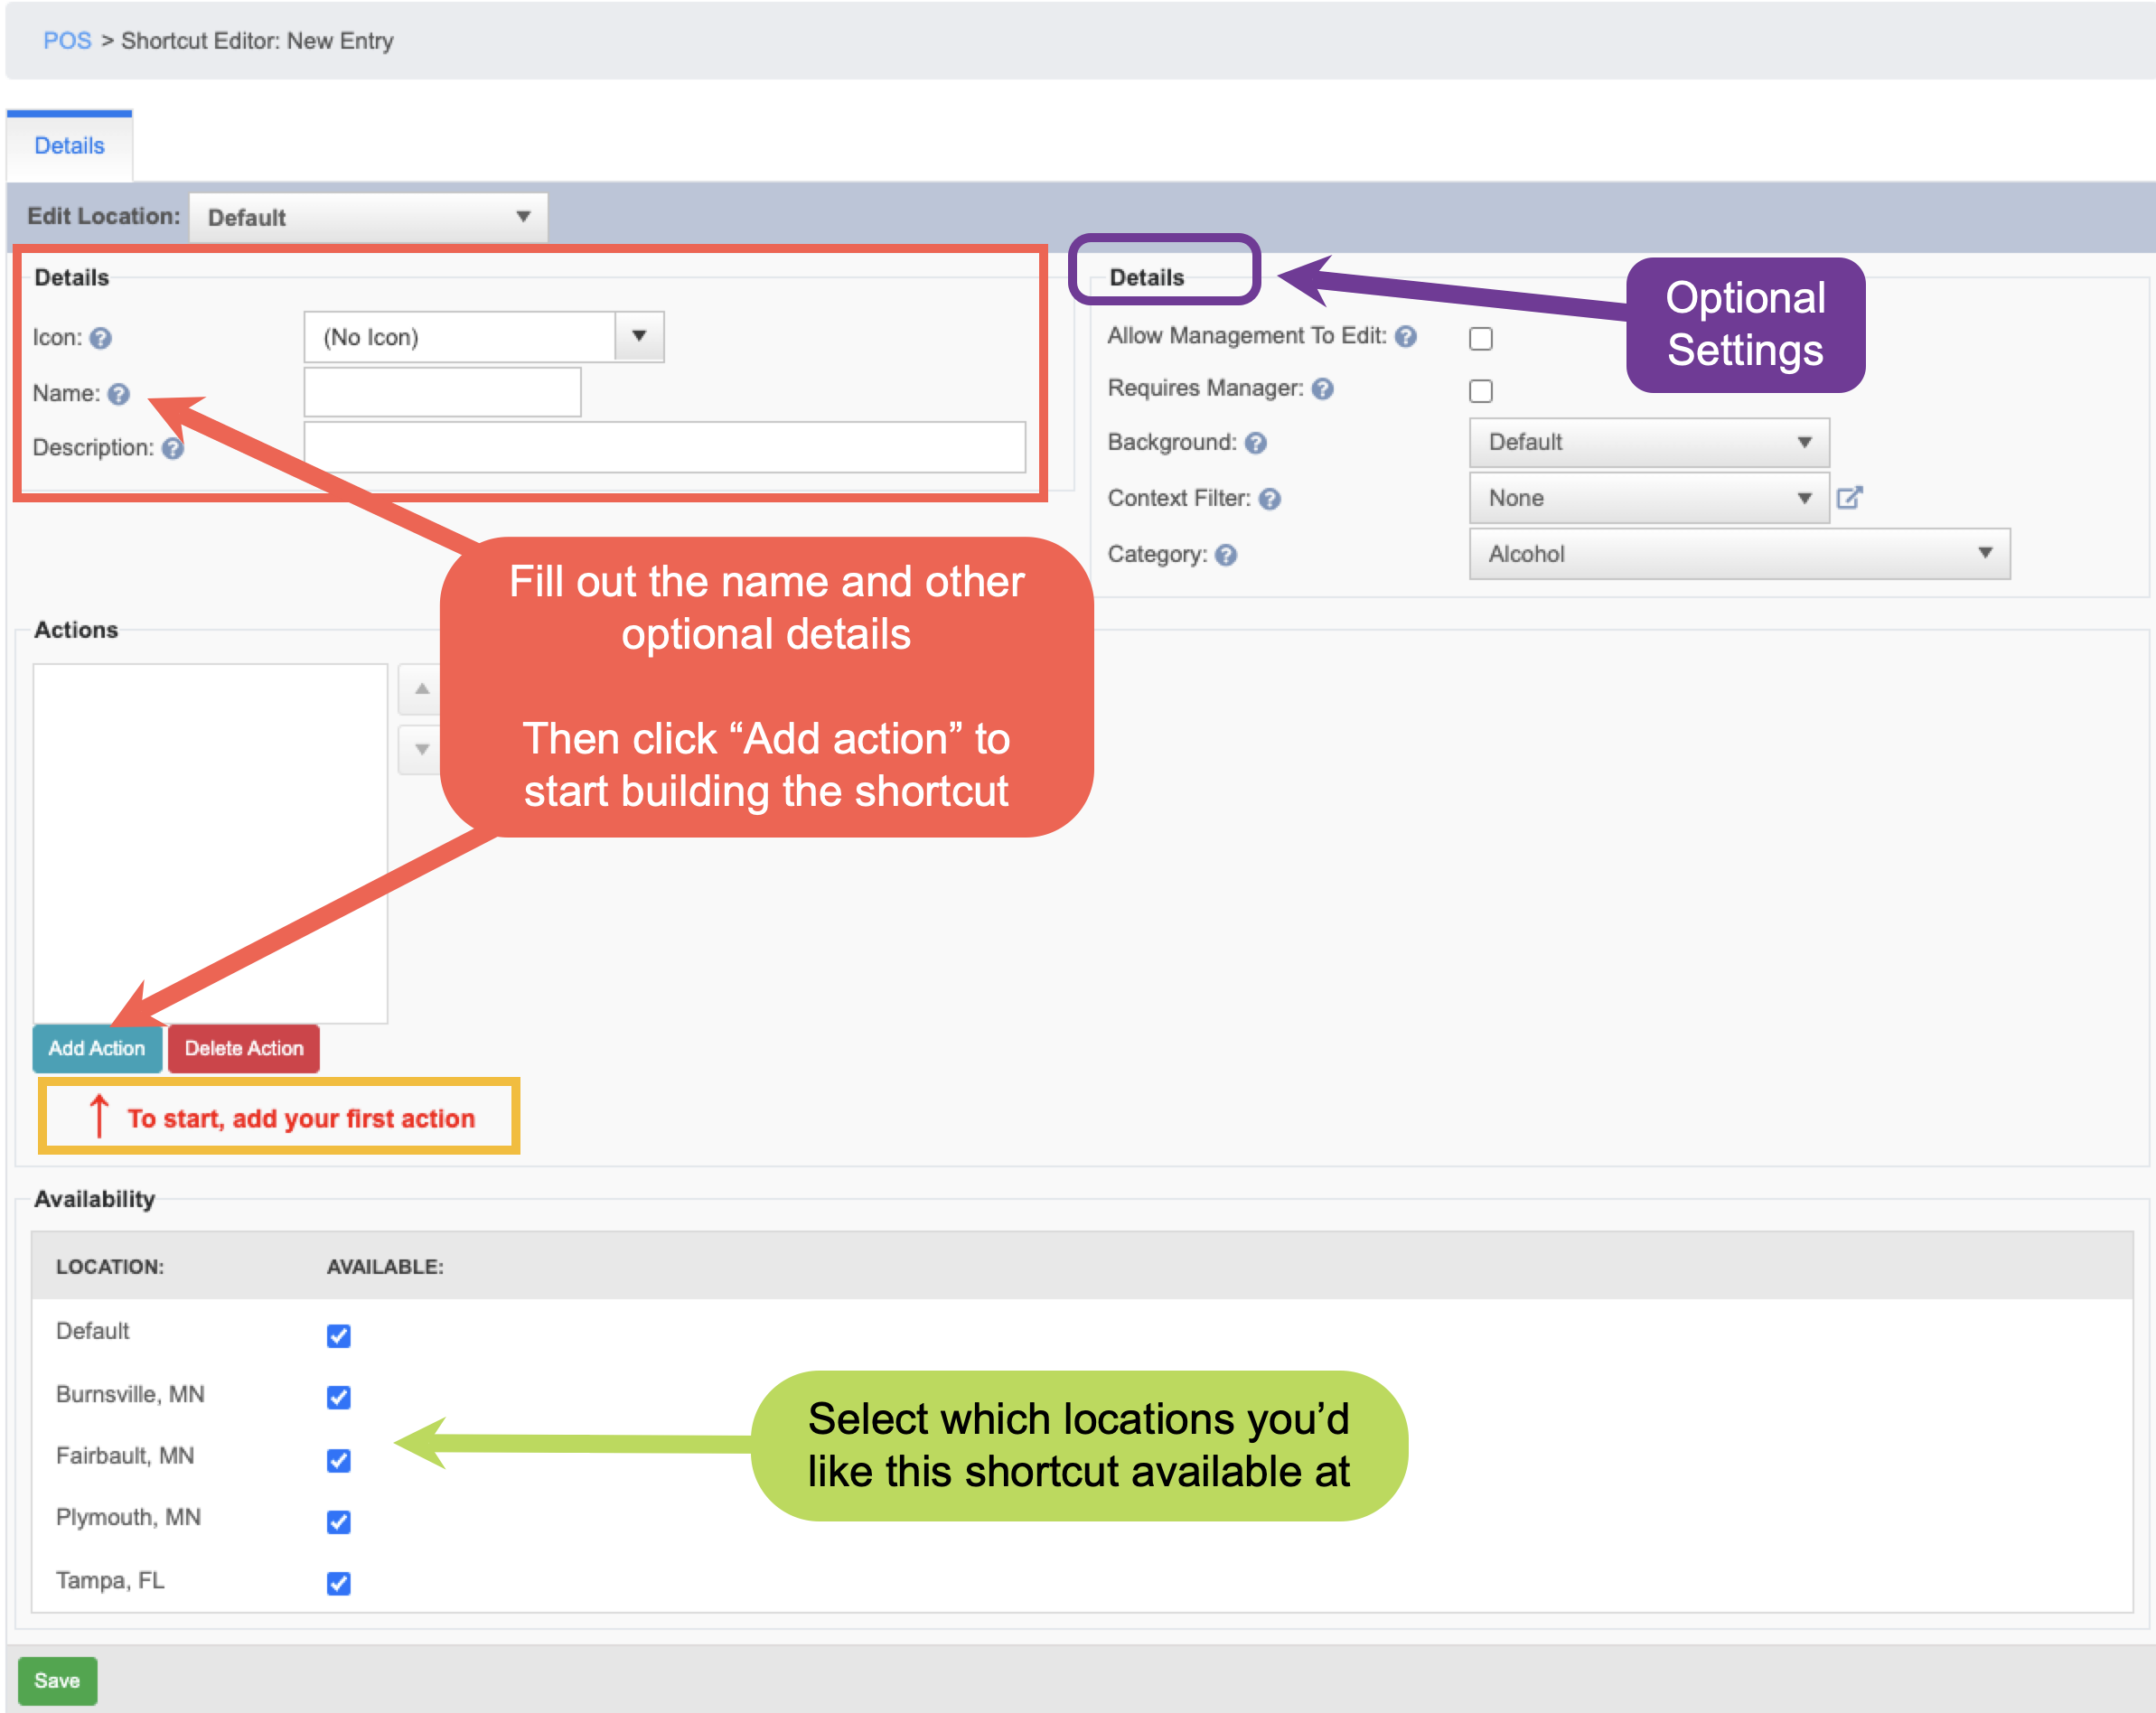
Add Actions
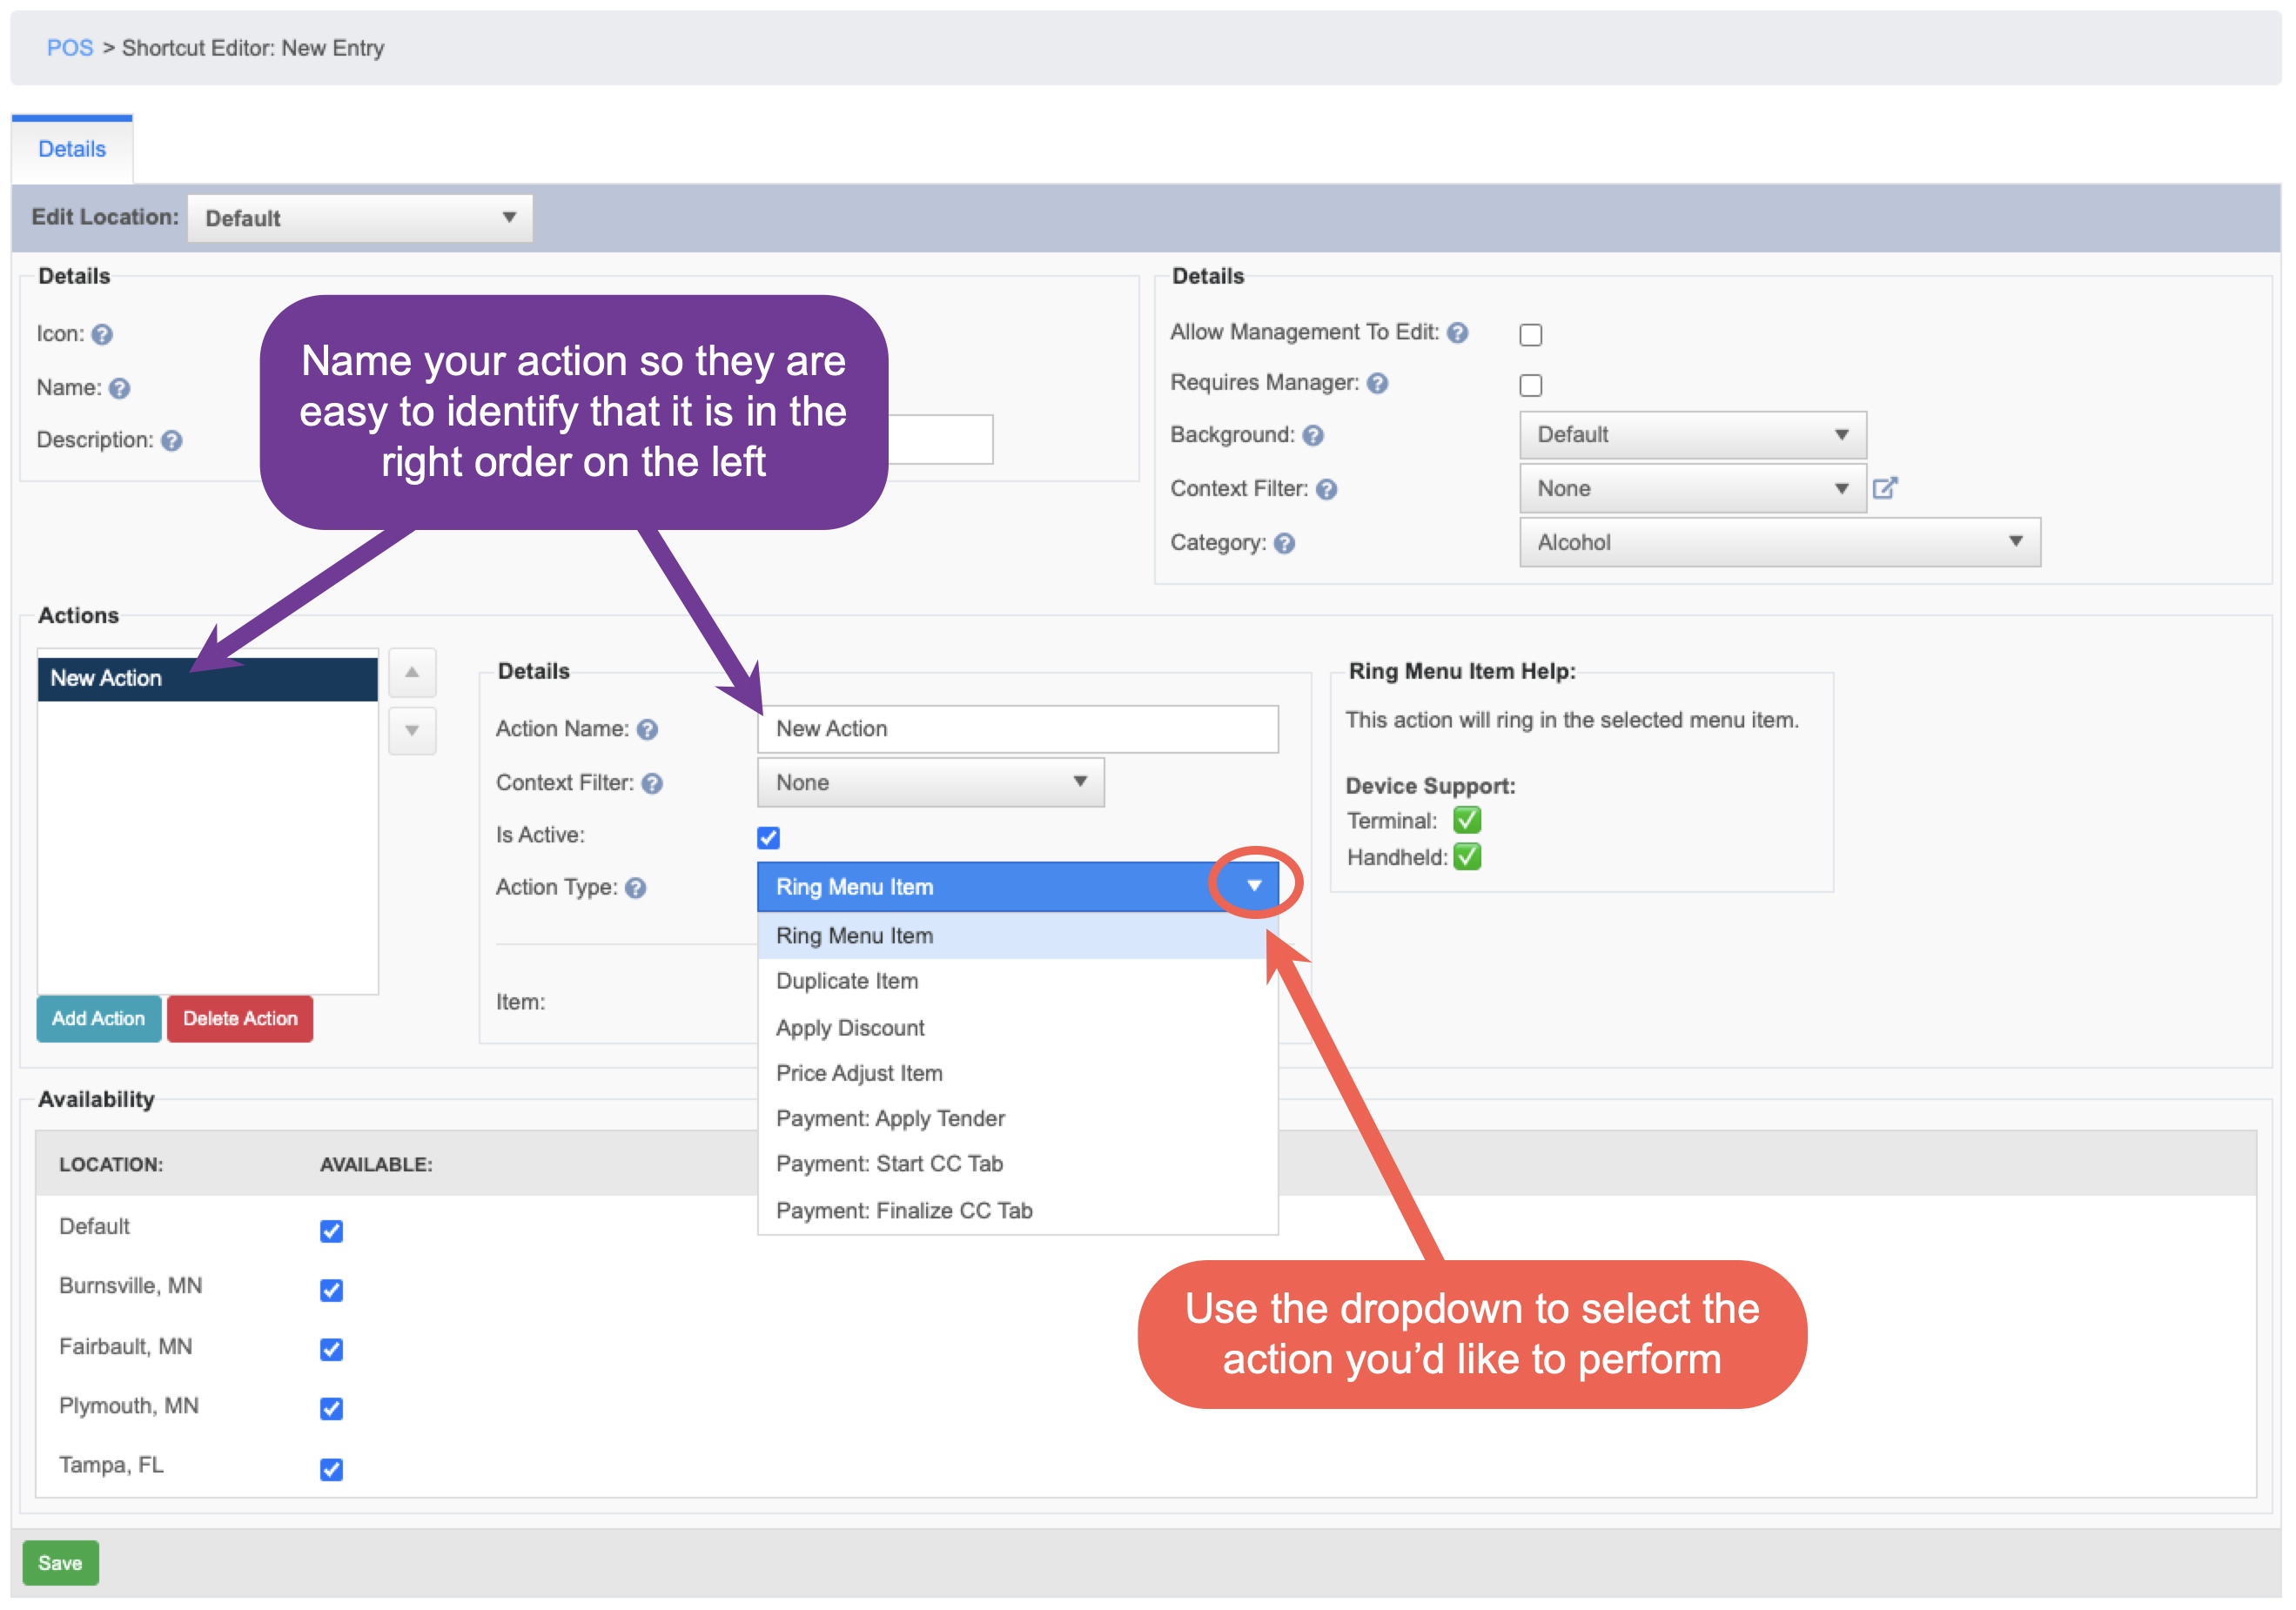
- Name each action you add so that you can identify the action and that its in the right order
- You can add context filters to the individual actions in this section
- Use the "Action Type" dropdown to select which action you'd like to perform
- After you select the action type there will be a "help" section on the right to describe what the action will do and which devices support it
- Some of the actions will have additional steps (See below)
Description of each action type
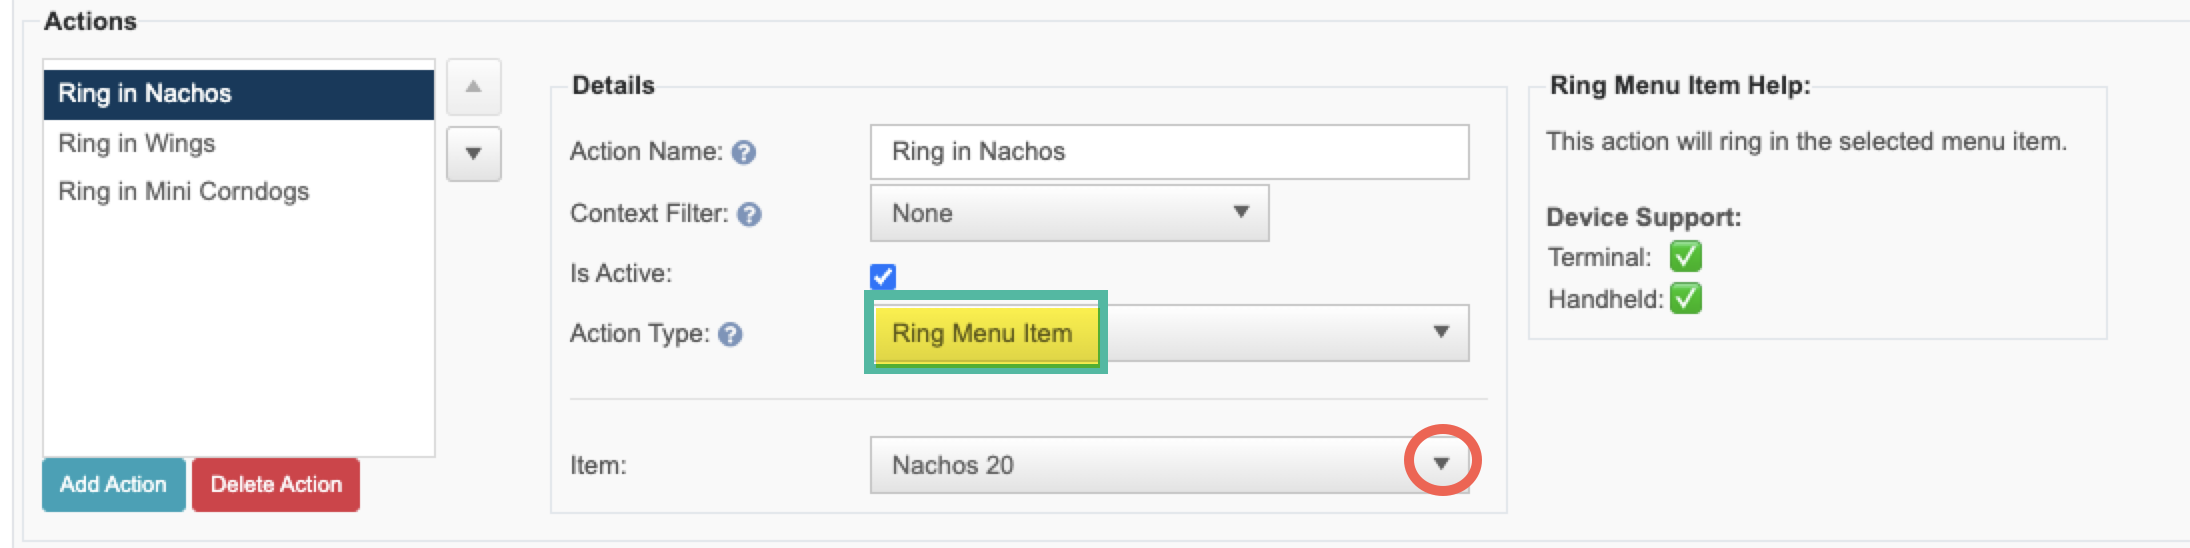
Ring in a menu item
- This action will ring in the selected menu item
- Use the "Item" dropdown to select which item you want rang in
- It will follow all the settings and prompts on that specific item
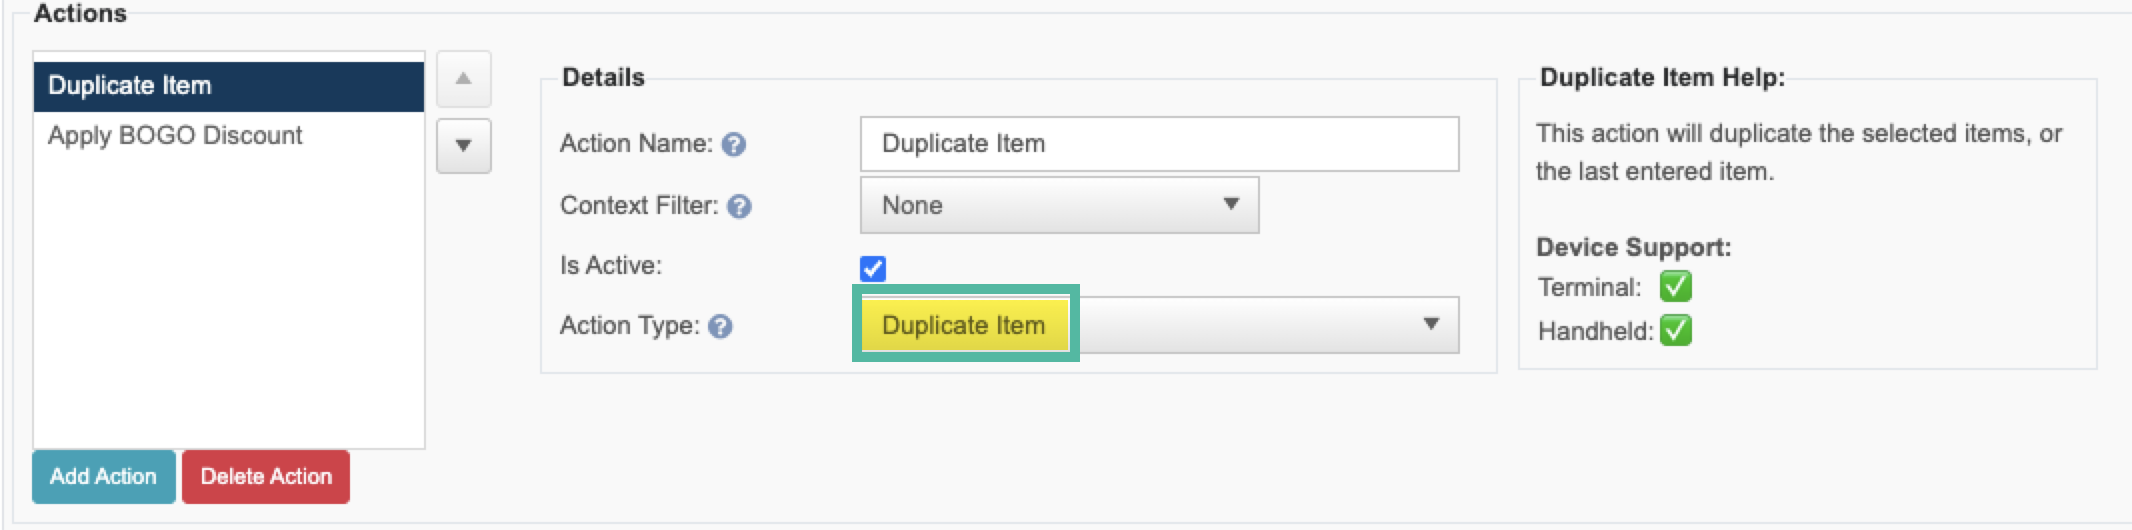
Duplicate Item
- On the terminal it will duplicate the selected item(s), or the last entered unsent item
- On the handheld it will ONLY duplicate the last entered unsent item
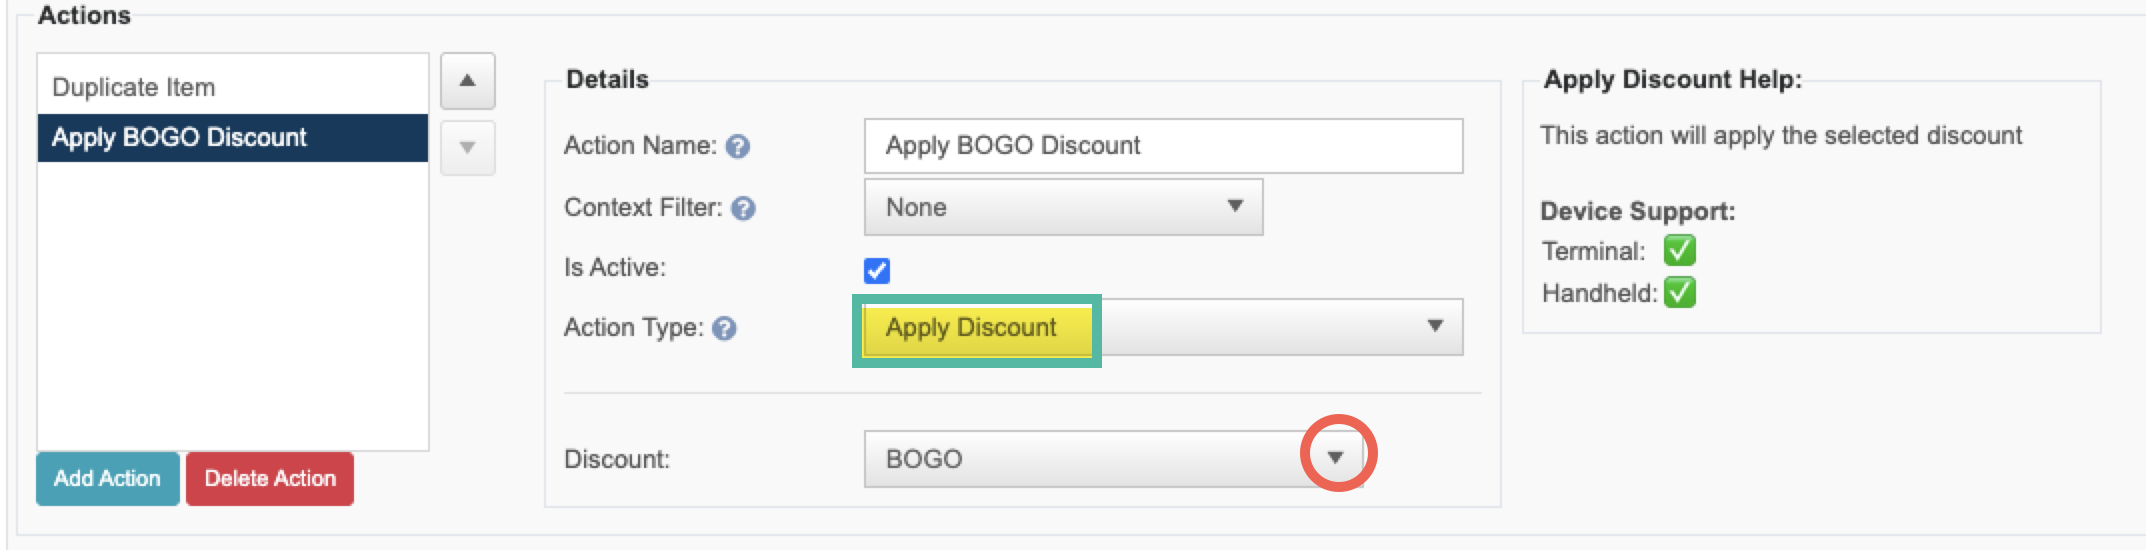
Apply a Discount
- On the terminal it will apply item level discounts to the selected item(s), or the last entered unsent item,
- It will apply check level discounts to the selected seat
- On the handheld it will ONLY apply item level discounts. It will not apply a check level discount
- It will only apply the discount to an unsent item that is still green. It will not add it to a previously sent item
- Use the "Discount" dropdown to select which discount you'd like to apply to the item/seat
- The discount will follow all the rules and settings applied when building the discount
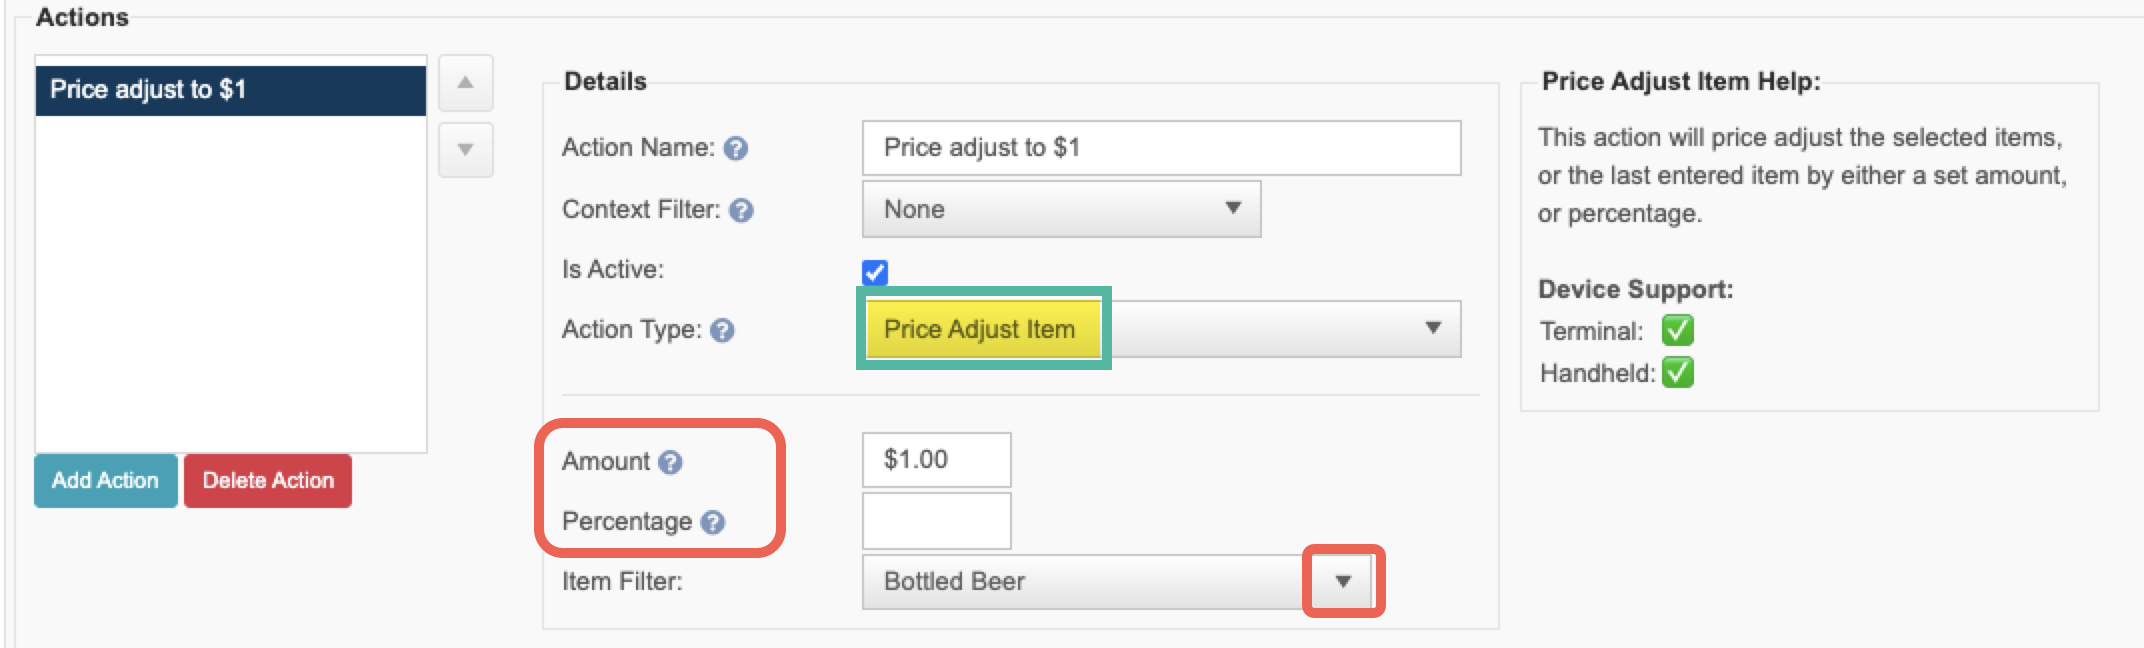
Price Adjust Item
- On the terminal it will adjust the price on the selected item(s), or the last entered unsent item
- On the handheld it will ONLY price adjust the last entered item, that is still unsent (Green)
- You will need to set if you're changing the price to a specific amount or a percentage of the original price
- Optionally you can select an "Item Filter" so that the price adjust only applies to the items you'd like it to apply to
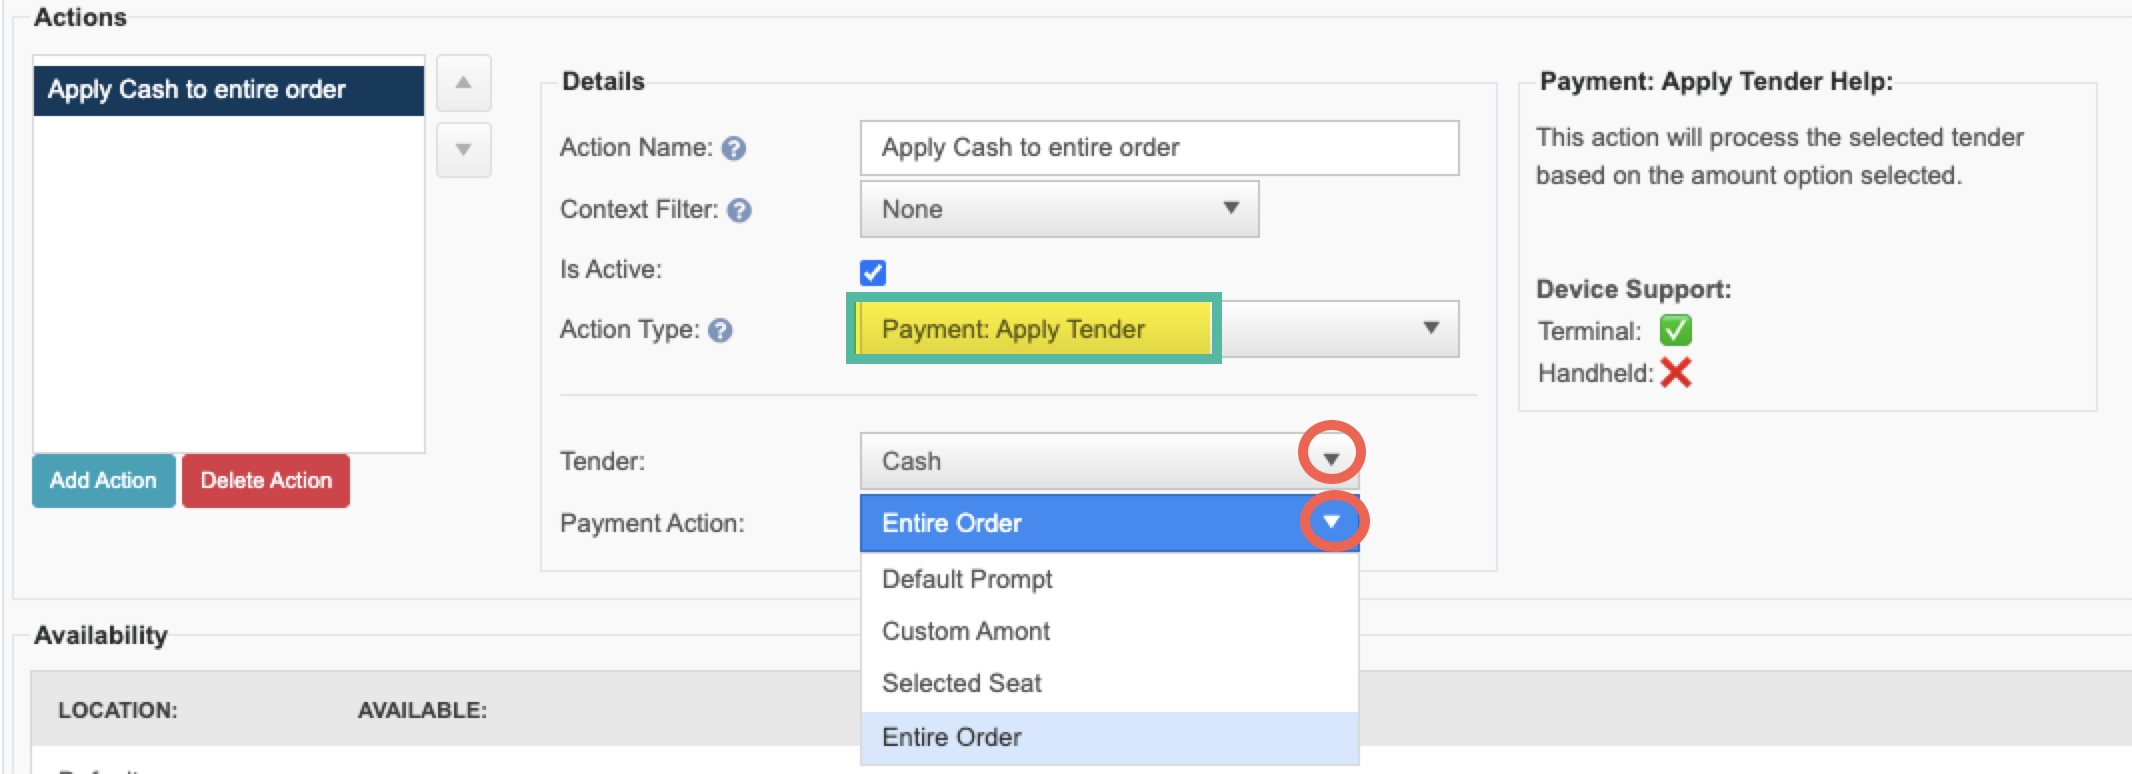
Payment: Apply Tender
- This action is only supported on the terminal
- This action is most often used directly on the speed rail instead of in a shortcut
- Use the "Tender" dropdown to select the tender type that you'd like to apply
- Use the "Payment Action" dropdown to select how they'd like the payment to be applied
- Default Prompt - is the prompt that would normally appear if you were using this tender on the payment screen. Note this will only apply to the seat selected at the top
- Custom Amount - Will prompt a keypad to type in a custom amount. Note this will only apply to the seat selected at the top
- Selected Seat - Will automatically apply the tender to the seat selected at the top without any prompts
- Entire Order - Will automatically apply the tender to the entire order without any prompts
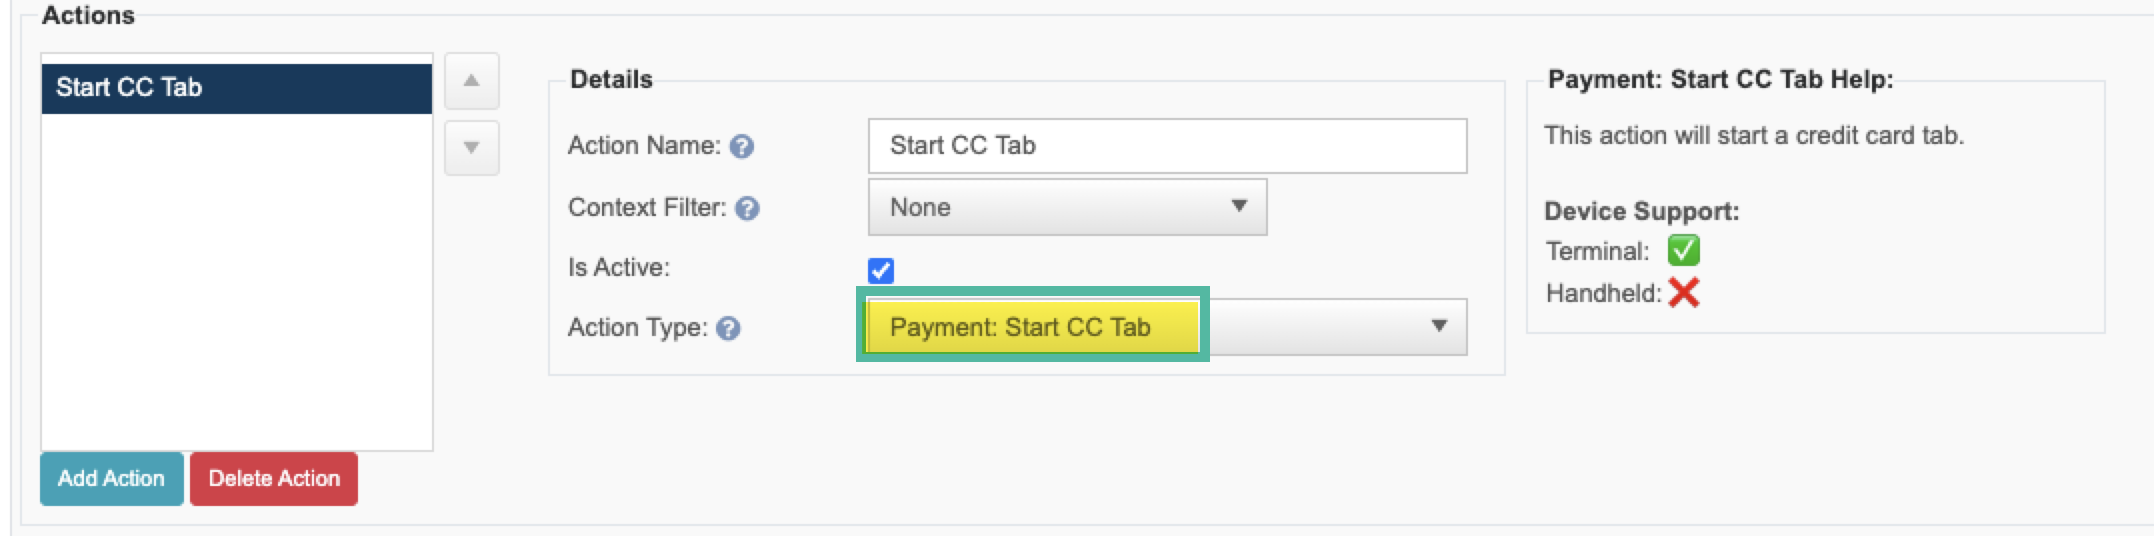
Payment: Start Credit Card Tab
- This action is only supported on the terminal
- This action is most often used directly on the speed rail instead of in a shortcut
- This action will automatically light up the payment device attached to the terminal
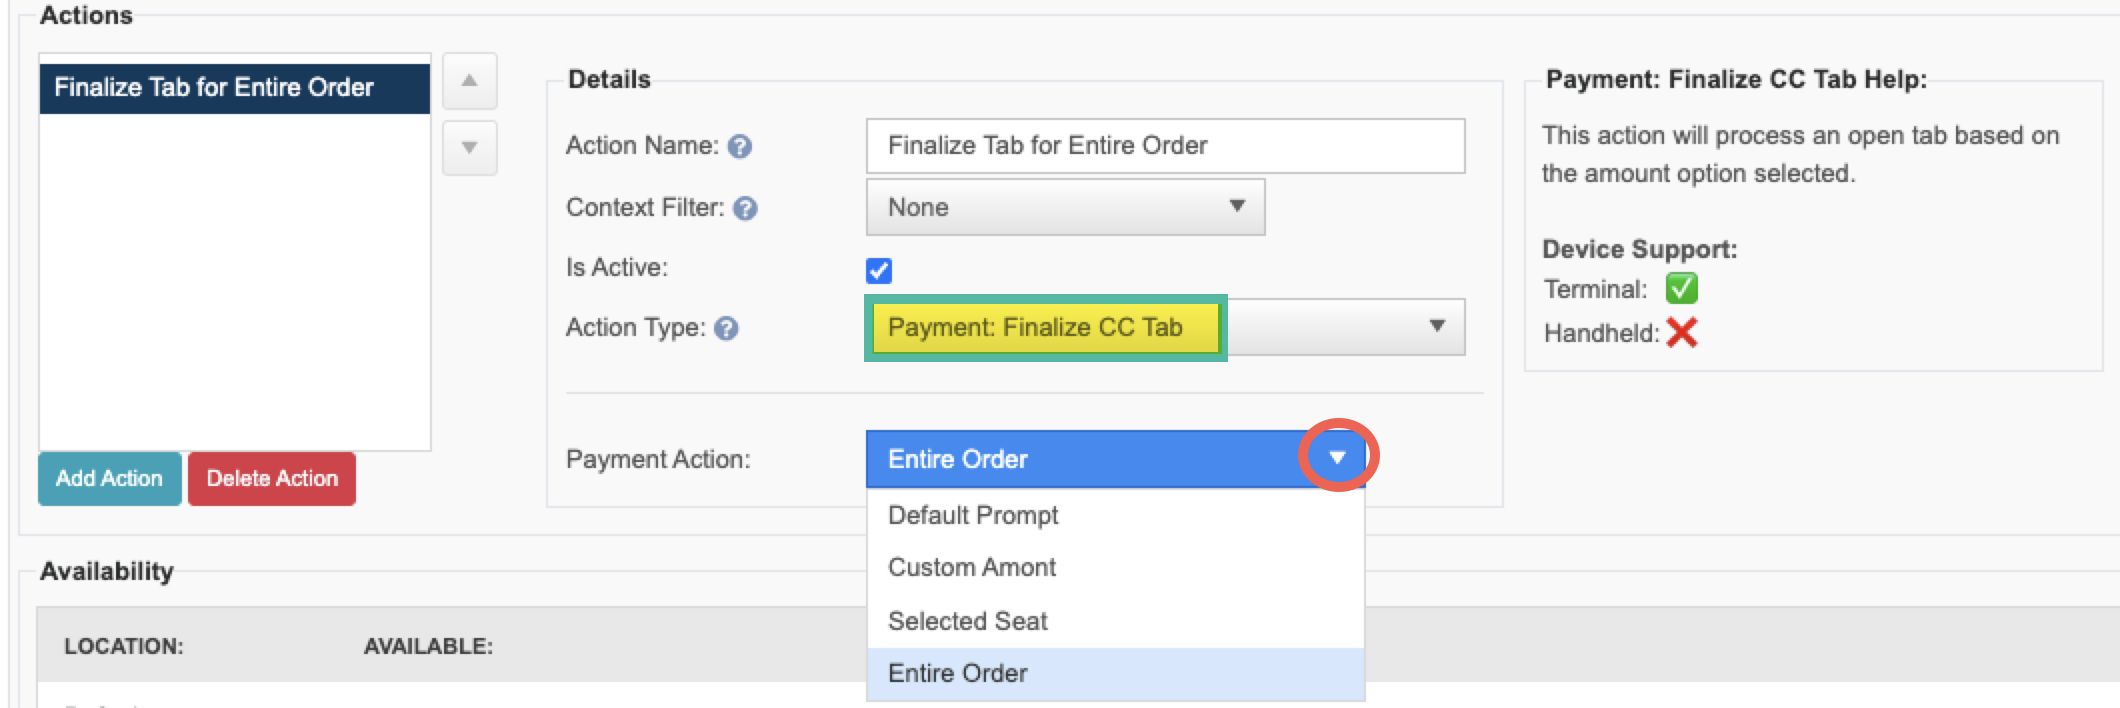
Payment: Finalize Credit Card Tab
- This action is only supported on the terminal
- This action is most often used directly on the speed rail instead of in a shortcut
- The use the "Payment Action" dropdown to select how they'd like the payment to be applied
- Default Prompt - is the prompt that would normally appear if you were using this tender on the payment screen. Note this will only apply to the seat selected at the top
- Custom Amount - Will prompt a keypad to type in a custom amount. Note this will only apply to the seat selected at the top
- Selected Seat - Will automatically apply the tender to the seat selected at the top without any prompts
- Entire Order - Will automatically apply the tender to the entire order without any prompts
Examples
Use the Links below to see example Shortcuts set up
- 2 for 1 or BOGO - Buy one drink get a second for free
- Double up for a Buck - Buy one bottled beer and get the second one for $1
- Food Special - Buy two pizzas and get a free cheese bread