How to adjust Terminal Settings/Defaults
This document will detail the terminal settings page and show how to change system defaults on the terminal.
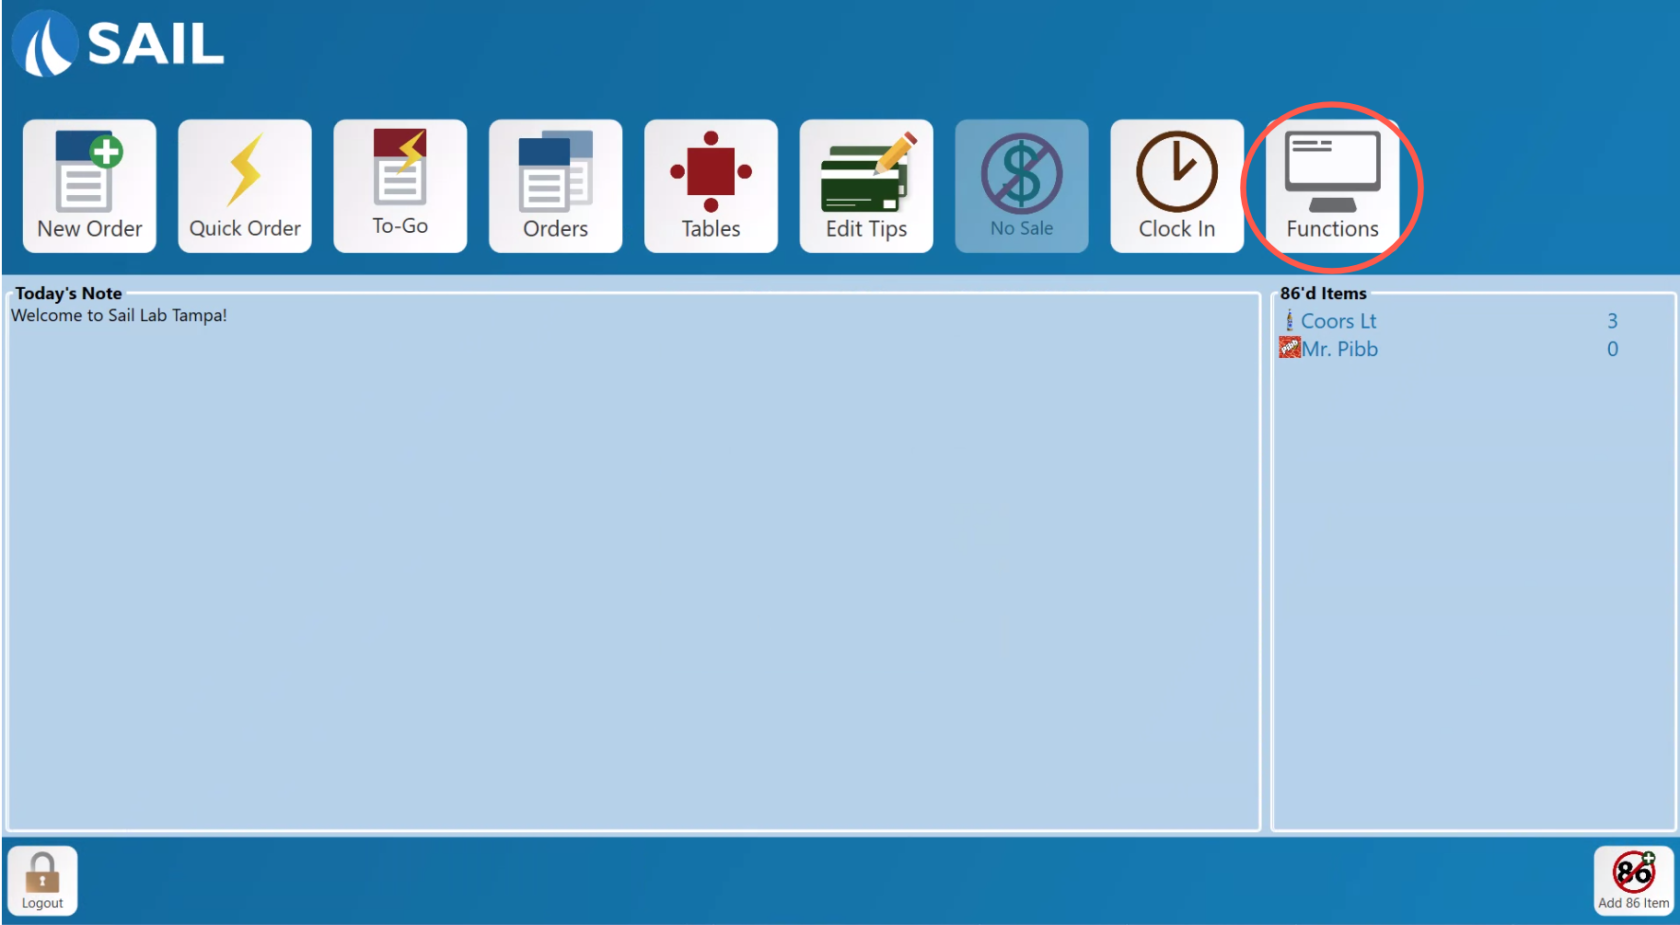
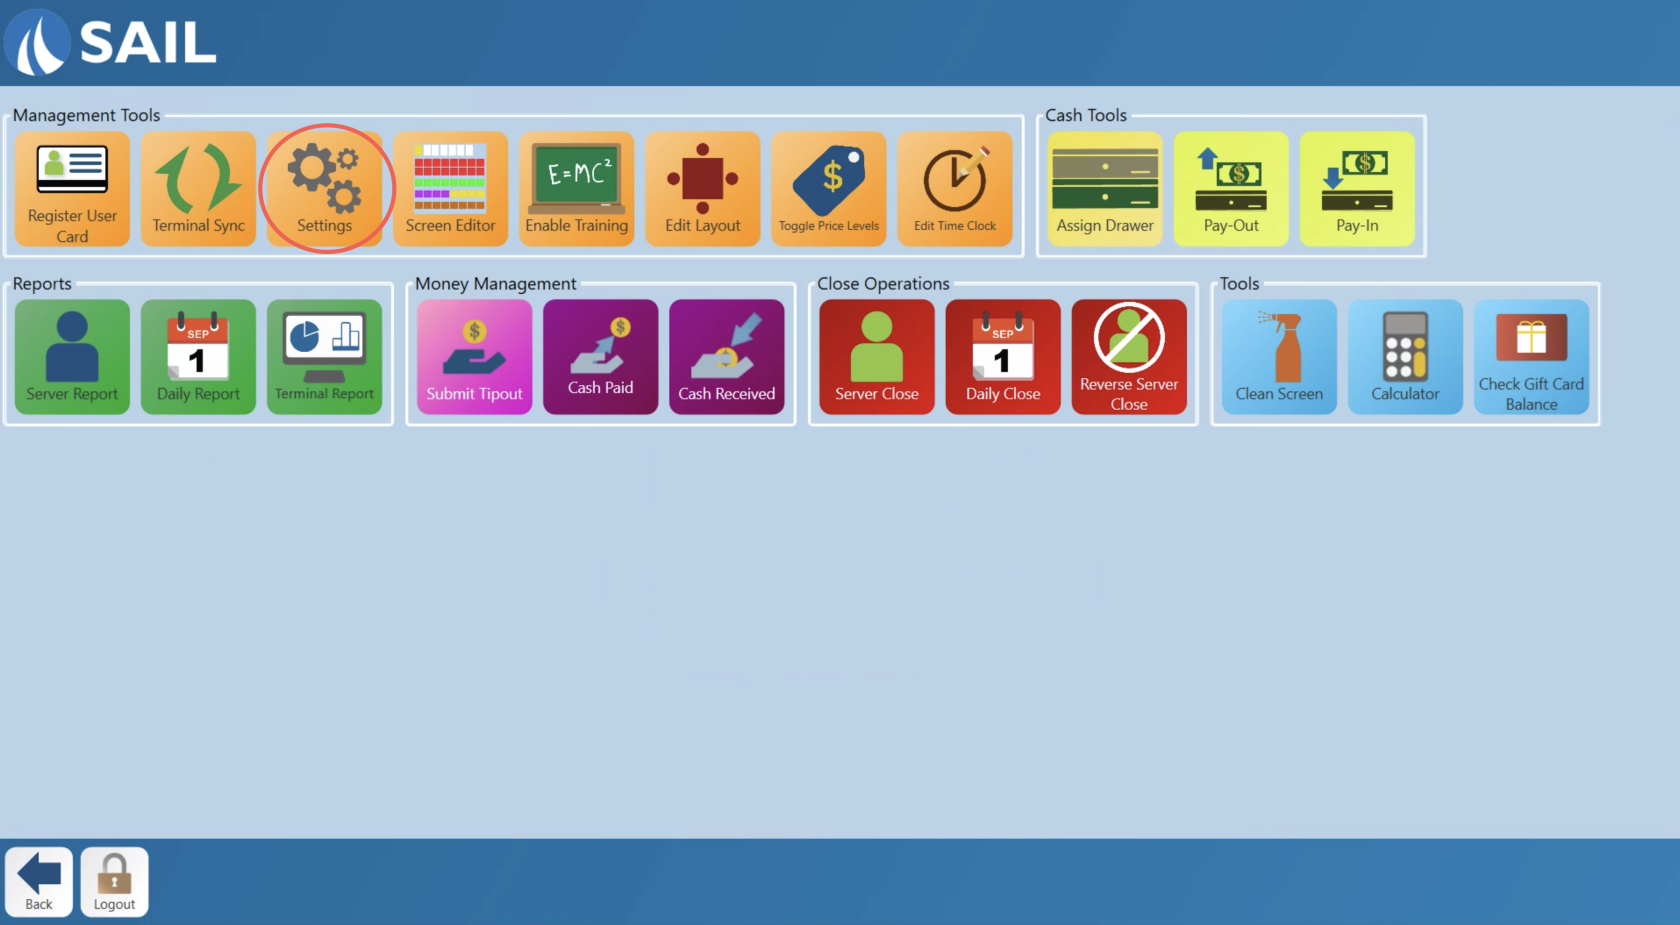
How to find the Terminal Settings
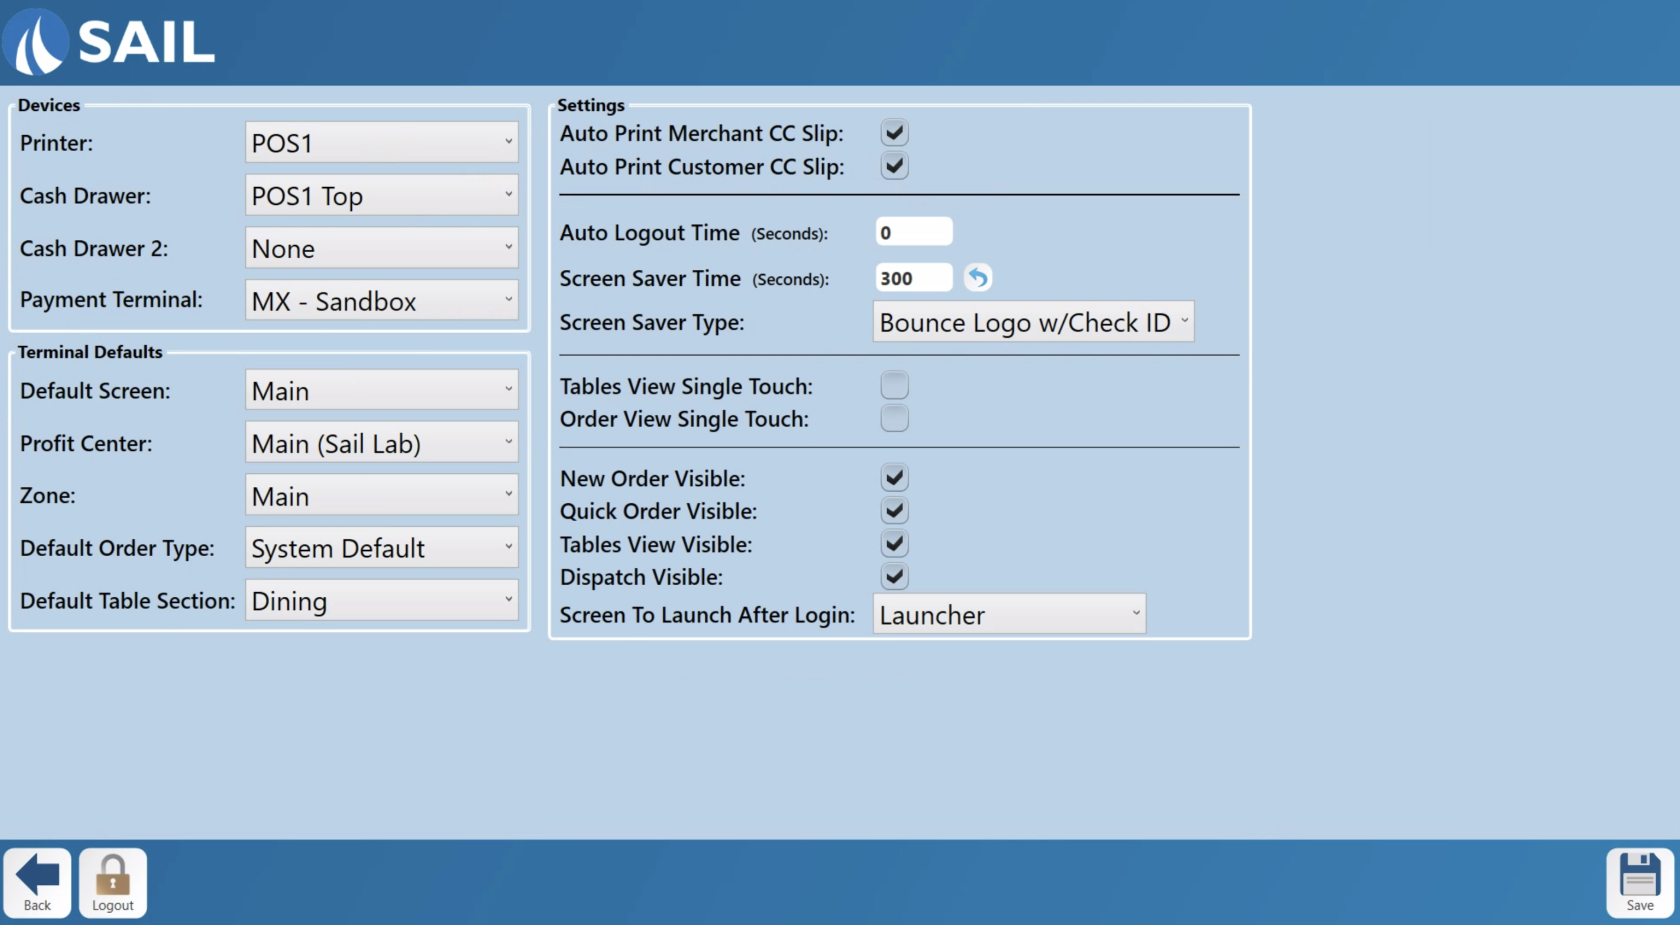
Terminal Settings
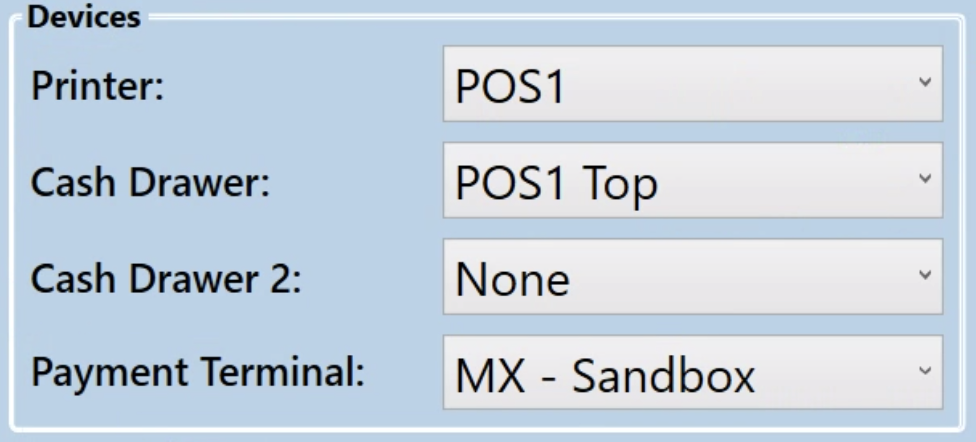
Devices
- Printer: This dropdown shows all available printers that can be assigned to the terminal. Typically, we name each printer to match the terminal it’s connected to, making it easy to select the correct one. This ensures receipts, tickets, or other print jobs are sent to the expected location.
- Cash Drawer(s): Use this setting to assign a cash drawer to the terminal. Just like printers, cash drawers are usually named to match the terminal they’re connected to, simplifying setup and identification. The terminal will automatically open this drawer during cash transactions.
- Cash Drawer 2 (optional): If you have a second cash drawer connected to the same terminal—common in setups with two bartenders—you can assign it here. When using two drawers, the system will determine which drawer to use based on the bartender logged into the terminal.
- Payment Terminal: This setting links the terminal to your payment device or credit card processor. It can be set to use the terminal’s built-in card swipe or an external EMV/chip reader. Like printers and drawers, payment terminals are usually named after the terminal they’re paired with for easier identification and configuration.
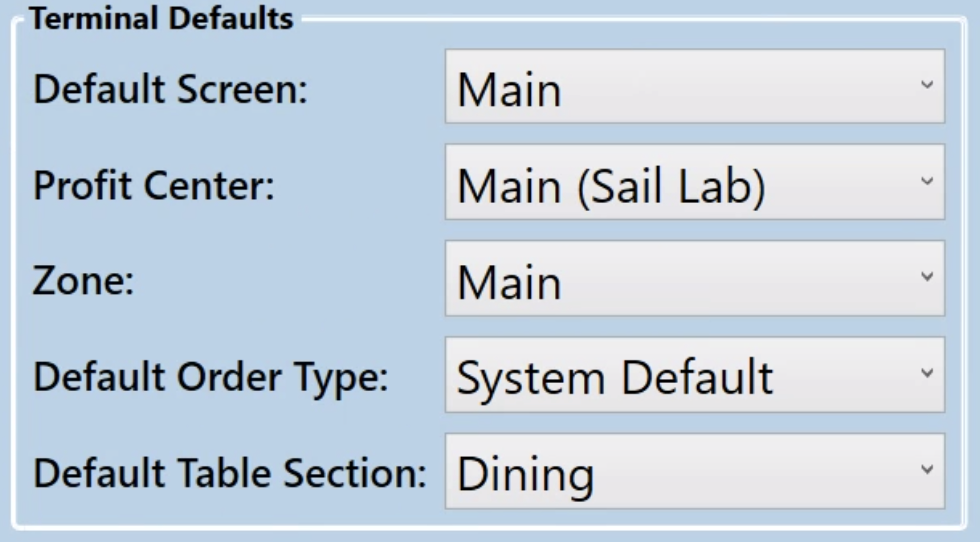
Terminal defaults
-
Default Screen: This is where you will set the connection between Backoffice and the terminal. Most locations only have one setting for this.
-
Profit Center: Set the profit center that items entered on this terminal are associated with.
- Zone: Set the Zone that your devices is located in
-
Default Order Types: This is what type of order will open when you start a new order or quick order. System default is typically "Dine In"
- Default Table Section: This is the Table layout that it will go to when going to the table view screen
Settings
- Auto Print Merchant CC Slip. This will set whether the terminal auto prints the merchant copy of credit card receipts whenever a credit transaction is ran on it.
- Auto Print Customer CC Slip. This will set whether the terminal auto prints the customer copy of credit card receipts whenever a credit transaction is ran on it.
- Auto Logout Time
- Screen Saver Time
- Screen Saver Type
- Table View Single Touch
- Order View Single Touch
- New Order Visible
- Screen to Launch after Login

