
How to adjust Terminal Settings/Defaults
This document will detail the terminal settings page and show how to change system defaults on the terminal.
How to find the Terminal Settings
-
Navigate to the Functions page.
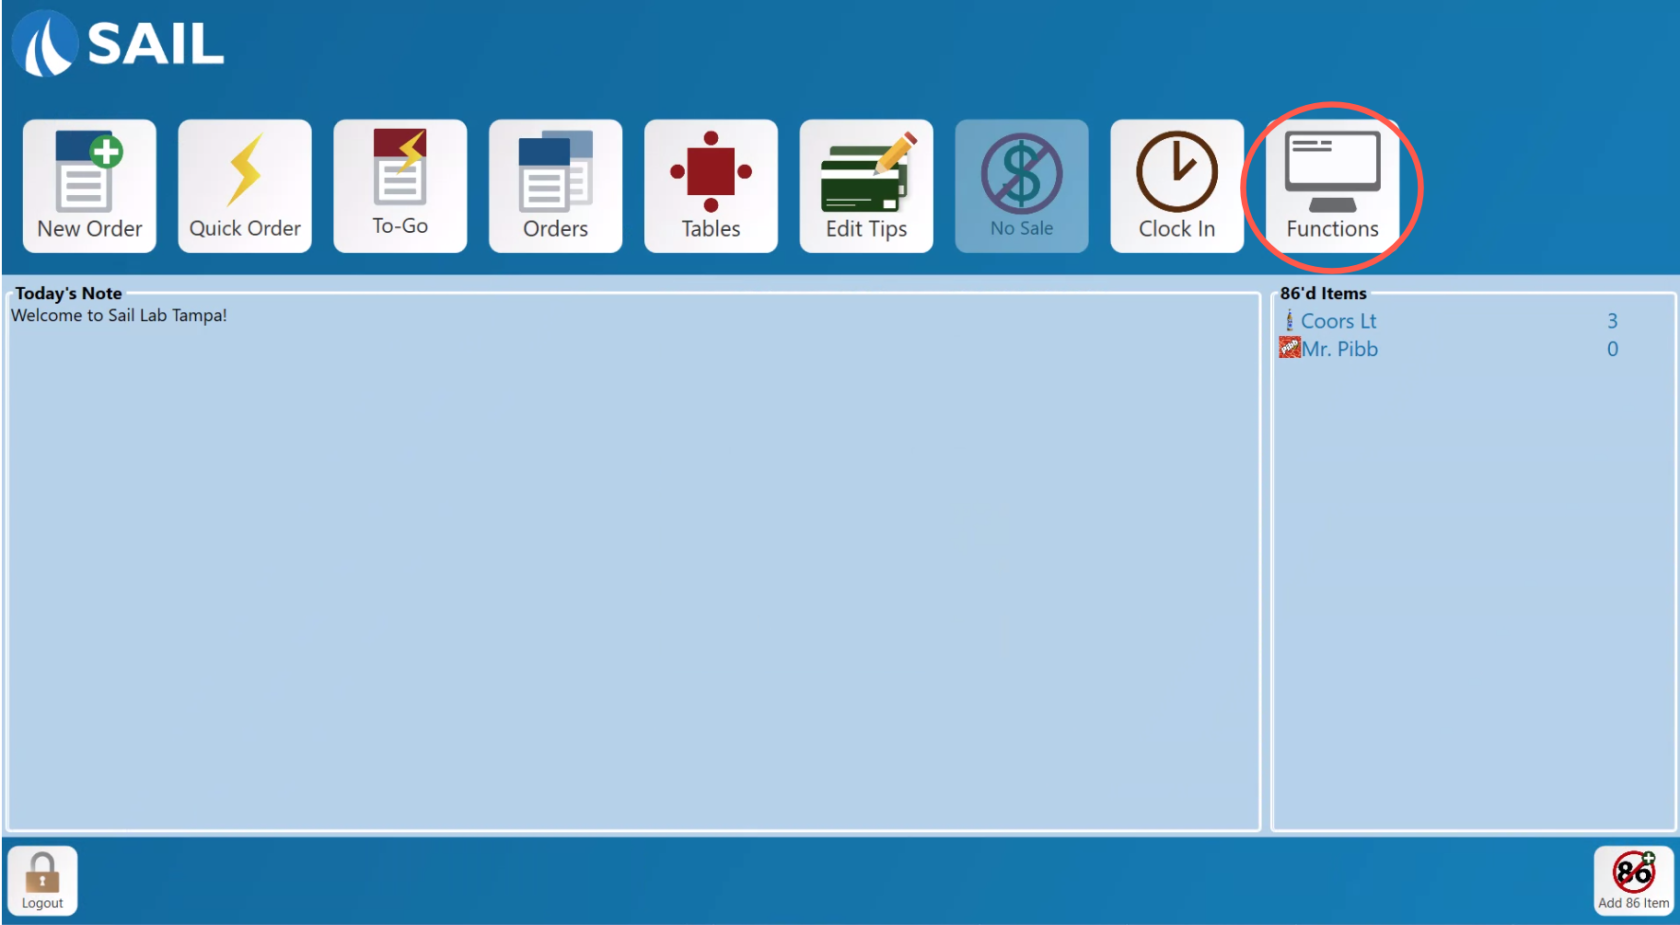
-
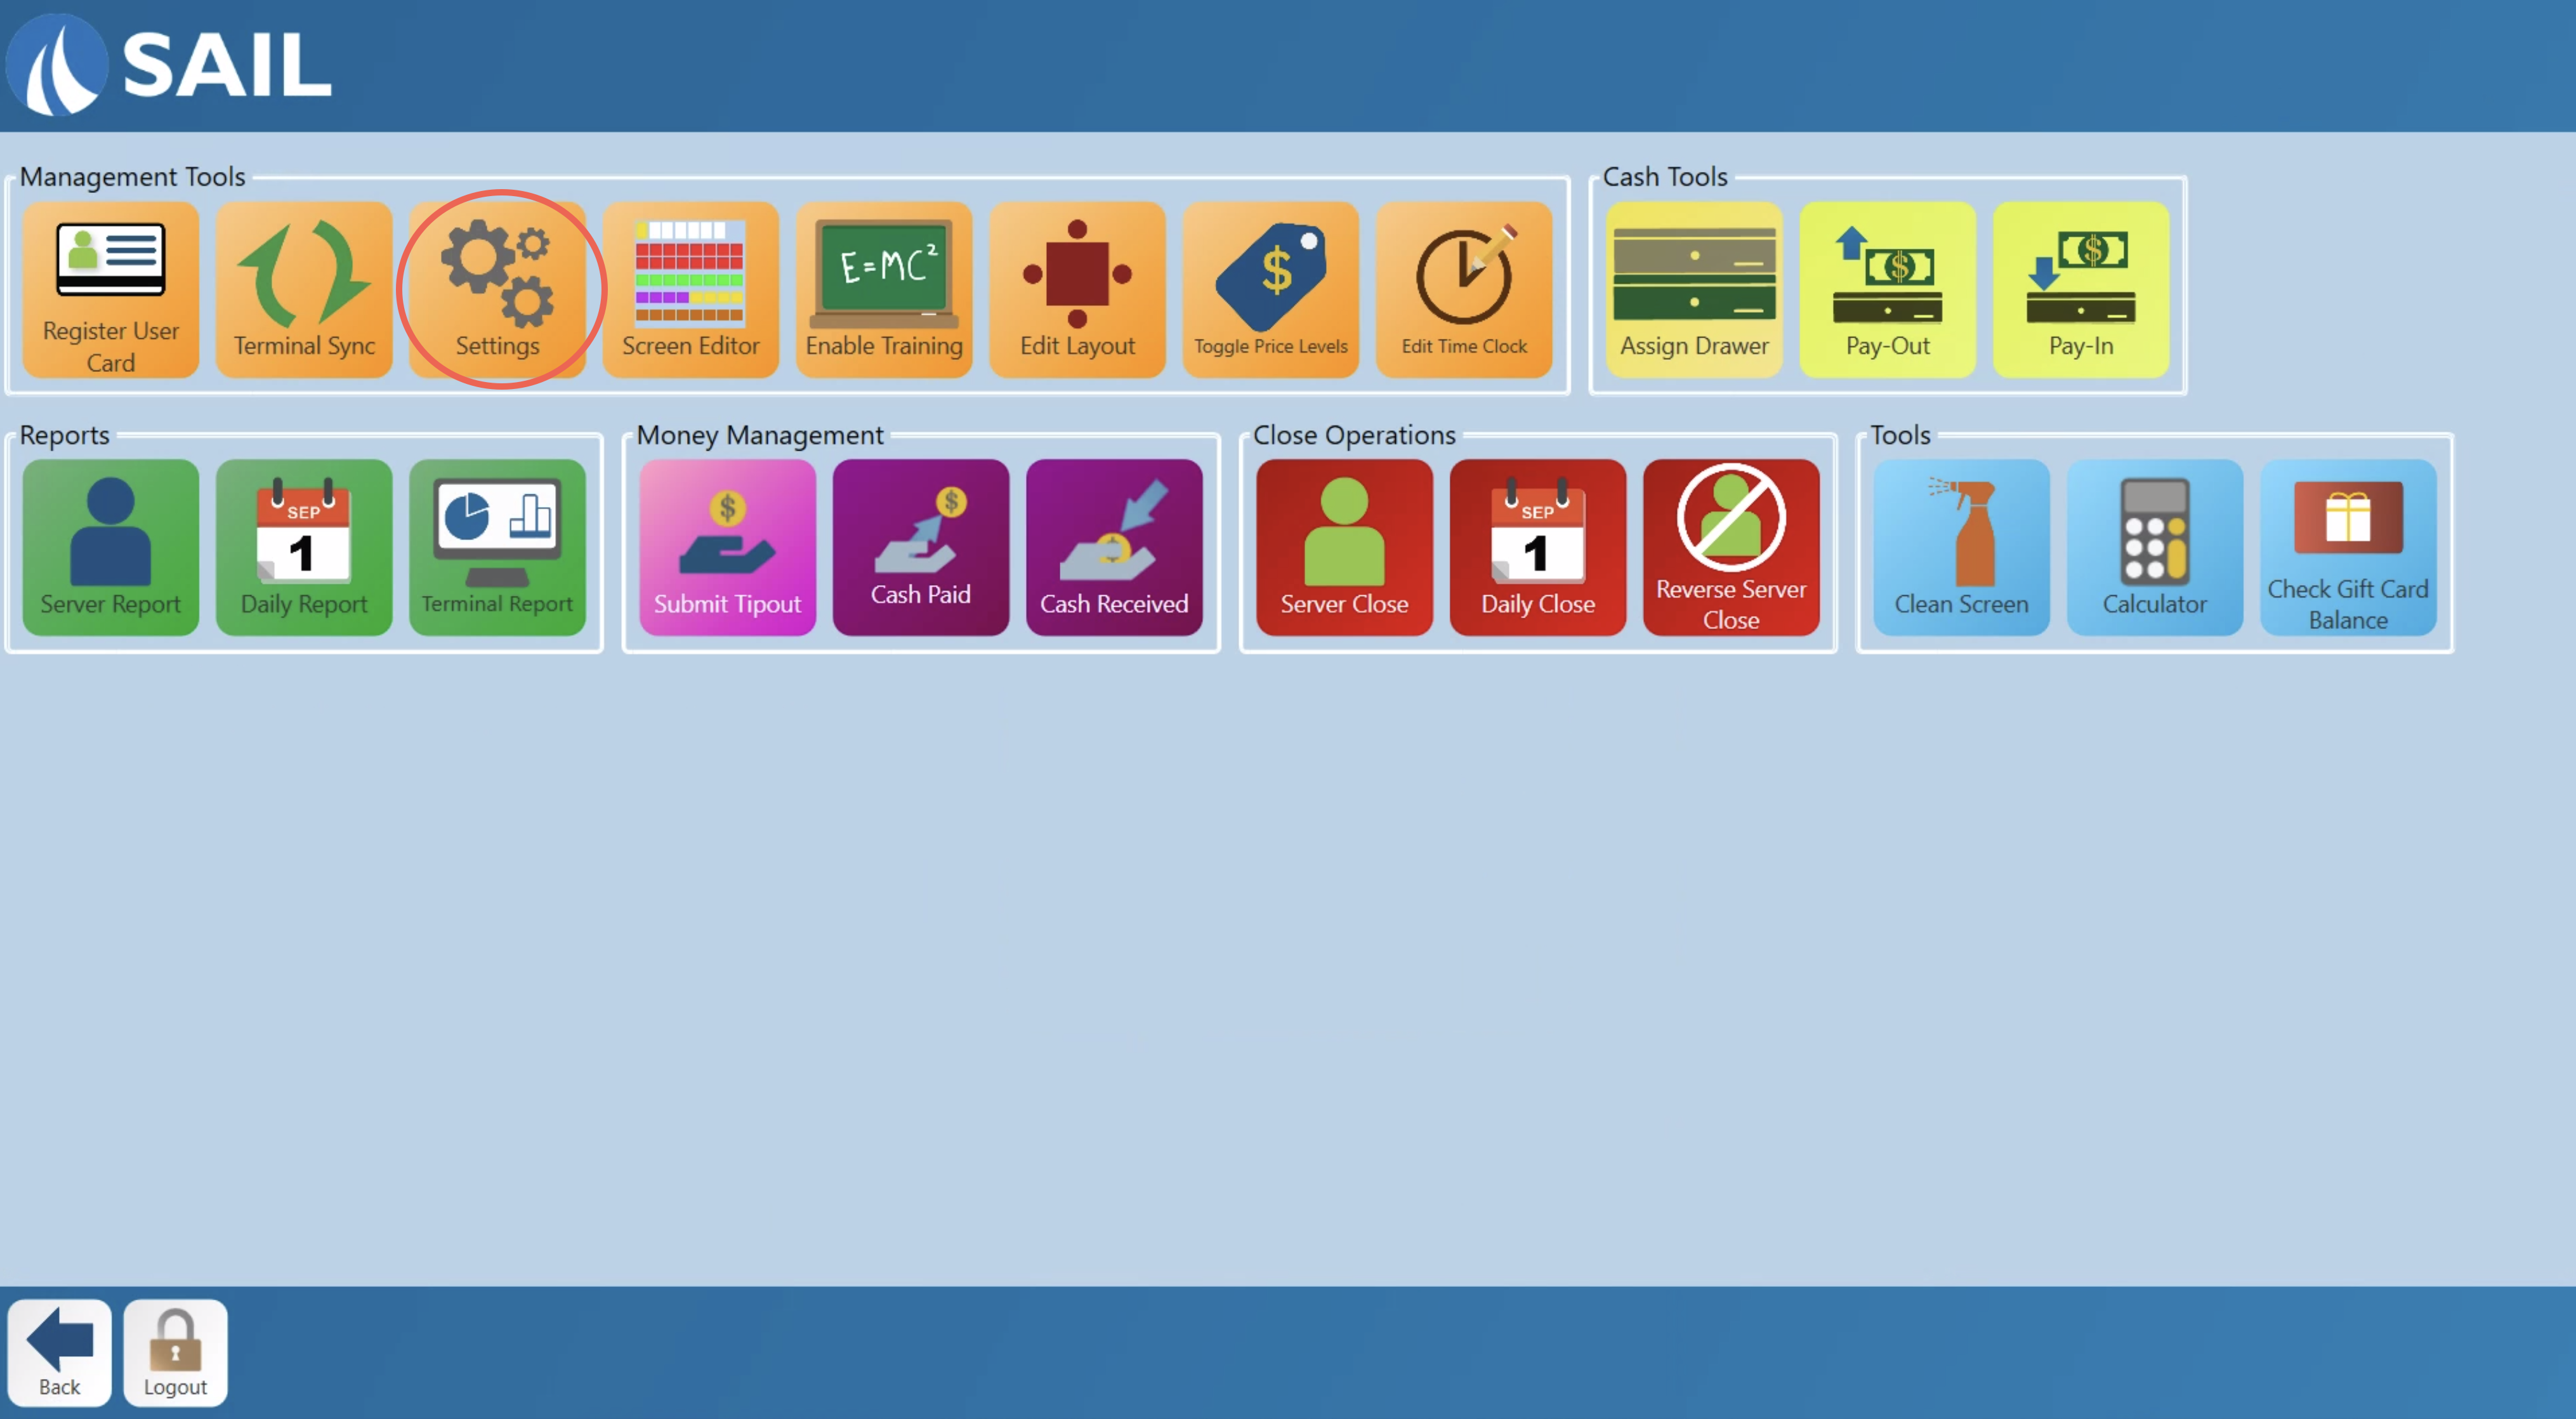
Select the Settings button.

-
The settings page will appear next.


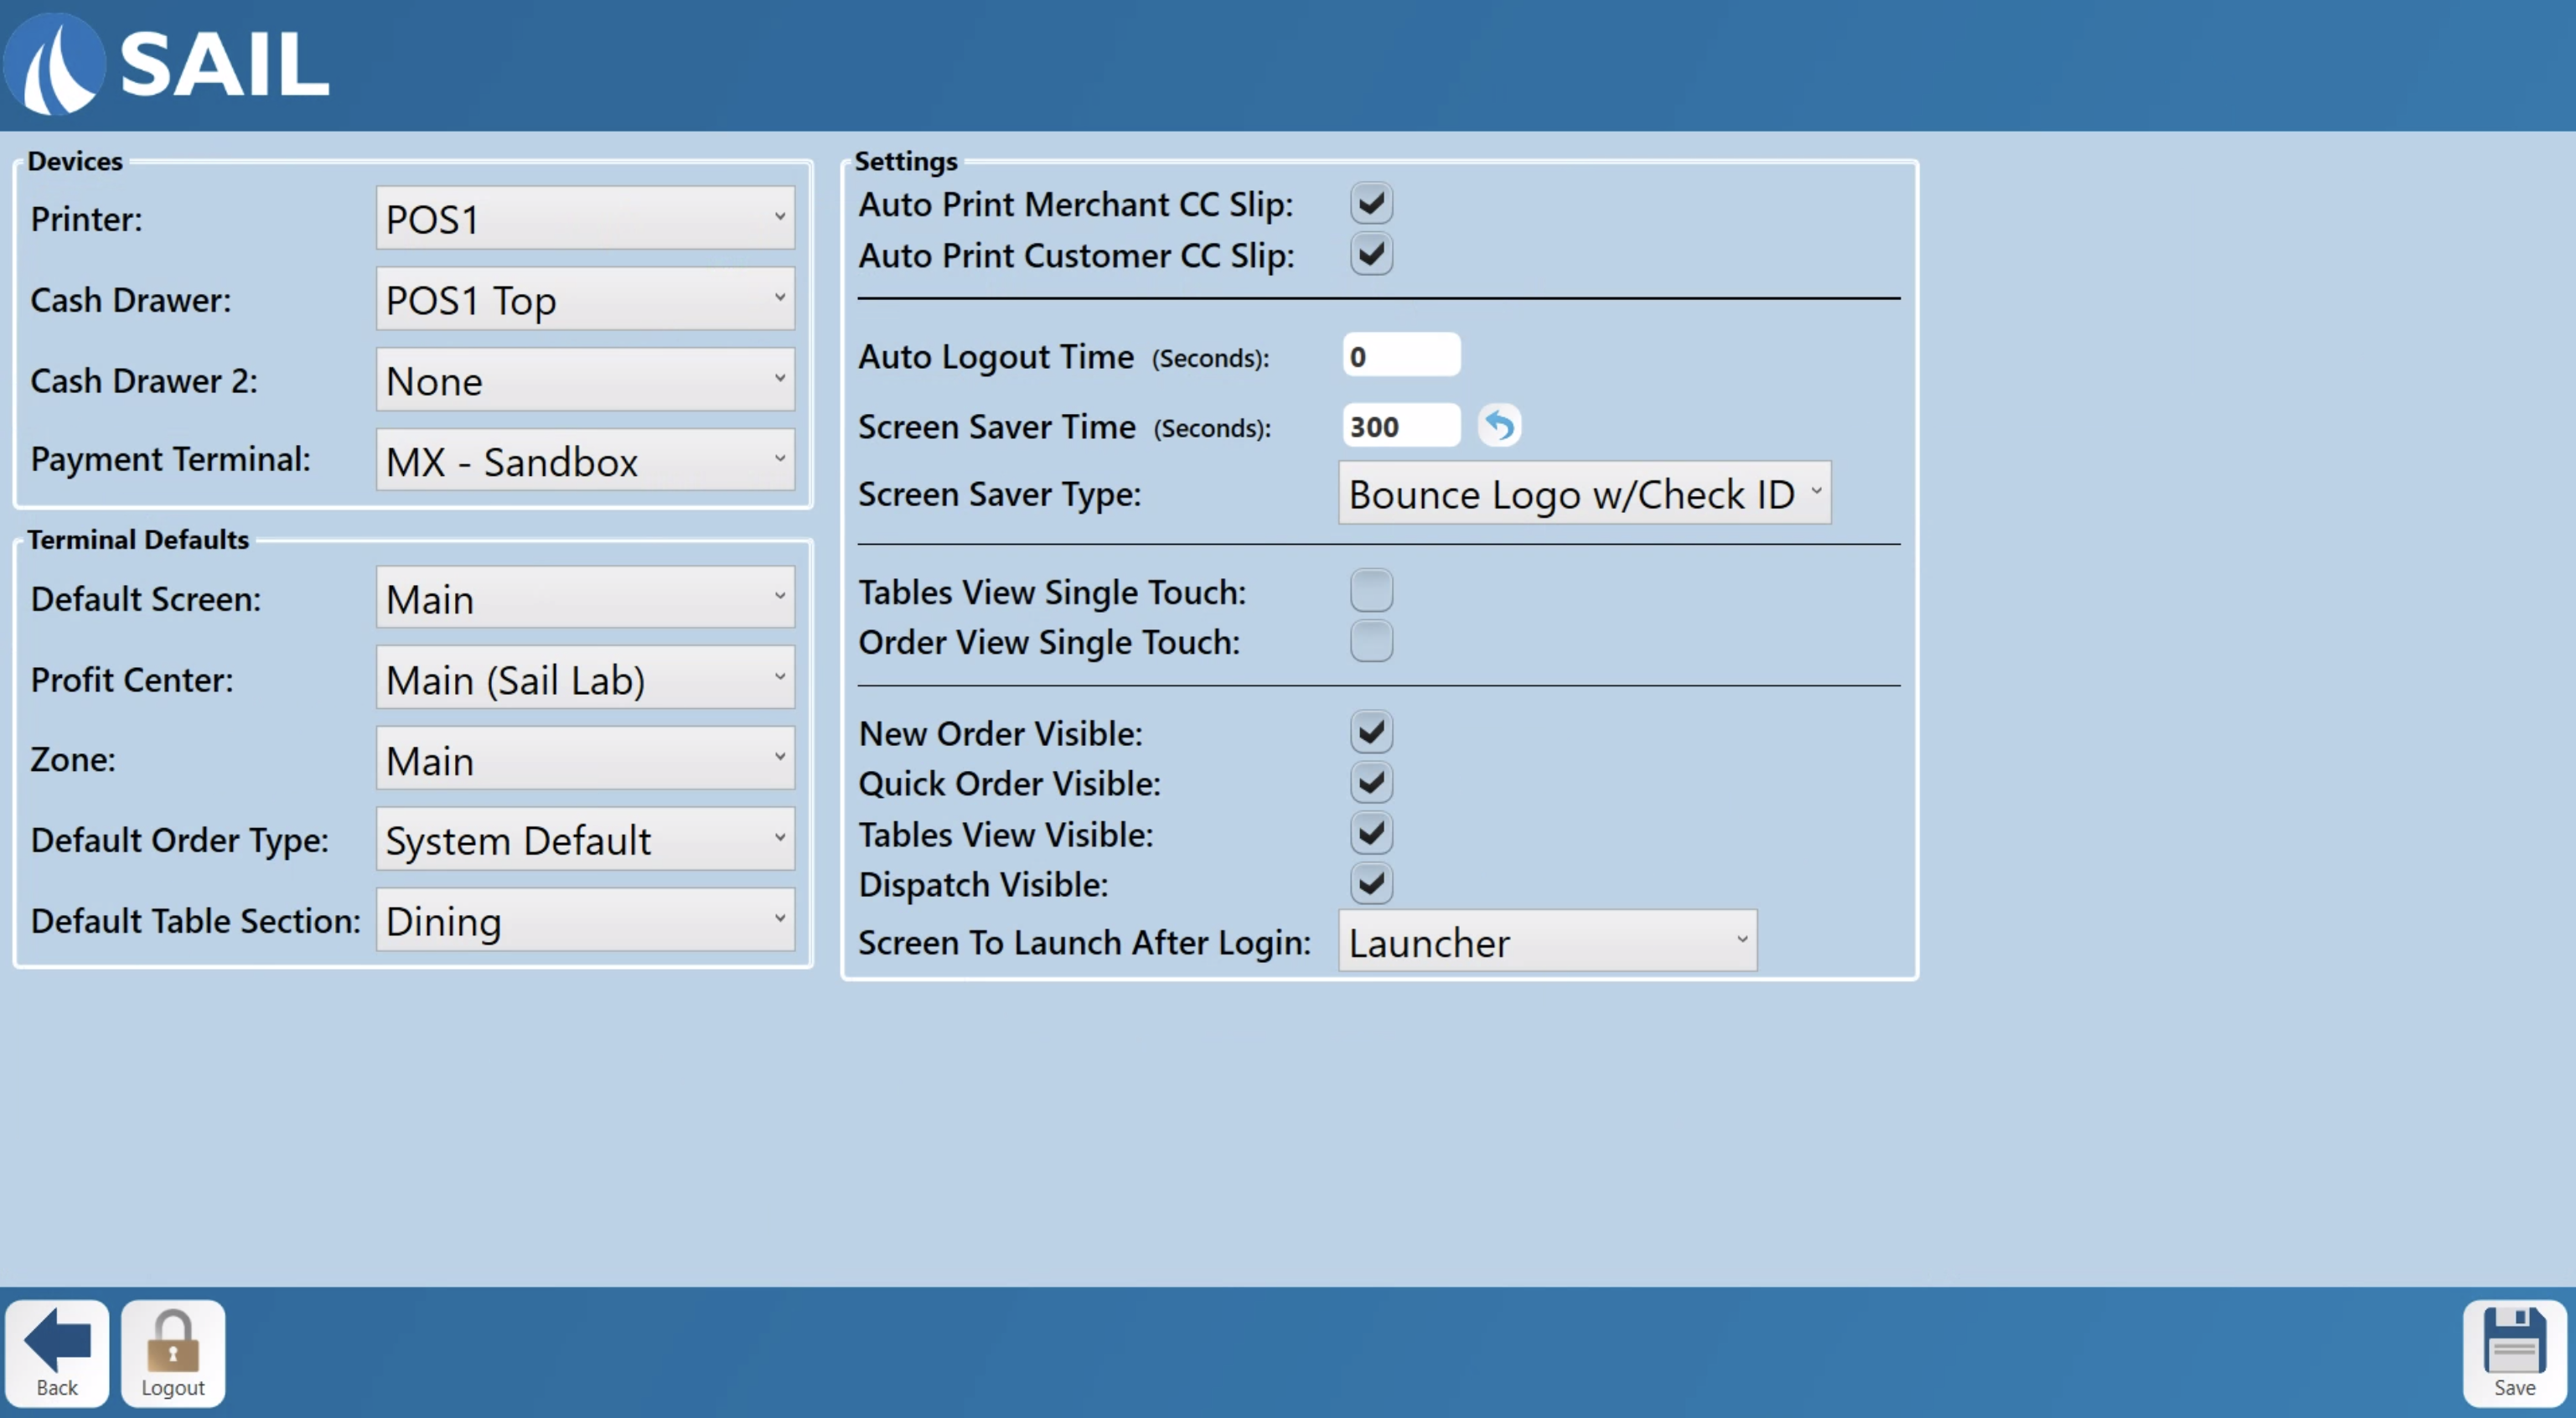
Terminal Settings
Devices
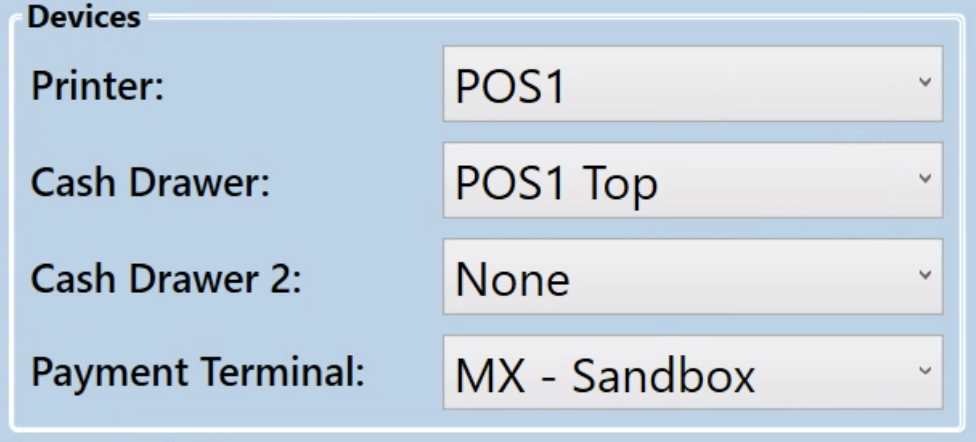
PrinterPrinter::This dropdown shows all available printers that can be assigned to the terminal. Typically, we name each printer to match the terminal it’s connected to, making it easy to select the correct one. This ensures receipts, tickets, or other print jobs are sent to the expected location.2. Cash Drawer(s): Use this setting to assign a cash drawer to the terminal. Just like printers, cash drawers are usually named to match the terminal they’re connected to, simplifying setup and identification. The terminal will automatically open this drawer during cash transactions.
3. Cash Drawer 2 (optional): If you have a second cash drawer connected to the same terminal—common in setups with two bartenders—you can assign it here. When using two drawers, the system will determine which drawer to use based on the bartender logged into the terminal.
4. Payment Terminal: This setting links the terminal to your payment device or credit card processor. It can be set to use the terminal’s built-in card swipe or an external EMV/chip reader. Like printers and drawers, payment terminals are usually named after the terminal they’re paired with for easier identification and configuration.
1.
Terminal defaults
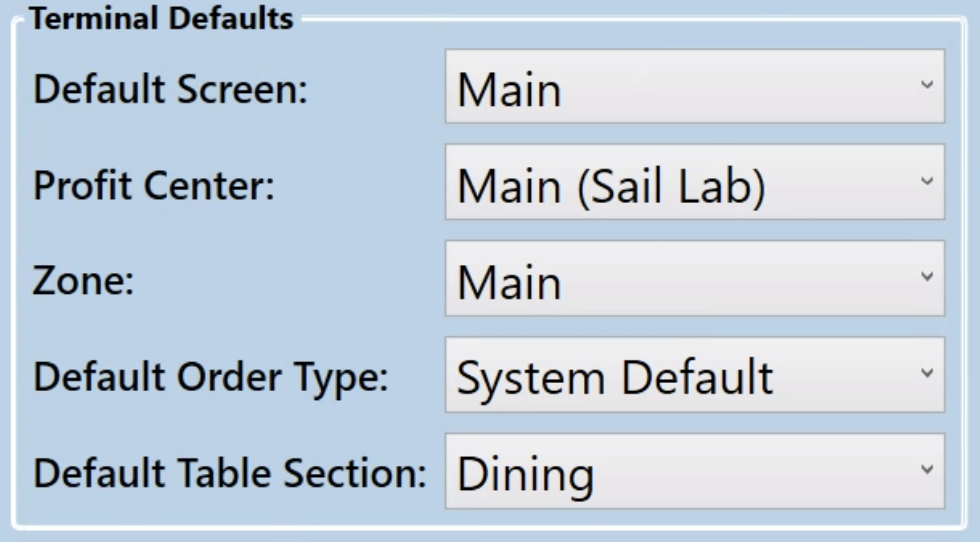
Default Screen: This setting connects the terminal to your Backoffice configuration. Most locations will only see one option here, making setup quick and straightforward.
6. Profit Center: Assigns all sales from this terminal to the designated Profit Center. This is
whereusefulyouforwillseparatingsetsalesthebyconnectionareabetween(e.g.,Backofficebar vs. dining room) for better reporting andthe terminal. Most locations only have one setting for this.accountability.Profit Center:Zone: Set theprofitzonecenterwherethat items entered on thisthe terminalareisassociatedphysicallywith.located. Zones help manage things like printer routing & pricing without effecting reportingZone: Set the Zone that your devices is located inDefault Order Types:
ThisChooseisthewhatdefault type of orderwillthatopenopens when you start a neworderticketor(e.g.,quickDineorder.In,SystemTakeout,defaultDelivery).isMosttypicallysystems are set to "Dine In" by default, but this can be changed to suit your location’s workflow.- Default Table Section:
ThisSetsiswhich section of the floor plan appears first when you open the TablelayoutViewthatscreen.itThiswillsavesgotimetoforwhenstaffgoingworkingtointhespecifictable view screen
5.
7.
8.
9.
Settings

- Auto Print Merchant CC
Slip.Slip:ThisWhenwill set whetherenabled, the terminalautowillprintsautomatically print the merchant copy of the credit cardreceiptsreceiptwheneverforaeverycreditcardtransactiontransaction.is11.
ran on it. - Auto Print Customer CC
Slip.Slip:ThisWhenwill set whetherenabled, the terminalautowillprintsautomatically print the customer copy of the credit cardreceiptsreceiptwheneverafteraeachcredit transaction is ran on it.
10.
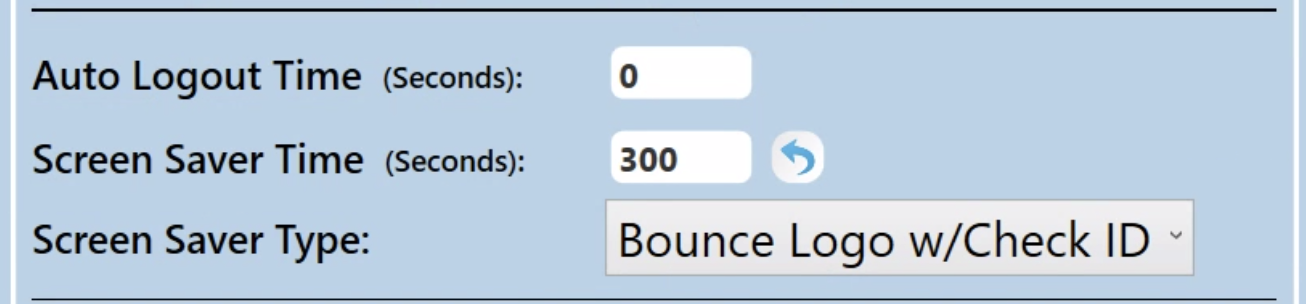
- Auto Logout
TimeTime: - Set how many seconds of inactivity will pass before the system automatically logs the user out. Helps prevent unauthorized use if someone walks away.
13. Screen Saver
TimeTime: - Set how many seconds of inactivity it takes before the screen saver activates.
*Note: If you see a blue arrow next to any setting, it means the number here is different from the Backoffice default. Tap the arrow to quickly revert to the default setting.14. Screen Saver
TypeType:
12.
a. Black Screen
b. Bounce Company Logo
c. Bounce Company Logo w/Check ID Date

- Single Touch: When enabled on either the Table
ViewviewSingleorTouch - Order
ViewviewSinglescreens,Touchyou
15.
*Downside to this setting: You will need to Press and hold to "Select" the table, to use any of the options that are at the bottom of the screens (example: Print ticket, fast cash, transfer & combine). Increasing time and efficiency on those screens.
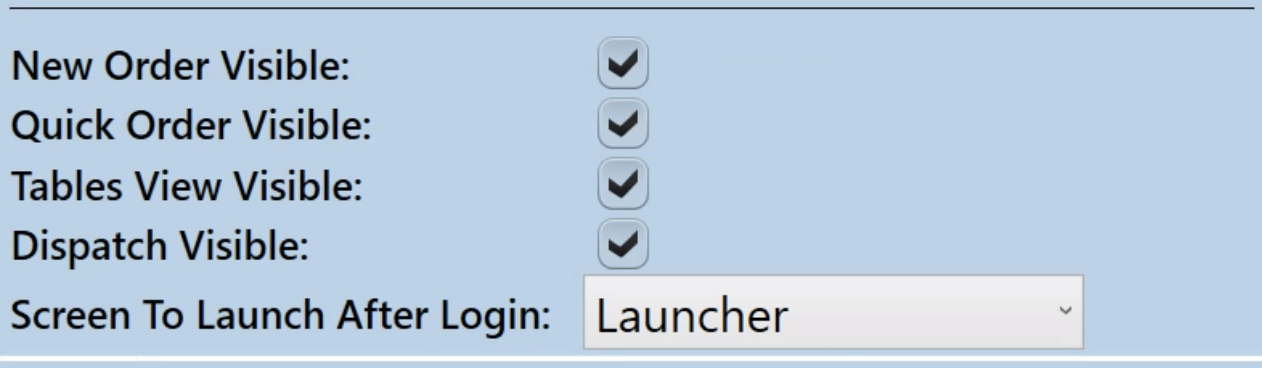
- order, Table View, and Dispatch buttons are all optional. If a button isn’t used at your location (like Dispatch or Table View), it can be hidden to simplify the screen.
17. Screen to Launch after
LoginLogin: Set the screen that automatically opens when a user logs in. The default is the Launcher screen, but you can choose based on the station’s role:-
Launcher (Default): Access to all options
-
New Order: Ideal for server stations needing to input table numbers and guest counts
Quick Order: Perfect for quick-serve environments
Table View: Ideal for server stations using a visual table layout to start new orders
Dispatch View: Best for driver stations to immediately see delivery orders