
Adding and inviting employees
WhetherEveryone yourwho locationworks isfor newyou to Ingage Scheduling or you’re onboardinghas a newrecord hire,on employeesthe mustEmployees bepage. invitedThis beforeguide covers finding people, adding someone new, and inviting them so they can accesssign in to the Schedulingapp system.and the website.
AnYou employee’sneed goalto statusbe a Manager or Administrator. You see the people who work at the locations you manage. Open it from Configuration, Employees.
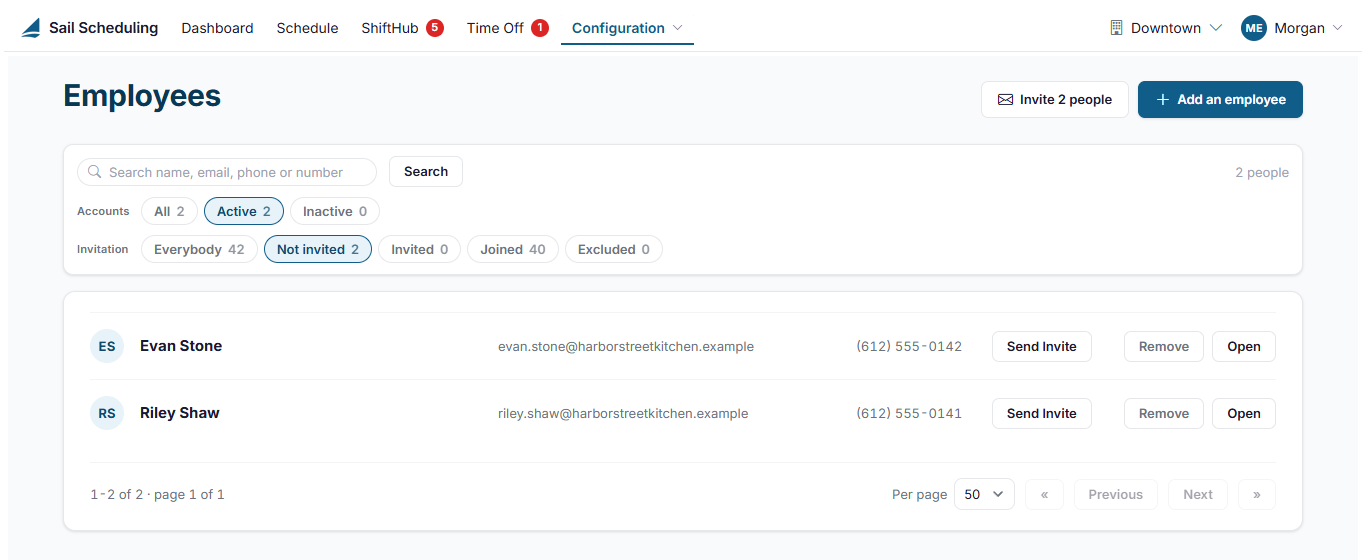
If your restaurant uses Sail POS, employees are added and changed in Sail Backoffice and sent to Sail Scheduling automatically. The Employees page is Joined,then whichread-only: meansthere's no Add, Remove or Invite, and each person opens with View. You can still set everyone's availability here.
Find someone
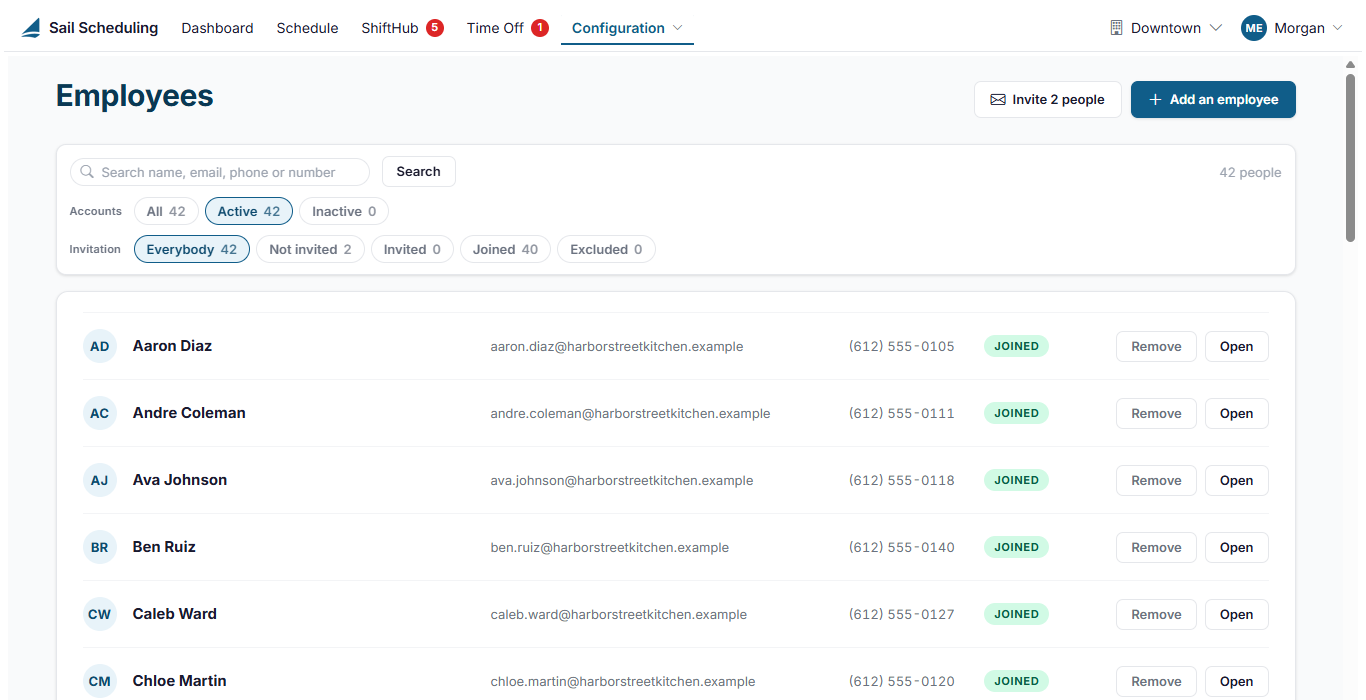
- Type a name, email address, phone number or employee number in the search box and press Enter or click Search.
- Accounts narrows the list to Active or Inactive accounts. The list opens on Active.
- Invitation narrows it by where each person is with their invitation: Not invited, Invited (sent, but they haven't set a password yet), Joined or Excluded.
Click Open, or double-click a row, to open someone's record.
Add an employee
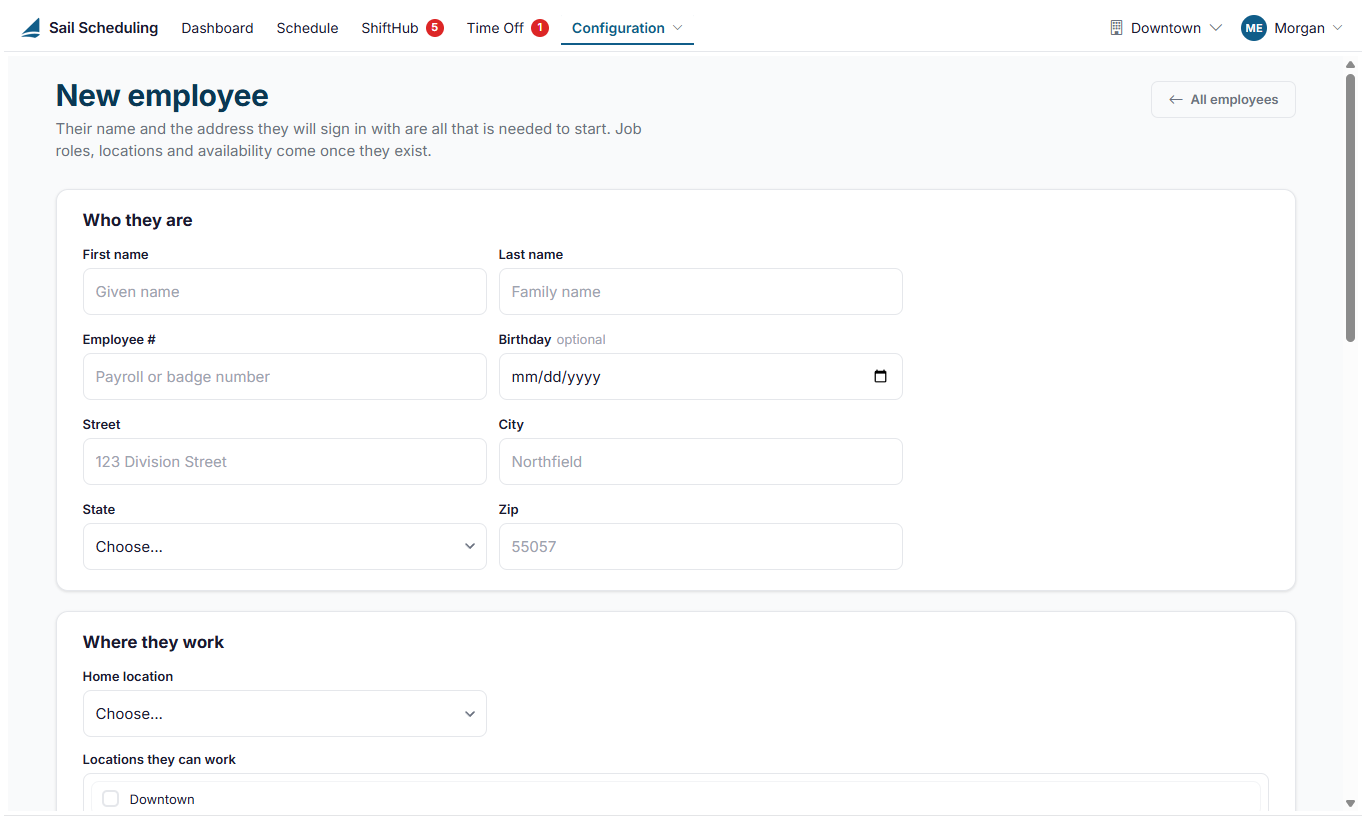
- Click Add an employee at the top right.
- Fill in Who they are: first and last name at least. The employee number, birthday and home address are optional.
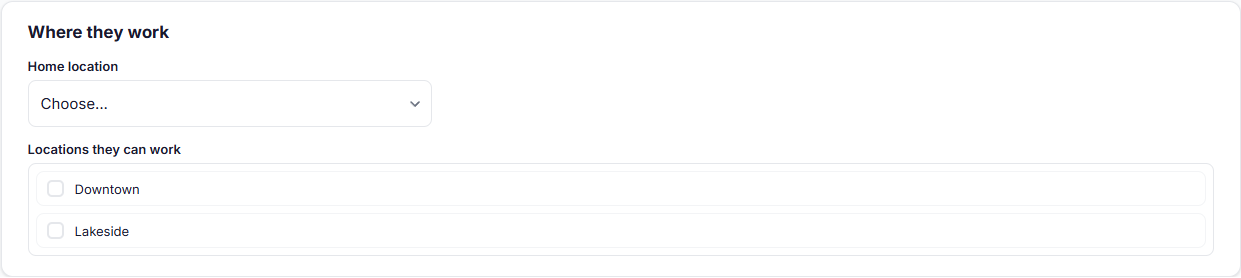
- Under Where they work, pick their Home location and tick every location they can work at.
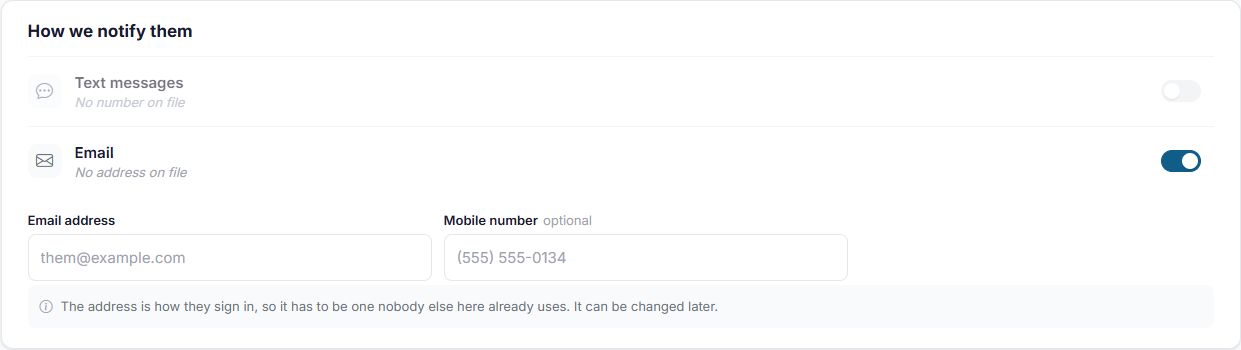
- Under How we notify them, enter their email address. It's how they sign in, so it can't be one someone else here already uses. Add their mobile number if they want text messages, and switch Email and Text messages on or off.
- Add an emergency contact if you keep one.
- Click Create employee.
Once they're created, give them their job roles and pay on the Job roles tab, and set their availability. See Editing an employee. Nobody can be scheduled until they have accepteda thejob role at a location.
Adding someone doesn't send them anything. They can't sign in until you invite them.
Invite employees
An invitation andis an email with a link to set up their account. Once they set a password, they can logsign in to Scheduling.
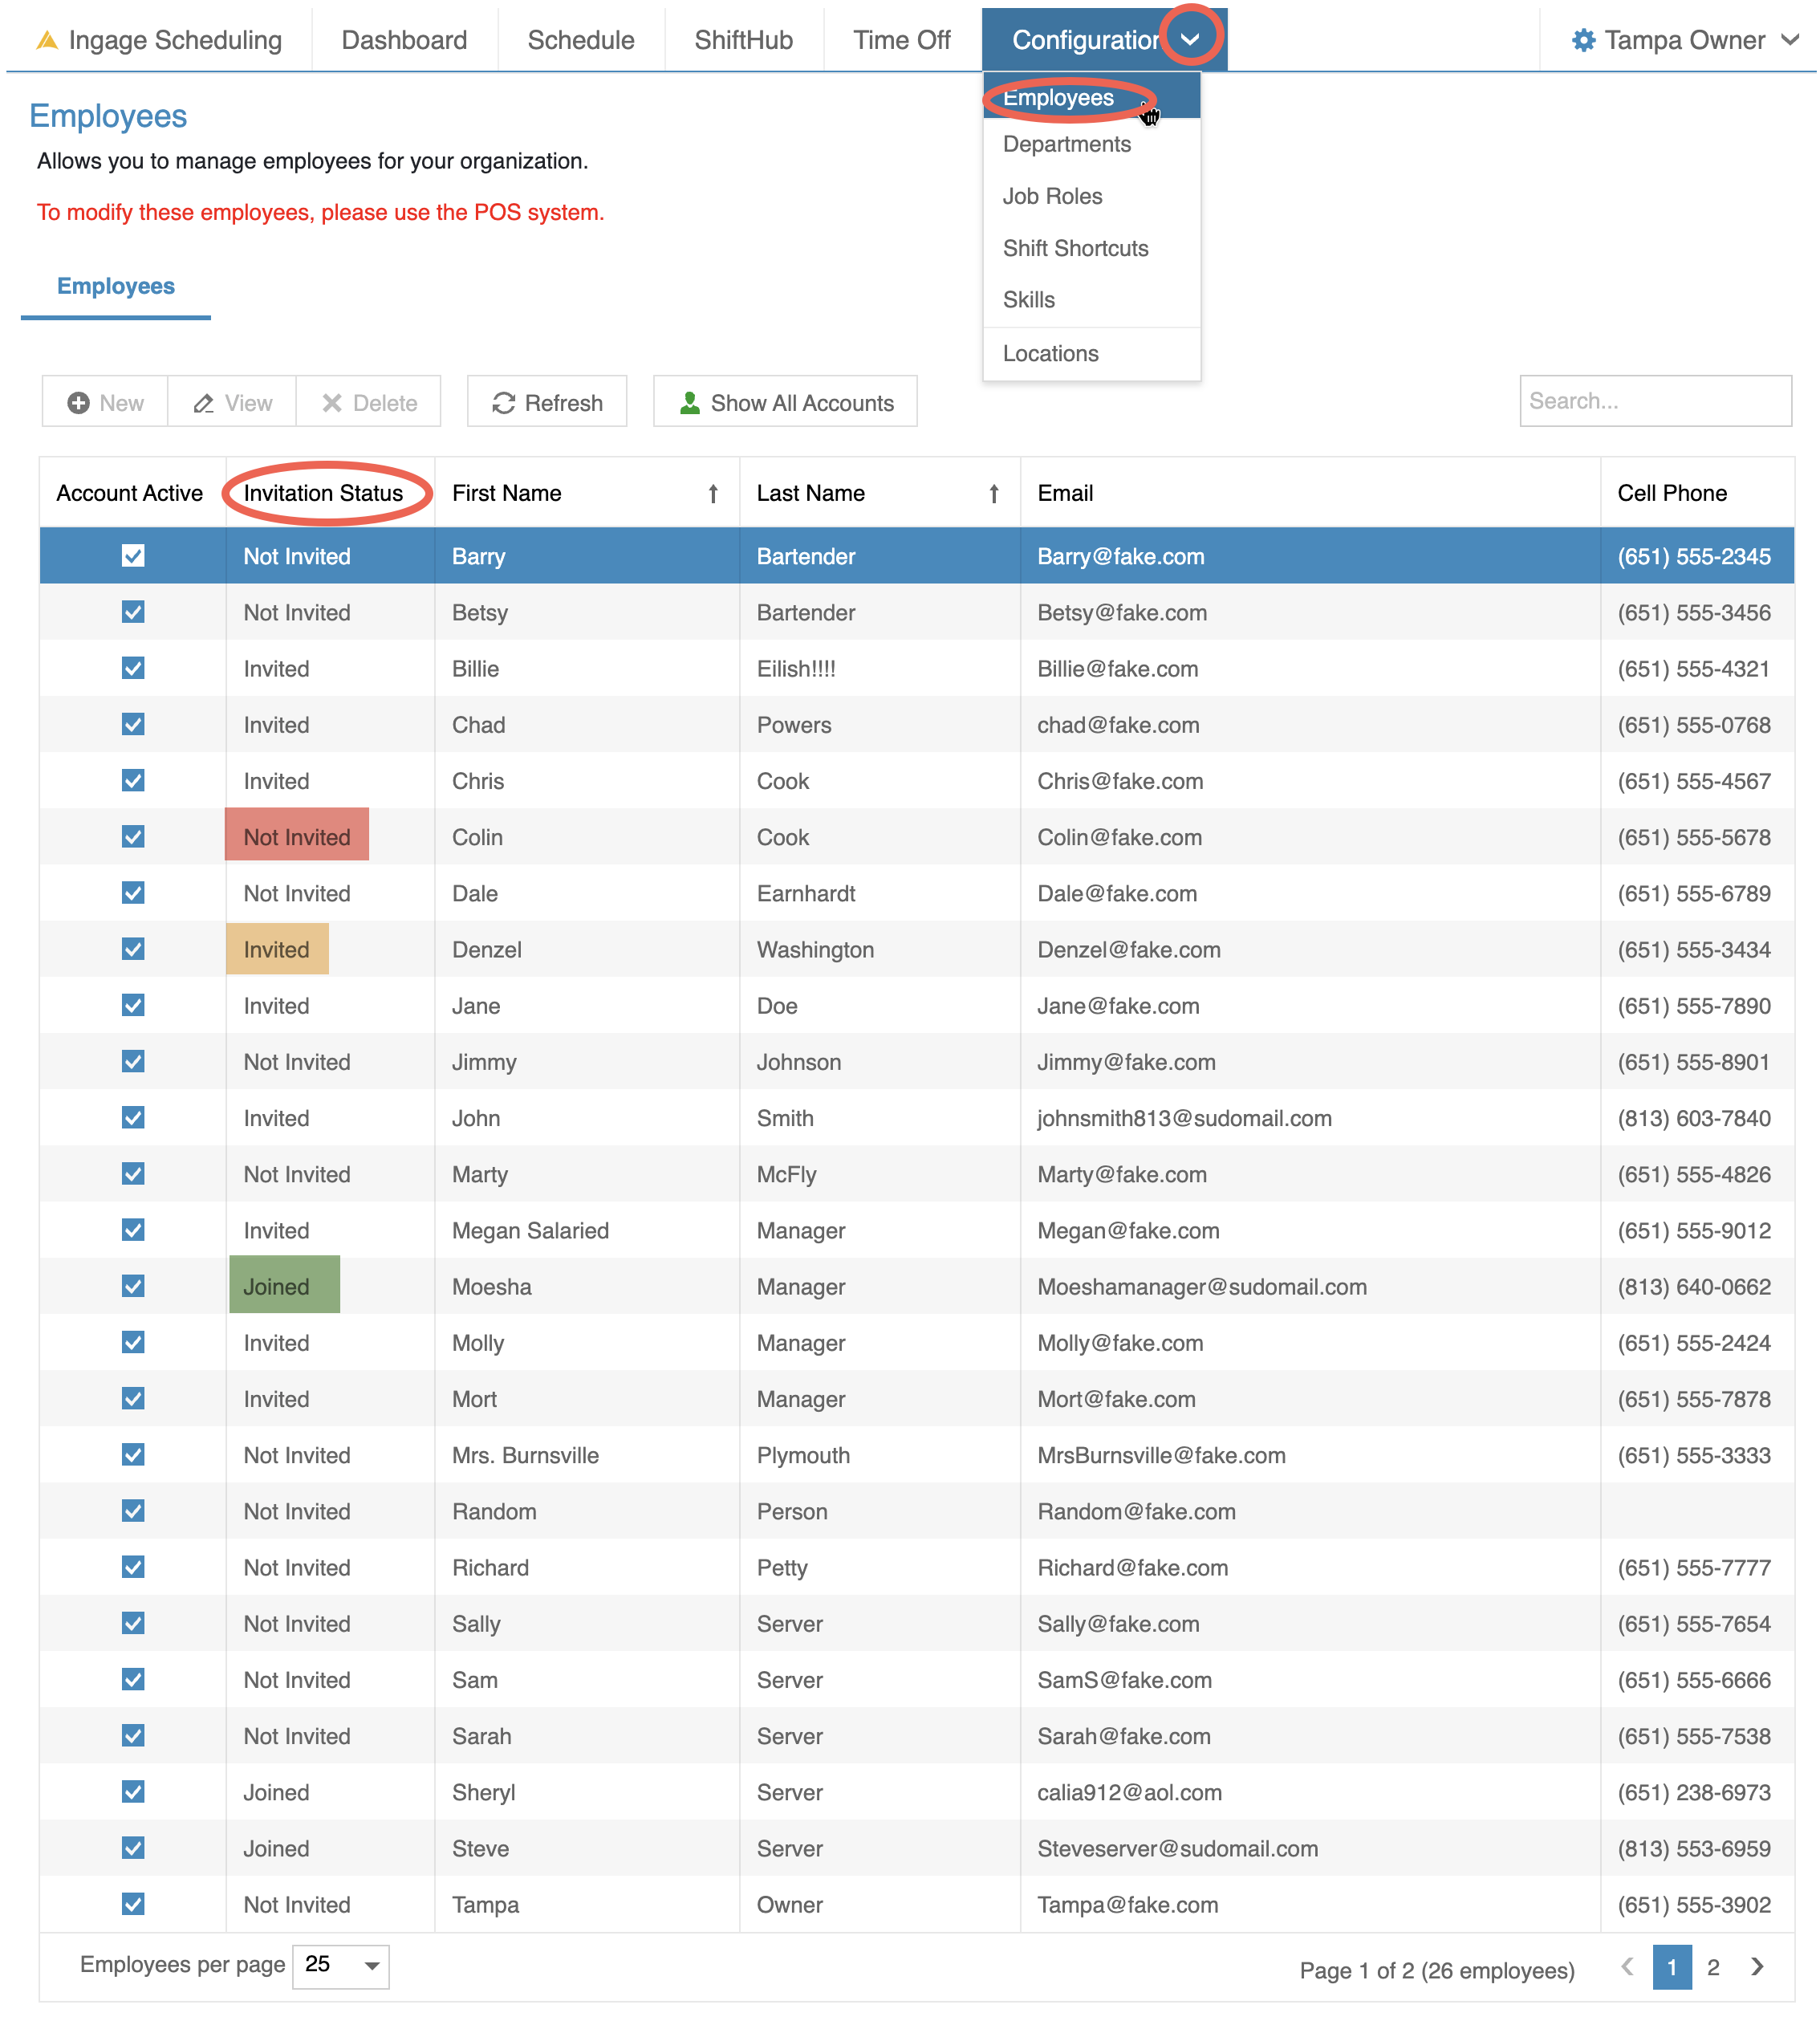
Check an Employee’s Invitation Status
You can viewand the invitationwebsite, and their status for all employees in one place.
Gochanges toConfiguration → EmployeesLook at the Invitation Status column
Each employee will show one of the following statuses:Joined.
- One
Not Invitedperson:–clickTheSendemployee has not been sent an invitation InvitedInvite–onThetheirinvitationrow,hasorbeenopensenttheirbut not yet acceptedJoined– The employee has accepted the invitationrecord andjoinedclickScheduling
Send an Invitationinvitation (Individualunder Employee)Their account
To invite an individual employee:
Go to Configuration → EmployeesDouble-click the employee’s nameScroll to the bottom of the Details tabLocate the Invitation Status section
Invitation Statuses Explained
Not Invited – Send Invite (Red)The employee hasEveryone notbeeninvitedyetClick this button to send the invitation by emailThe status will update to Invited
Invited – Resend (Orange)The invitation has been sent but not yet acceptedThis status remains until the employee opens the email and clicks the link to joinIf the employee did not receive the email, you canyet: clickResendInvitetoNsendpeoplethe invitation againBefore resending, it’s a good idea to confirm:The employee has a valid email address entered in BackofficeThe email was not filtered into their spam or junk folder
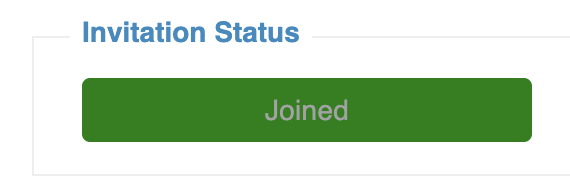
Joined (Green, disabled)The employee has accepted the invitation and joined SchedulingThis status cannot be changed or resent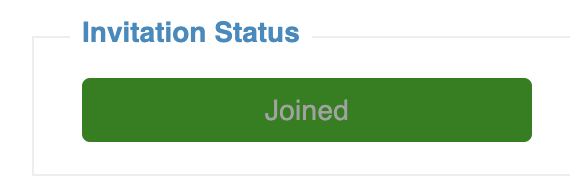


Send an Invitation (Multiple Employees)
To invite all or multiple employees:
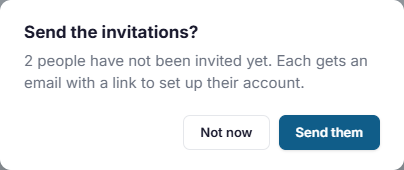
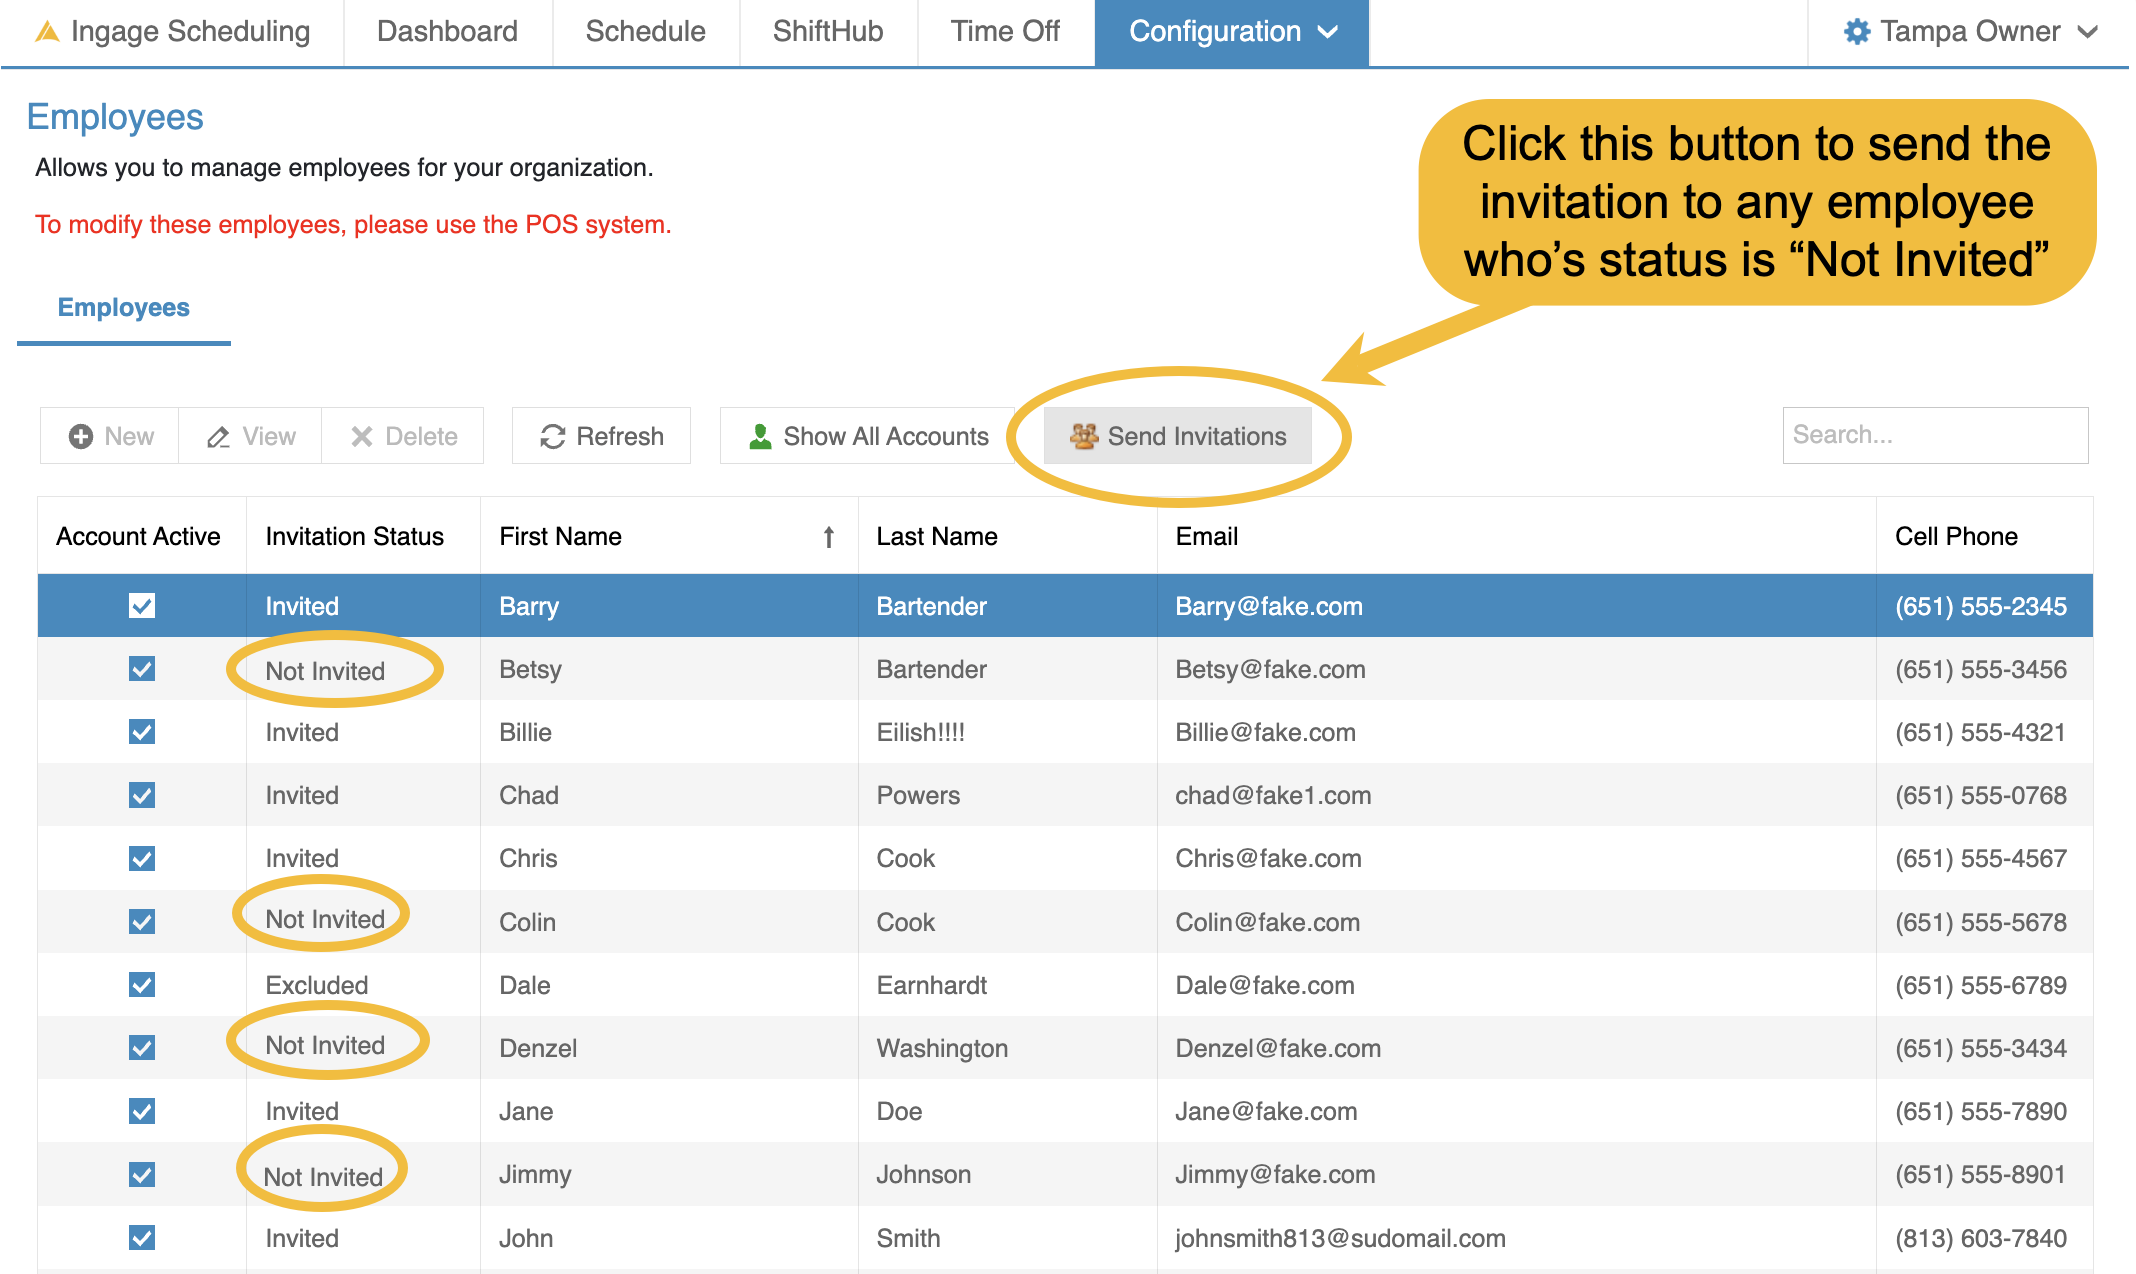
Go to Configuration → EmployeesClick the "Send Invitations" buttonat the top of thetablepage and confirm with Send them.ThisSend
willInvitesendonly appears for someone whose account is active and who can be reached: email switched on with an address, or text messages switched on with a number. If someone already has a Sail Scheduling account with another company, they go straight to Joined and can sign in with theinvitationpasswordtotheyanyalreadyemployee'shave.who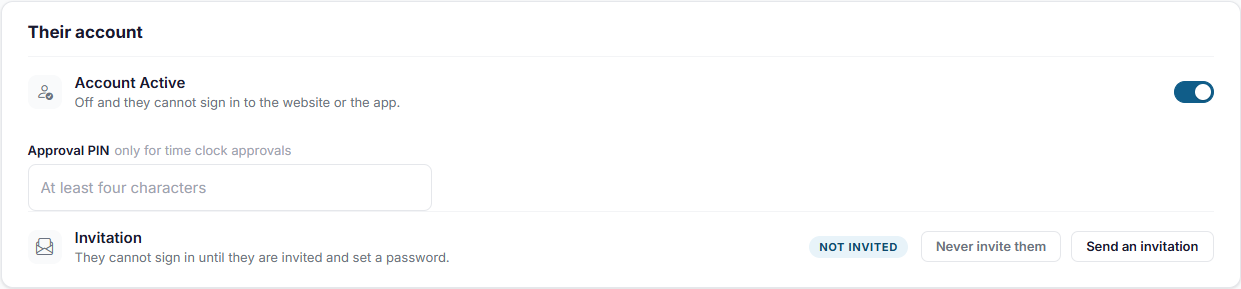
status is "Not Invited"You will getOn a
confirmationperson'spop-up, Click YesThen a message will showrecord youhowcanmany employees you sent the invitation toand all of their statuses will change to "Invited"
'
What Happens After an Employee Joins
Once an employee clicks the link in their email:also:
- Send
,Theiritstatusagainupdatesif they lost the email. It's safe toJoinedsend more than once. - Never
, for someone who will never use the app, such as a person you only schedule. They're left out of every invitation, including the bulk one. You canTheyinvite themlogchangeintoyourSchedulingmind later. They
Switch logoff intoan theaccount, Schedulingor Appremove someone
- Account
, on theirThey can view their schedule and receive notifications basedActivesettingsrecord under
Howit off and they can't sign in to excludethe anwebsite employeeor fromthe gettingapp, anbut invitationtheir record stays as it is. Use it for someone on leave.
Remove
, Thereon maytheir berow employeeson whothe shouldEmployees not receive an invitation to Ingage Scheduling. Even thoughpage: they arestop being part of your staff,company. theyThey maycome not need access to the scheduling system.
Common examples include:
OwnersAccountantsMaintenance staff
going forward, out of the app and out of every list. Shifts they have already worked are kept. If they also work for another company that uses Sail Scheduling, they keep that.Employees who do not useoff the schedule
To exclude an employee from invitations:
Go to Configuration → EmployeesDouble-click the employee's nameScroll to the bottom of the Details tabLocate the Invitation Status sectionClick "Exclude from Invites" button
The employee's invitation status will change to a greyed out button that says "Excluded - Cannot Invite", and they will no longer be eligible to receive a Scheduling invitation.
To Re-enabling Invitations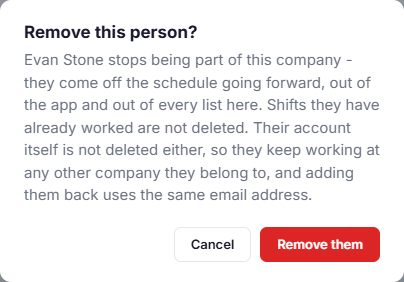
If you lateronly decidemanage thesome employeeof shouldyour havecompany's accesslocations, to Scheduling:
Open the employee recordScroll to the Invitation Status sectionClick Allow Invites
The employeeyou can then be invited to Ingage Scheduling.
Important Notes
Excluding an employee does notremovethem from Scheduling.Excluded employees can still be scheduled.Excluding an employeesomeone onlypreventsifSchedulingtheyinvitationsdon'tfromalsobeingworksentattoathatlocationemployeeyouuntildon'tAllow Invites is selected.manage.