
How to Invite Employees to Ingage Scheduling
Whether your location is new to Ingage Scheduling or you’re onboarding a new hire, employees must be invited before they can access the Scheduling system.
An employee’s goal status is Joined, which means they have accepted the invitation and can log in to Scheduling.
Check an Employee’s Invitation Status
You can view the invitation status for all employees in one place.
-
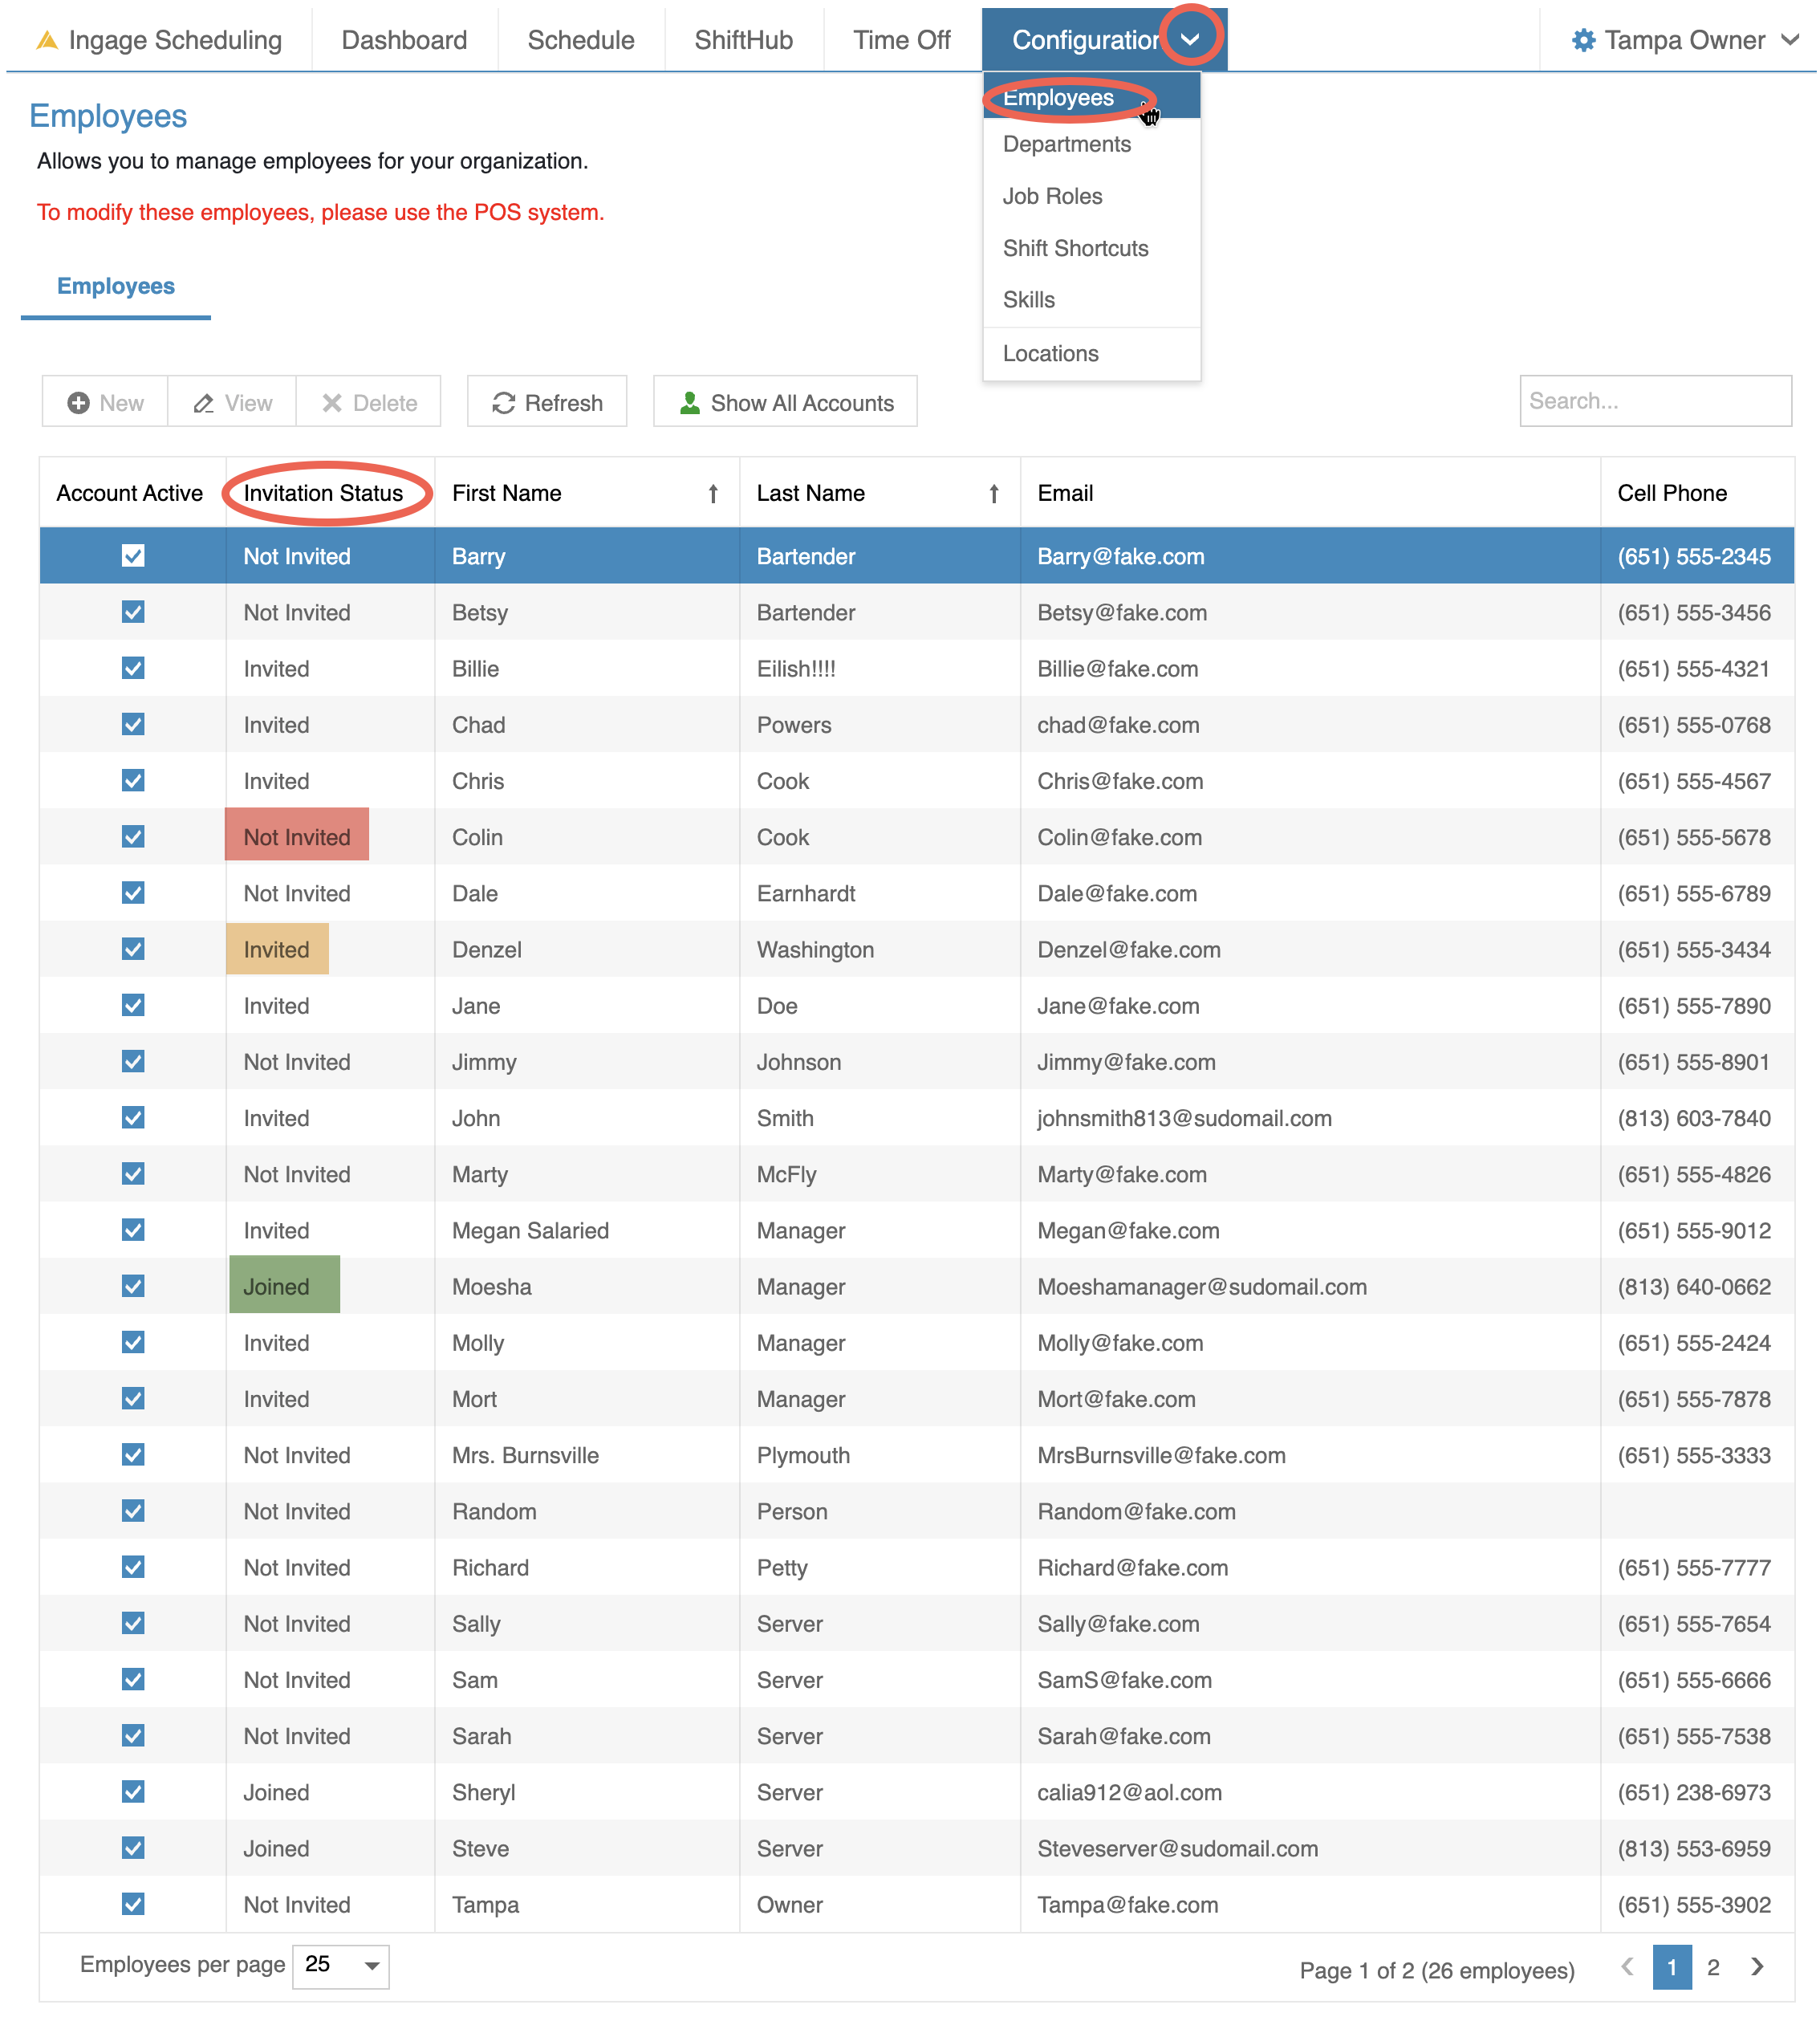
Go to Configuration → Employees
-
Look at the Invitation Status column
Each employee will show one of the following statuses:
-
Not Invited – The employee has not been sent an invitation
-
Invited – The invitation has been sent but not yet accepted
-
Joined – The employee has accepted the invitation and joined Scheduling
Send an Invitation (Individual Employee)
To invite an individual employee:
-
Go to Configuration → Employees
-
Double-click the employee’s name
-
Scroll to the bottom of the Details tab
-
Locate the Invitation Status section
Invitation Statuses Explained
-
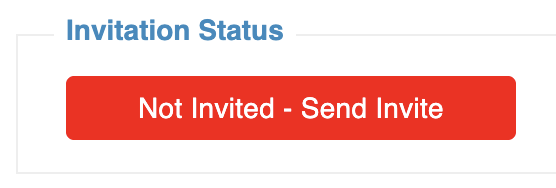
Not Invited – Send Invite (Red)
-
The employee has not been invited yet
-
Click this button to send the invitation by email
-
The status will update to Invited
-
-
Invited – Resend (Orange)
-
The invitation has been sent but not yet accepted
-
This status remains until the employee opens the email and clicks the link to join
-
If the employee did not receive the email, you can click Resend to send the invitation again
-
Before resending, it’s a good idea to confirm:
-
The employee has a valid email address entered in Backoffice
-
The email was not filtered into their spam or junk folder

-
-
-
-
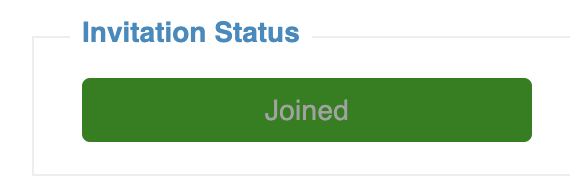
Joined (Green, disabled)
-
The employee has accepted the invitation and joined Scheduling
-
This status cannot be changed or resent
-


Send an Invitation (Multiple Employees)
To invite all or multiple employees:
-
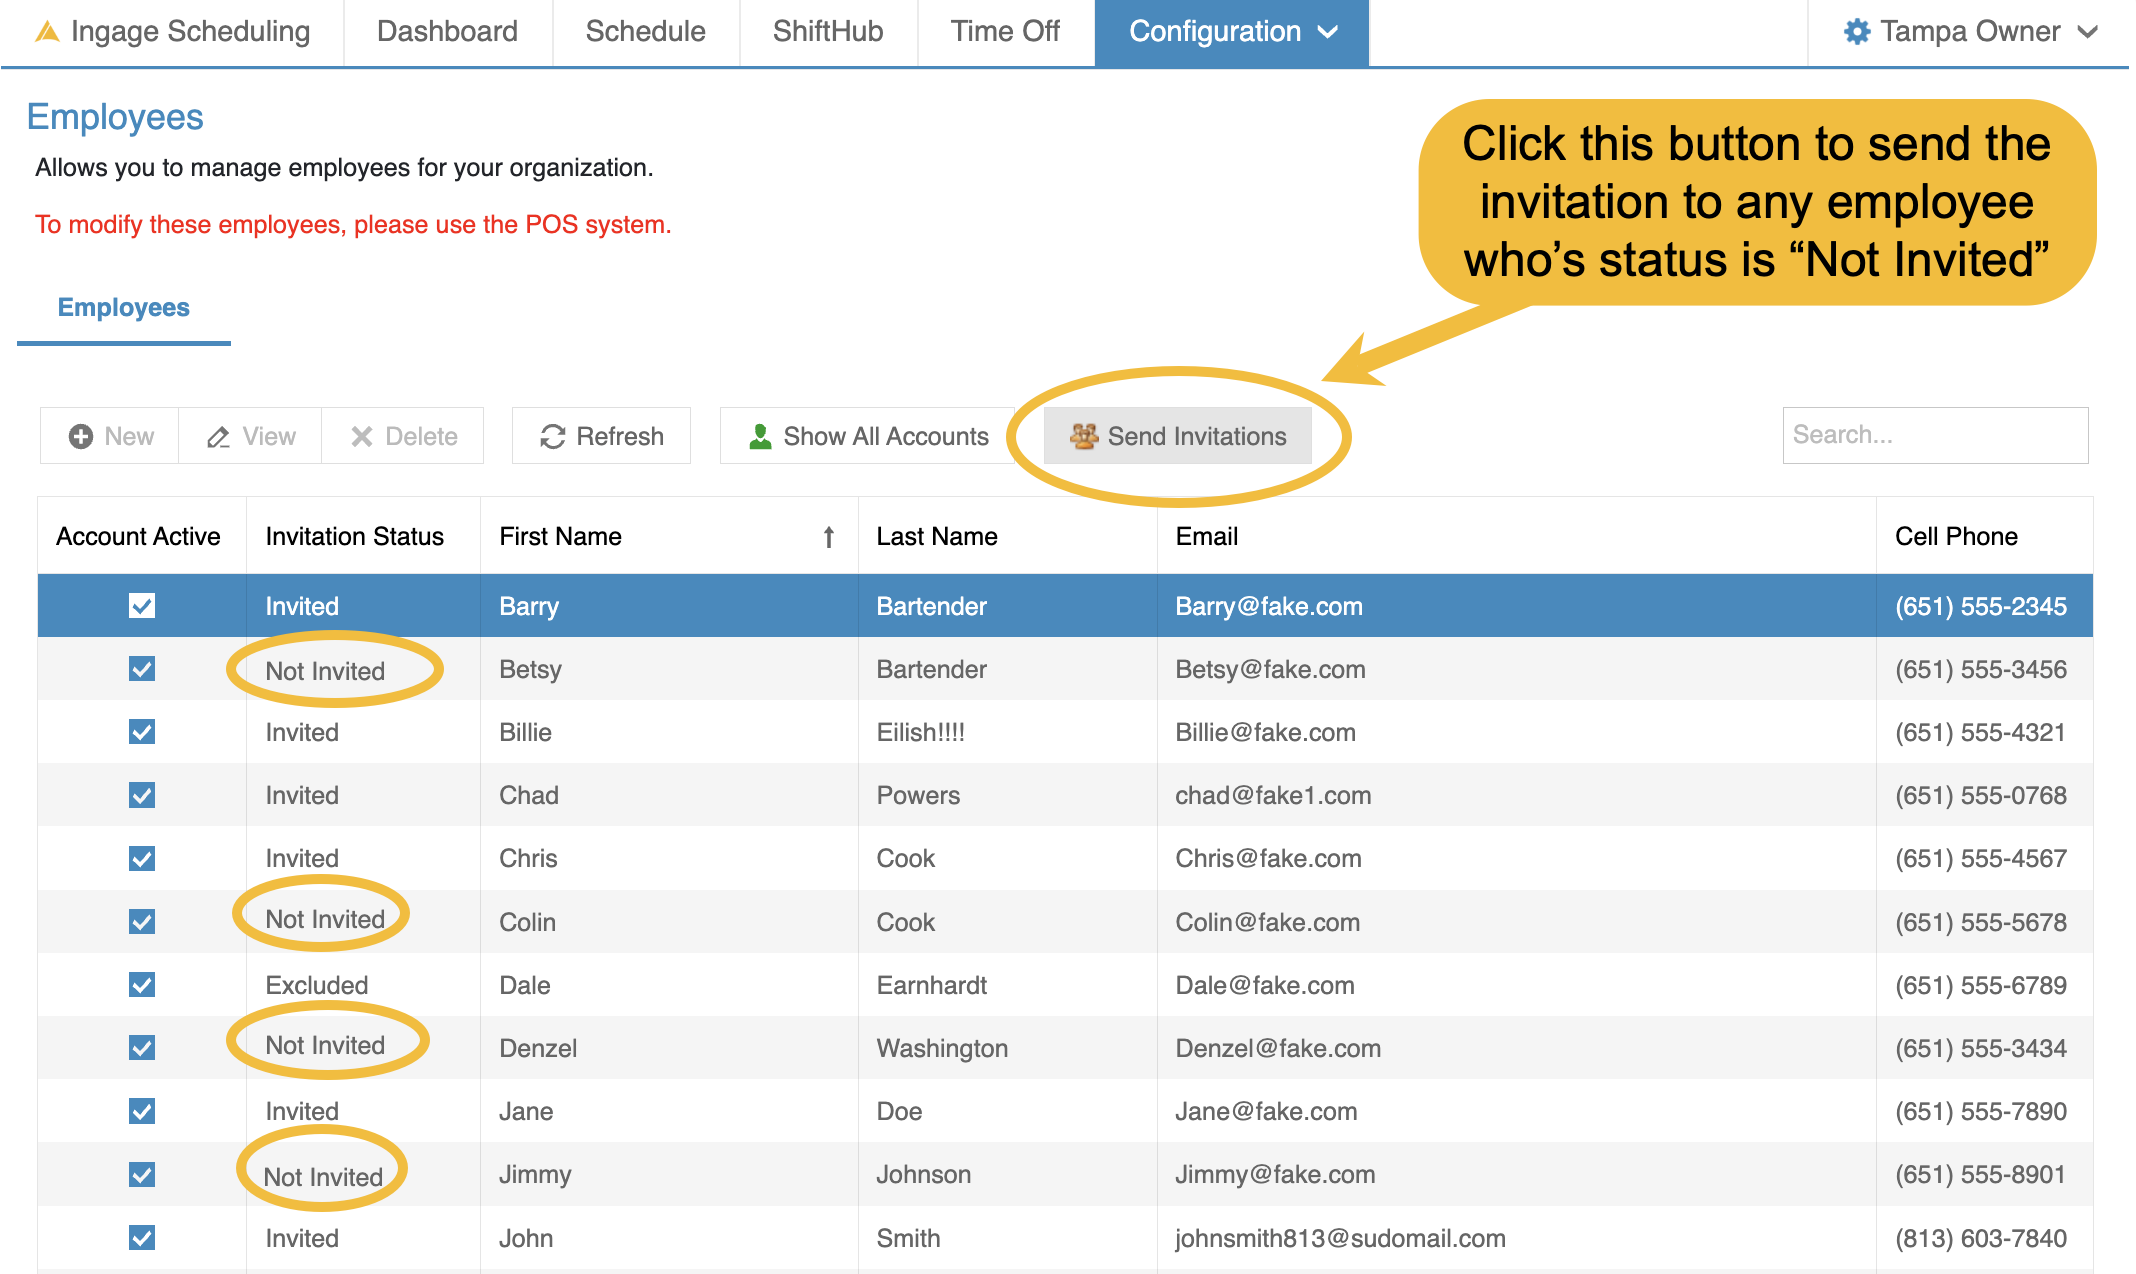
Go to Configuration → Employees
-
Click the "Send Invitations" button the top of the table
- This will send the invitation to any employee's who status is "Not Invited"
- You will get a confirmation pop-up, Click Yes
- Then a message will show you how many employees you sent the invitation to
- and all of their statuses will change to "Invited"
'
What Happens After an Employee Joins
Once an employee clicks the link in their email:
-
Their status updates to Joined
-
They can log into Scheduling
- They can log into the Scheduling App
-
They can view their schedule and receive notifications based on their settings
How to exclude an employee from getting an invitation
There may be employees who should not receive an invitation to Ingage Scheduling. Even though they are part of your staff, they may not need access to the scheduling system.
Common examples include:
-
Owners
-
Accountants
-
Maintenance staff
-
Employees who do not use the schedule
To exclude an employee from invitations:
-
Go to Configuration → Employees
-
Double-click the employee's name
-
Scroll to the bottom of the Details tab
-
Locate the Invitation Status section
-
Click "Exclude from Invites" button
The employee's invitation status will change to a greyed out button that says "Excluded - Cannot Invite", and they will no longer be eligible to receive a Scheduling invitation.
To Re-enabling Invitations
If you later decide the employee should have access to Scheduling:
-
Open the employee record
-
Scroll to the Invitation Status section
-
Click Allow Invites
The employee can then be invited to Ingage Scheduling.
Important Notes
-
Excluding an employee does not remove them from Scheduling.
-
Excluded employees can still be scheduled.
-
Excluding an employee only prevents Scheduling invitations from being sent to that employee until Allow Invites is selected.
No Comments