
Welcome to Sail Scheduling
Sail Scheduling is where you build your team's schedule, share it with them, and handle everything that changes once it's out: time off, shift trades and open shifts to fill. Your team sees their shifts in the Sail Scheduling app and on the website.
This guide is for managers and owners. It shows you around and points you to the guide for each part.
Signing in
Sign in on the website with your email address (or your mobile number) and your password. The same sign-in works in the app, which you can download from the App Store or Google Play using the links on the sign-in page.
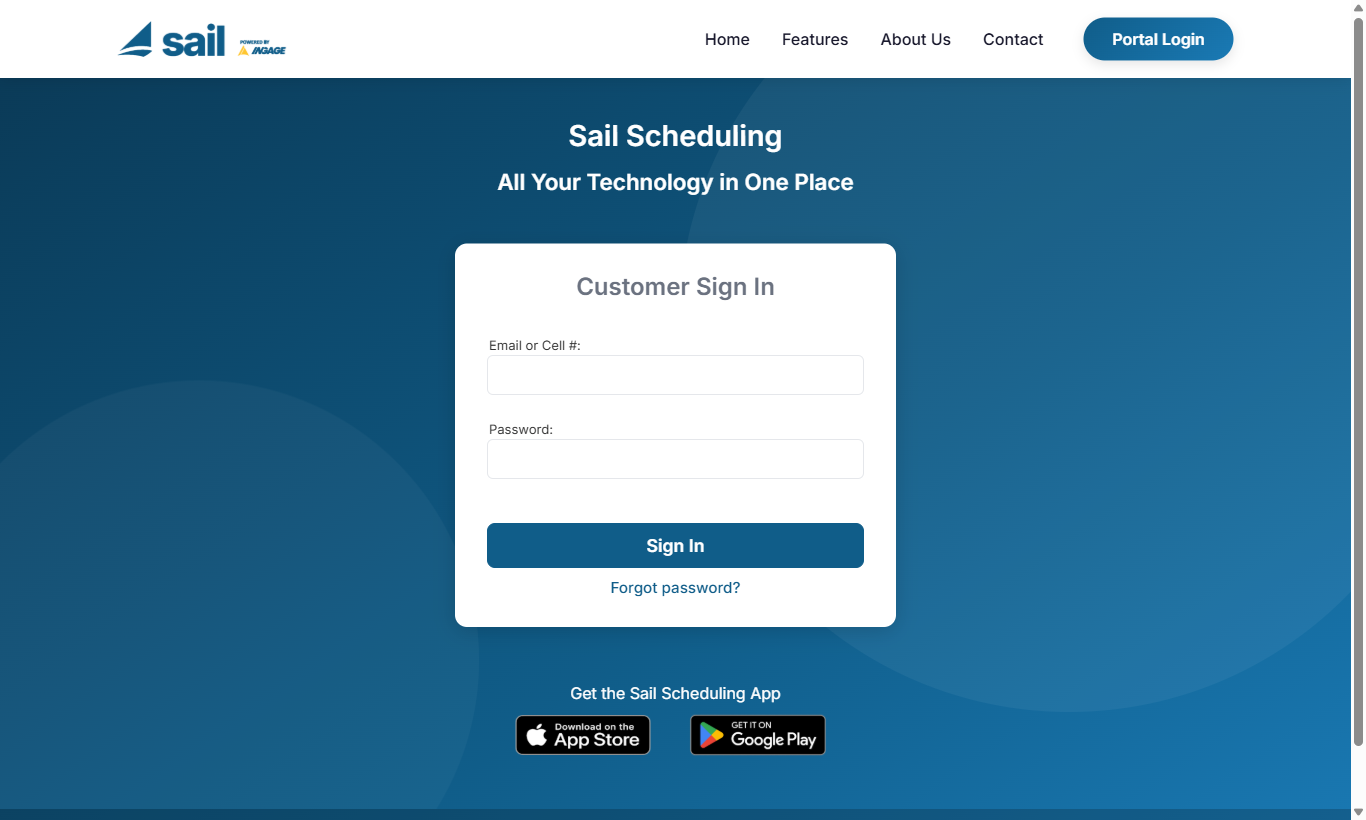
If you've forgotten your password, click Forgot password? to be sent a link to set a new one.
Finding your way around
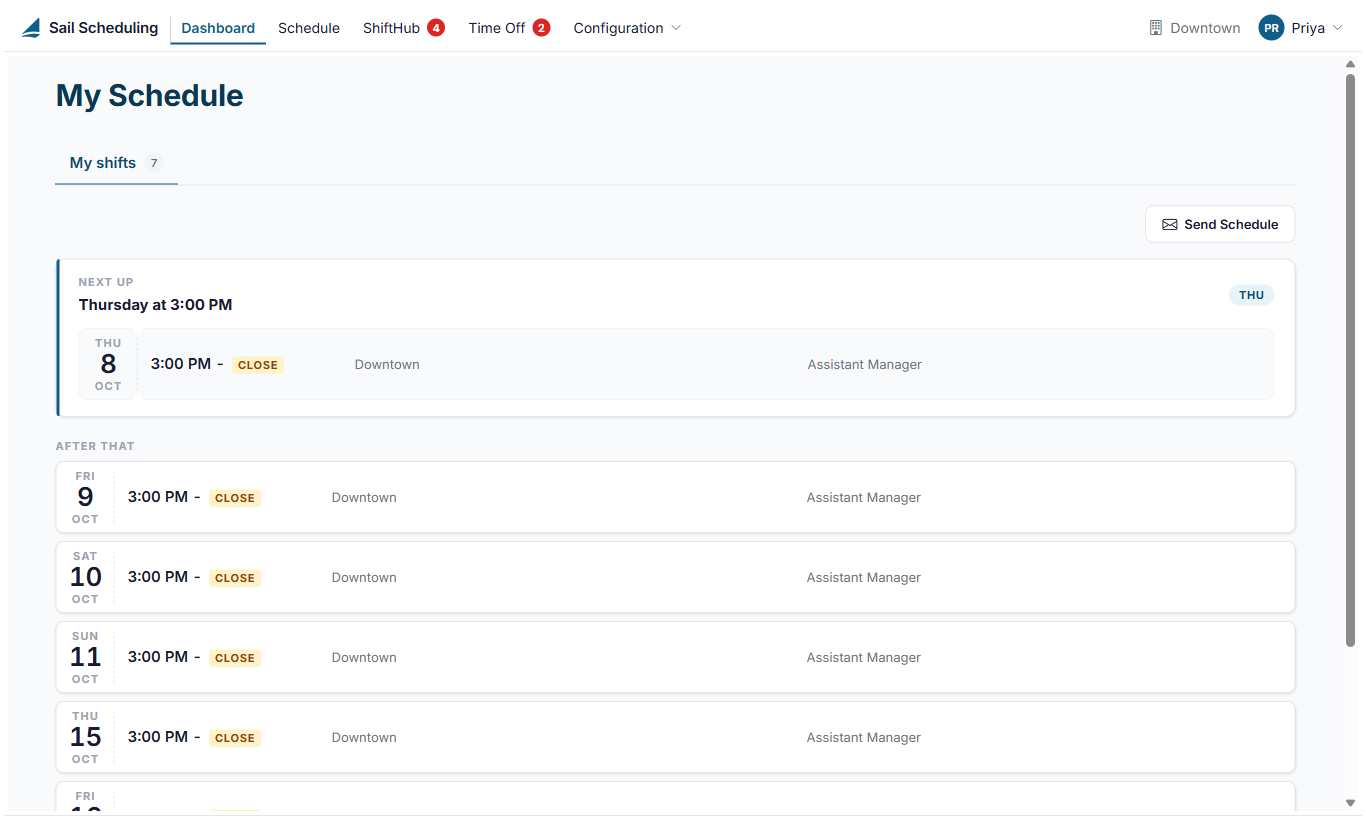
Everything is reached from the bar across the top of the page.

| Menu | What it's for |
|---|---|
| Dashboard | Your own upcoming shifts. |
| Schedule | Build, publish, send and print the schedule. See Building and publishing the schedule. |
| ShiftHub | Approve shift swaps, give-aways and open shift pickups. The red badge counts what's waiting for you. See Reviewing ShiftHub requests. |
| Time Off | Approve and deny time off requests, or book time off for someone. The red badge counts requests waiting. See Reviewing time off requests. |
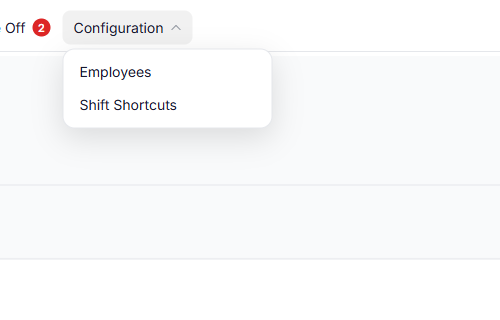
| Configuration | Your employees, job roles, shift shortcuts, locations and company settings. What's in it depends on what you're allowed to do. |
Picking a location
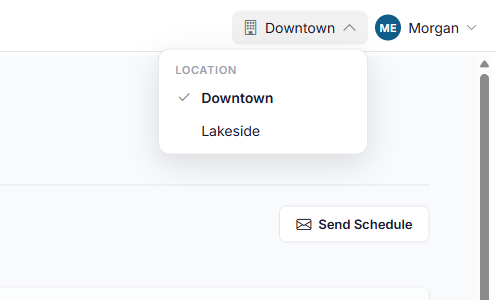
If you work at more than one location, the location at the top right is the one you're working on: the schedule, ShiftHub review and Time off review all show that location. Click it to switch to another. If you only work at one location, it's shown there without a list.
Your account menu
Click your name at the top right for your own things:
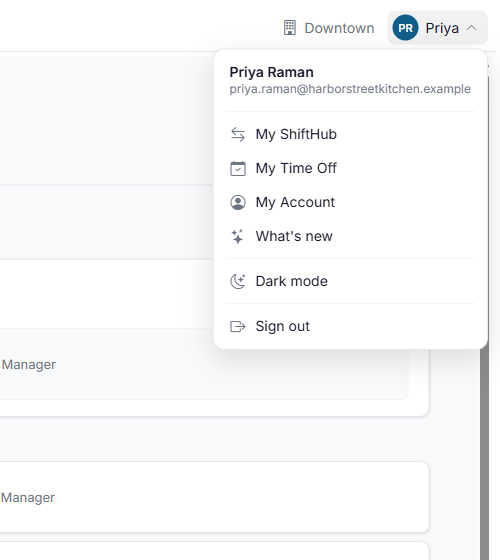
- My ShiftHub and My Time Off: trade your own shifts, pick up open shifts, and ask for your own time off, just as your team does.
- My Account: your name, email address, mobile number, password and notification settings.
- What's new: the latest changes to Sail Scheduling.
- Dark mode: switch between a light and a dark screen.
- Sign out.
A red number on your initials is about your own shifts and time off: a swap a co-worker has asked you for, or a decision on one of your own trades or time off requests since you last looked. The same number is beside My ShiftHub or My Time Off. It's separate from the red badges on ShiftHub and Time Off in the bar, which count your team's requests waiting for you to decide.
If you work for more than one company that uses Sail Scheduling, the account menu also lists them, so you can switch between them without signing out.
What you can do depends on your job role
Everyone is Staff, a Manager or an Administrator at each location, depending on the job roles they hold there. It can differ from one location to another: you might manage one location and just work shifts at another.
- Staff see the published schedule and their own shifts, ask for time off, trade shifts and pick up open shifts.
- Managers also build and publish the schedule, and manage employees and shift shortcuts.
- Administrators also set up job roles, departments, skills, locations and company settings.
Approving time off and shift trades comes from your job role too, separately. See Job roles and departments for the details.
Getting started
If you're setting up Sail Scheduling for the first time, work through these in order:
- Locations: check each location's address, its week and its rules.
- Job roles and departments, and Skills: what people are scheduled as.
- Adding and inviting employees, then Editing an employee to give each person their job roles, pay and availability.
- Shift shortcuts: your usual shifts, ready to add in a click.
- Building and publishing the schedule, and Schedule templates to reuse a good week.
If your restaurant uses Sail POS, your locations, job roles, departments, skills and employees come from Sail Backoffice, so you can start at step 3 with each person's availability, then go on to steps 4 and 5.
No Comments