
Edit Tips Screen
This document will detail the Edit Tips screen.
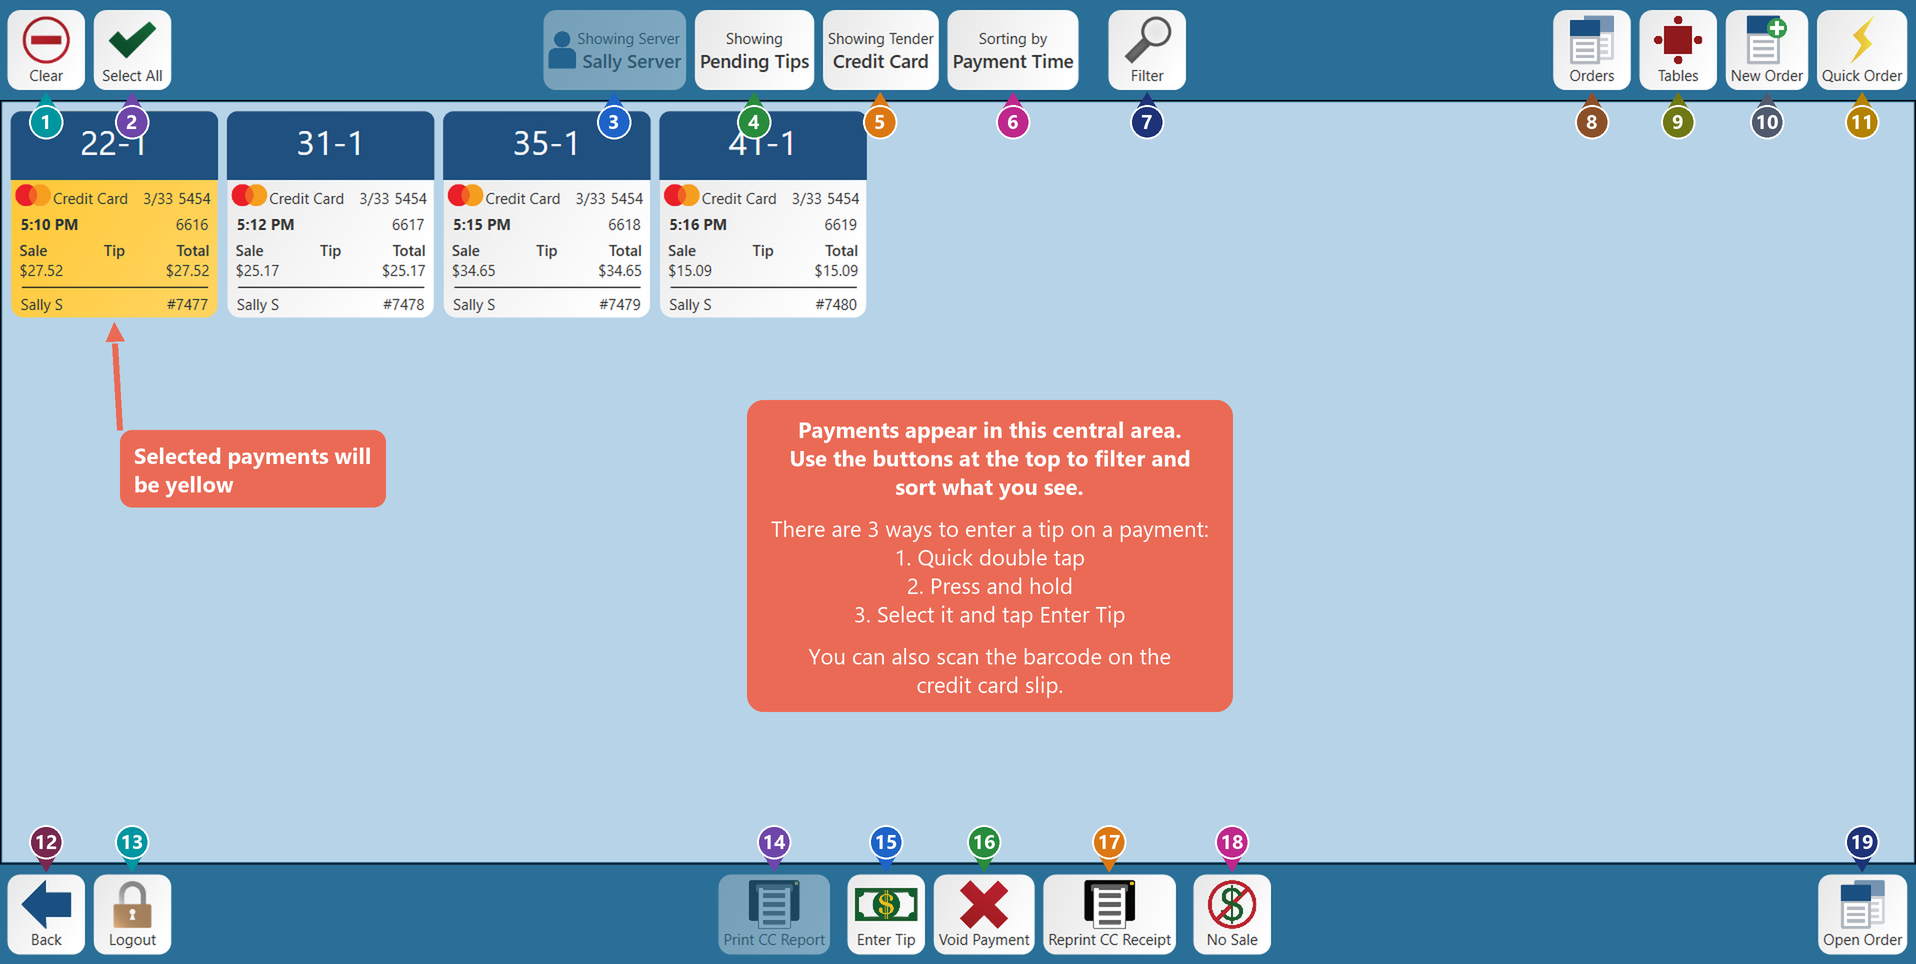

1. Clear - unselects all selected items on screen.

2. Select all - Selects all orders on screen.
3. Showing Server - This shows the payments for the server who is signed in. (If you have rights, you can click this button and change to see another server’s payments, or every server’s payments)
4. Showing - This filter will default to show you all of the “Pending” payments that are still waiting for tips to be entered. Selecting this button will allow you to toggle to showing “All” payments so you can see payments that have had tips entered already.
5. Showing Tender - This filter will default to show Credit Card payments. Selecting this button will allow you to select a different tender type, every tender type except cash (** Non-Cash **), or all tender types (** All **).
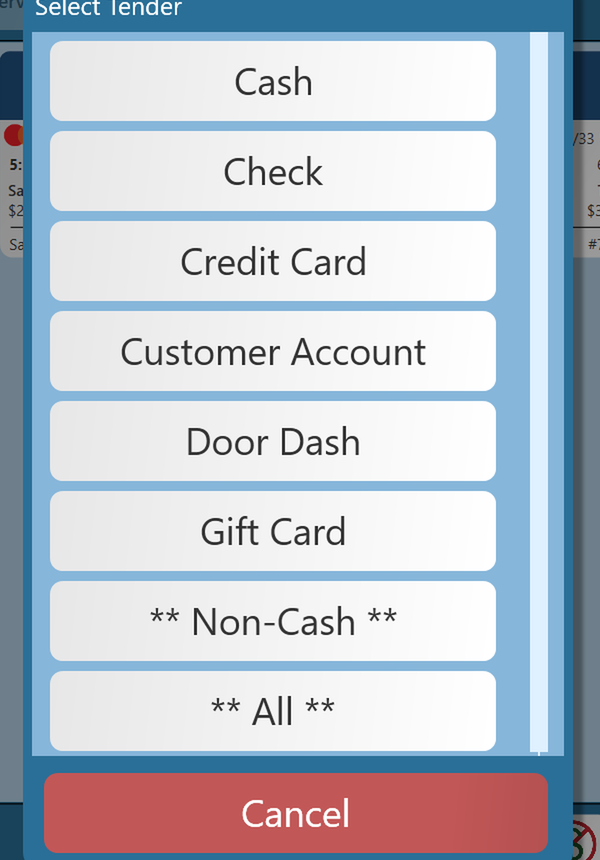
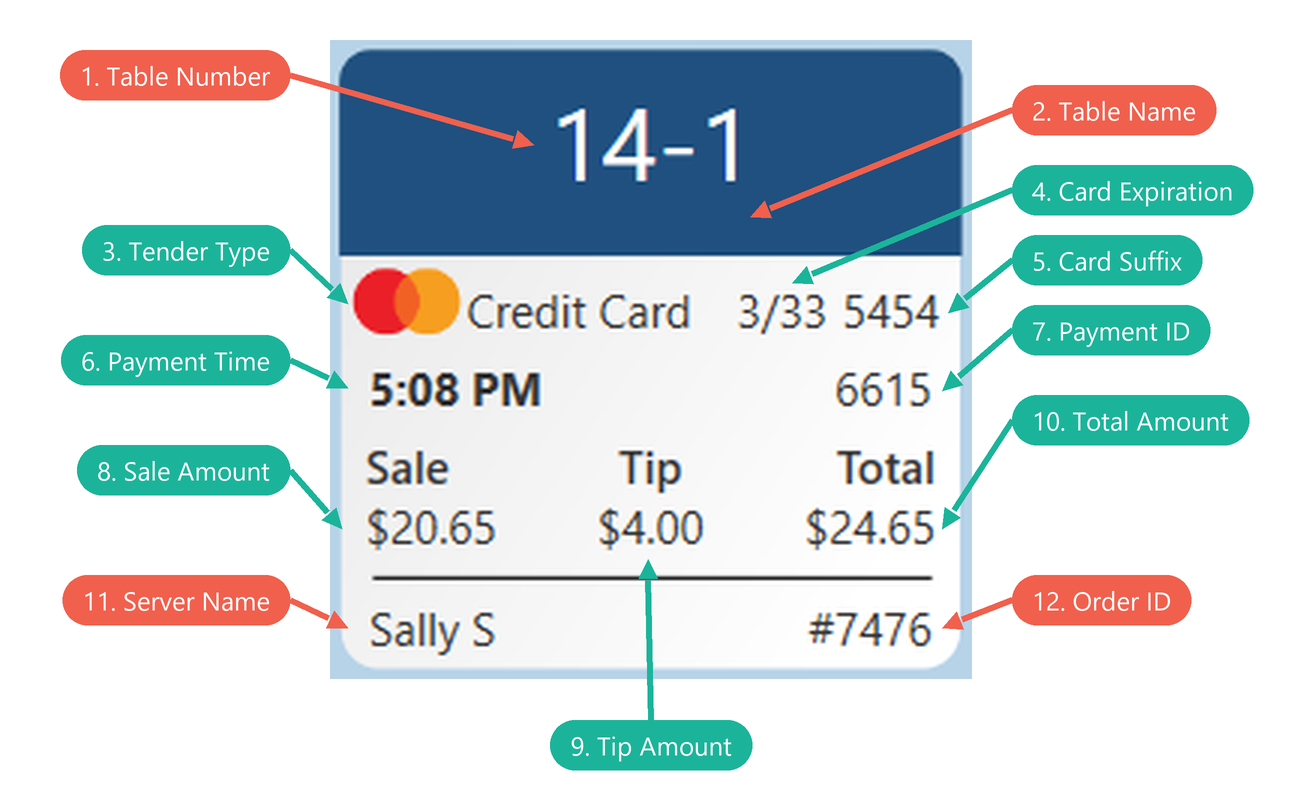
6. Sorting by - This filter will default to sort by the time the payment was made. Select this button to sort by any of the other 11 fields on the payment. What you are sorting by will be bolded.

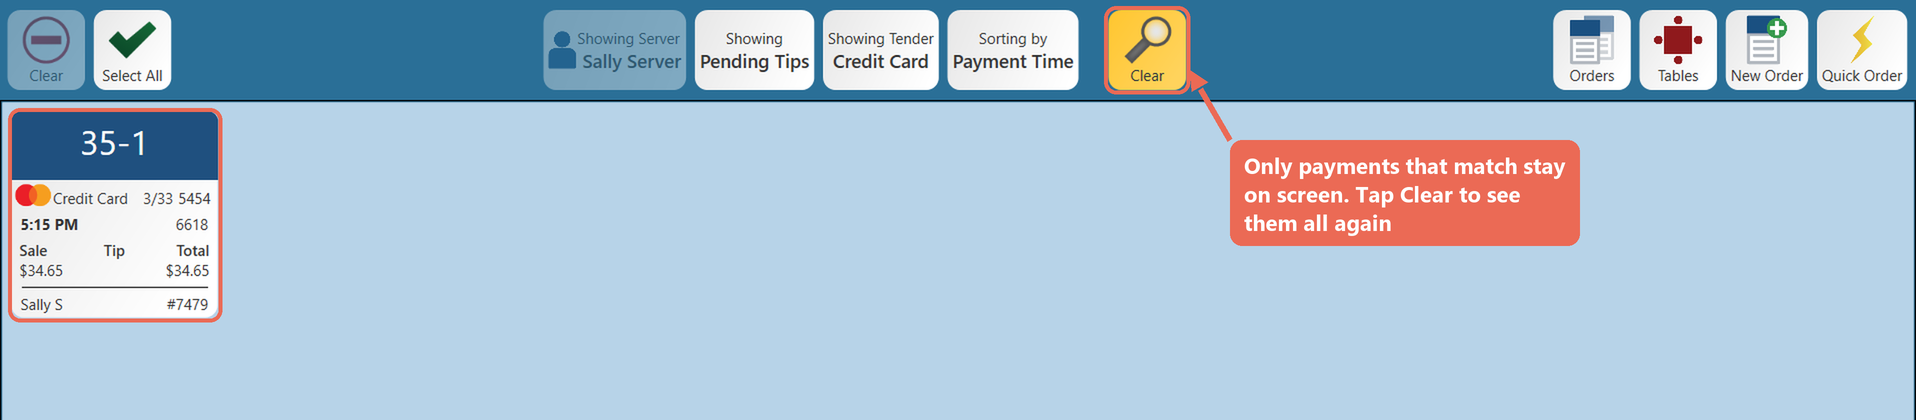
7. Filter - Search the payments on screen. Type part of an amount, a table number or name, the last 4 digits of a card, a server’s name, a payment or order number, or a tender type, then tap Done. Only the payments that match stay on screen, and the button turns yellow and says Clear. Tap Clear to see all of the payments again.

8. Orders - This will take you to the Order view Screen.

9. Tables - This will take you to the Table view Screen.

10. New Order - This will open a new order by asking you to select a table number and guest count.

11. Quick Order - This will open a new order on table 0 with one guest.

12. Back - This will take you back to the previous screen.

13. Log Out - This will log you out of the terminal.
14. Print CC Report - This will show the CC report for all of the server’s credit card transactions, with or without tips adjusted. Tap Print to print it, or Close. This button only works when no payment is selected.

15. Enter Tip - This will let you enter a tip on the payment you have selected.
16. Void Payment - This will void the selected payment. If you don’t have rights to void payments, it will ask for a manager’s code. A void slip will print out so you can give it to the customer if needed.
17. Reprint CC Receipt - This will reprint the credit card receipt for each payment that is selected.

18. No Sale - This will open the cash drawer.

19. Open Order - This will open the order of the selected payment.
Scanning a credit card slip
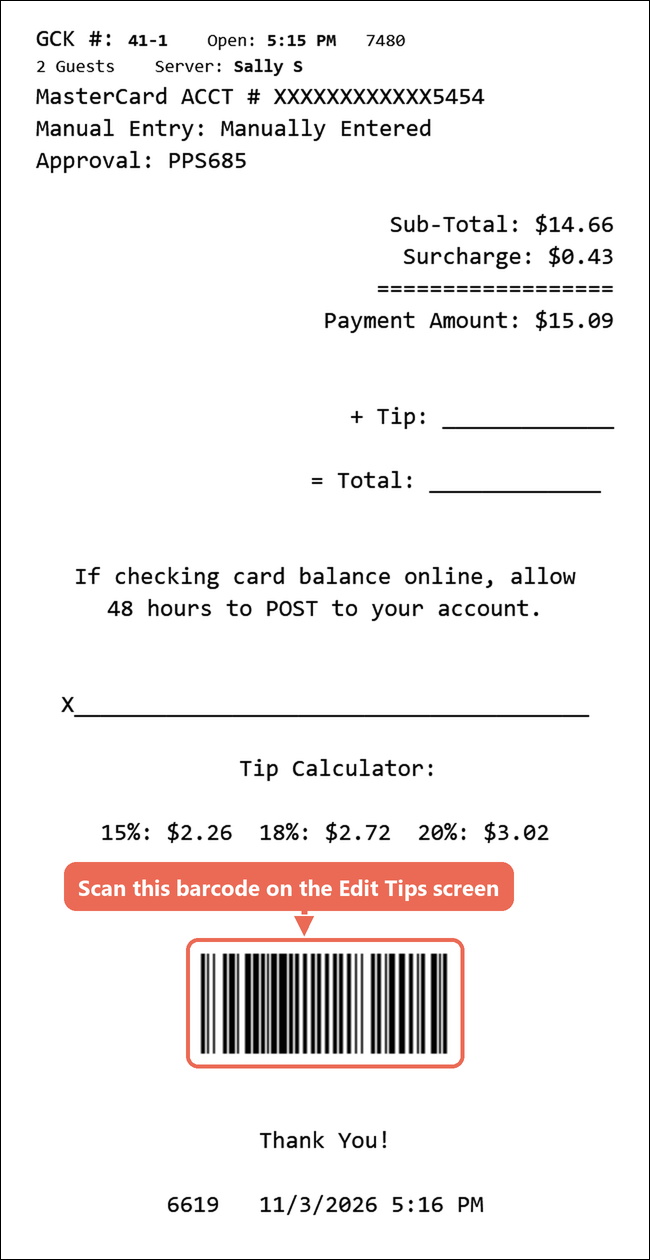
If your terminal has a barcode scanner and your credit card slips print a barcode, you can enter a tip by scanning the slip. On the Edit Tips screen, scan the barcode on the signed slip: the tip window opens for that payment, even if it isn’t showing on the screen. Scanning a guest receipt works too; if the order was paid with more than one card, pick the payment from the list first.
No Comments