
Editing & Organize Menu Buttons

Step 1
On the order access screen click the Wrench icon.
Step 2
Click the Setup and enter in access code.
Step 3
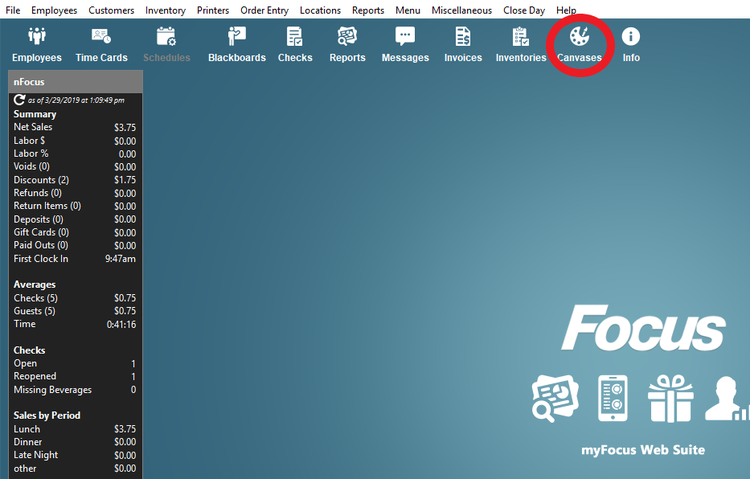
Click the Canvas icon (top right side)
Step 4
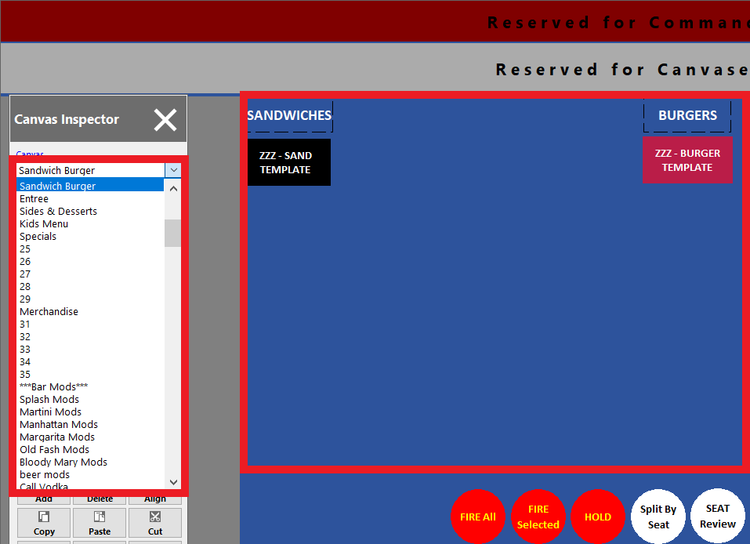
Scroll down to the canvas with the menu items you want to organize.
Step 5
Left click, hold, and drag to create a box around menu items you want to organize.
Step 6
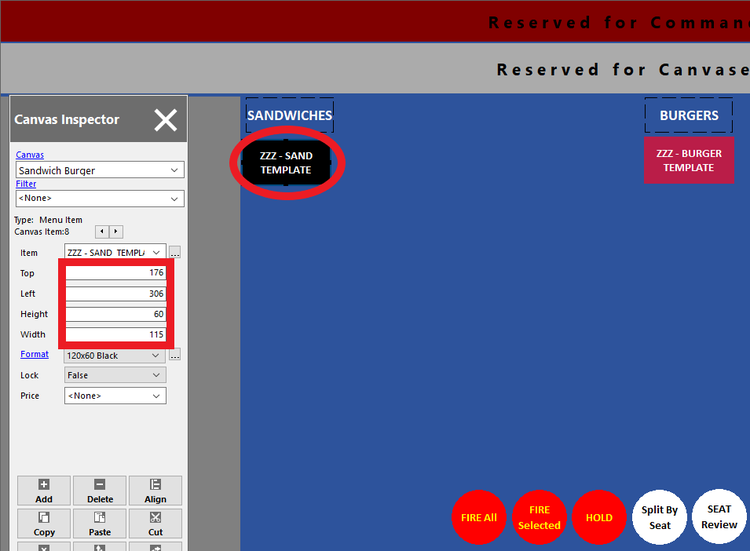
If you want to re-size the buttons, select a button(s), click the height box, enter in a size and click the width box and enter in a size.
Step 7
If you want to align the buttons, select the buttons you want to align, click the Align button, click Left Side and OK. Click the Align button and click Space Equally, then click OK.
You can only do one at a time.

Step 8
If you want to make the buttons alphabetical, click the Sort button (up down arrow).
No Comments